February 17, 2018 Chicken Mushroom Enchiladas

Now that I’ve mastered the cauliflower tortilla I thought it would be fun to try them in a chicken enchilada recipe. The “caulitillas” are just about the same size as a corn tortilla and not delicate as I was originally concerned, but very pliable and sturdy. Of course corn tortillas are what you would typically use and would be fine in this recipe. You can buy enchilada sauce in the supermarket but it’s quick and quite simple to make your own. You also can control the heat to your own taste. My advice would be to start out on the safe side with the amount of chili powder you add, you can always add more, it’s harder to tame the heat. I used a combination of regular and chipotle chili powder for its smoky quality. Measure out your ingredients before you start the recipe because you will be busy whisking to ensure a smooth sauce.

Heat the oil in a medium saucepan until it begins to sizzle. Add the flour and spices, whisking constantly until the spices become fragrant and deepen in color. Add tomato paste, tomato sauce and chicken stock and continue to whisk constantly to remove any lumps. Allow the sauce to come to a simmer, it will begin to thicken slightly. Taste sauce and adjust seasonings to your liking.

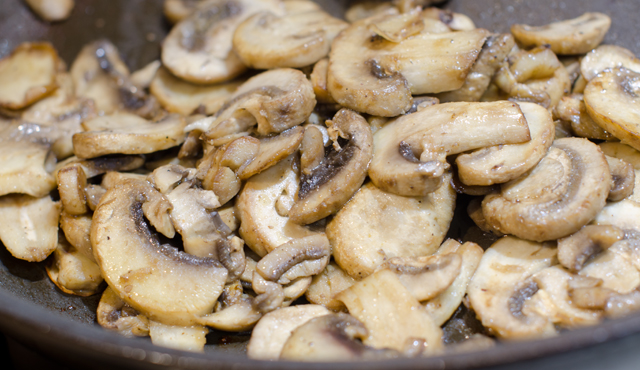
Now it’s time to assemble, you should have ready, a 9 x 13  inch baking dish, the tortillas, the warmed filling, the warmed sauce and shredded cheese.   I chose to make a filling of shredded chicken and sautéed mushrooms but this sauce would be good with many filling combinations. Many recipes call for dipping the tortilla in the chili sauce. I thought that was too messy so I just put a thin layer of sauce in the bottom of my casserole dish.

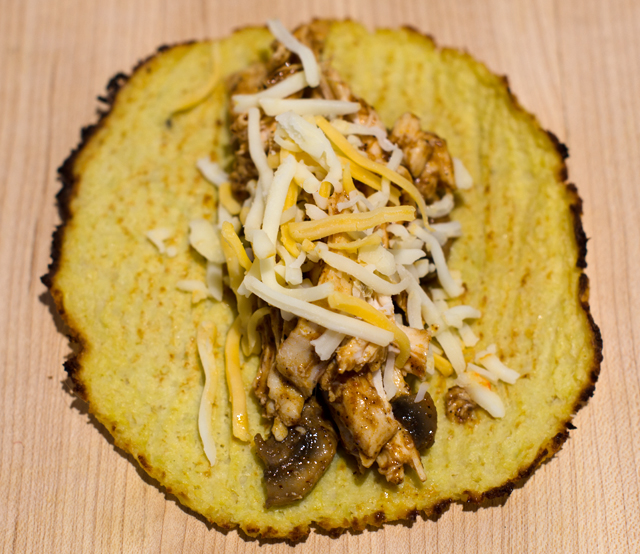
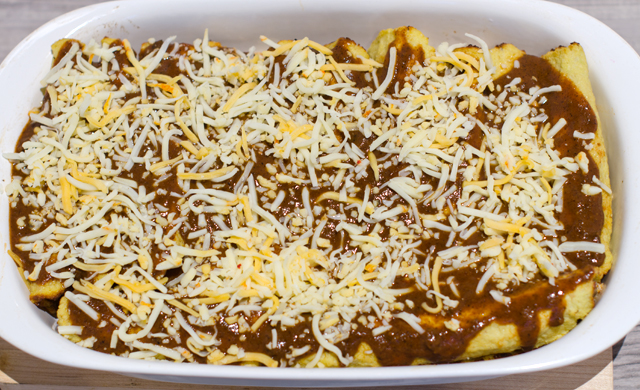
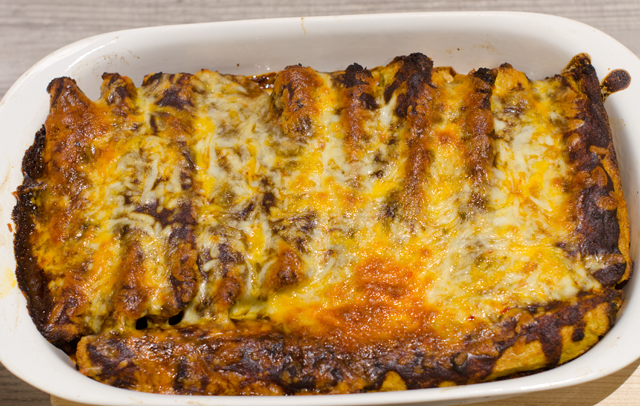
Lay out your tortilla and spread about two tablespoons of the filling down the center. Roll up the tortilla and place seam side down in the baking dish. Repeat with the remaining filling and tortillas. Top with additional sauce and shredded cheese and bake until the cheese is melted. Not the prettiest dish for certain, but definitely delicious. Leftovers heat up nicely.
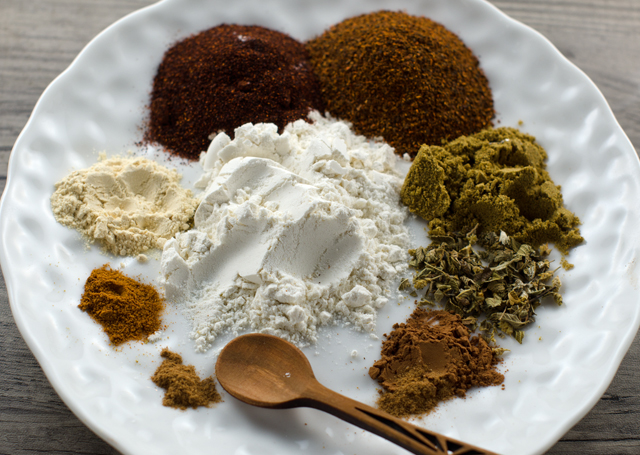
Spices and flour for the chili sauce.
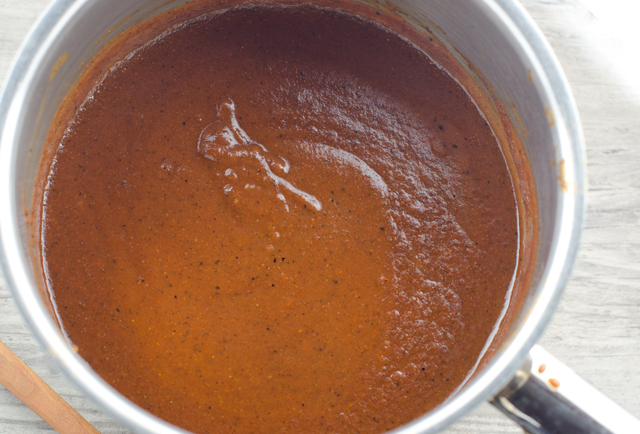
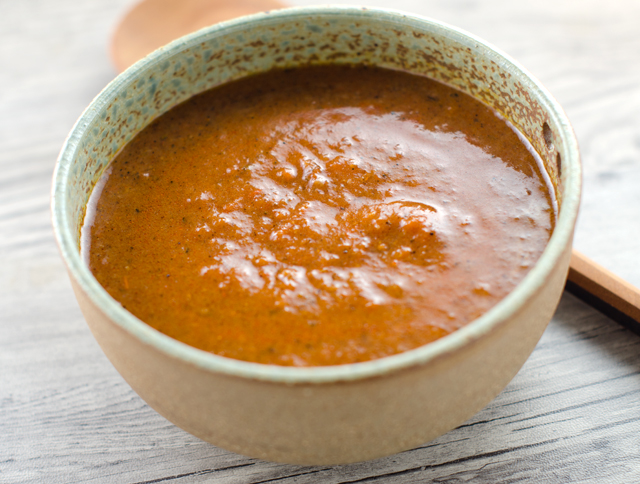
Takes only ten minutes to make a delicious complex sauce.


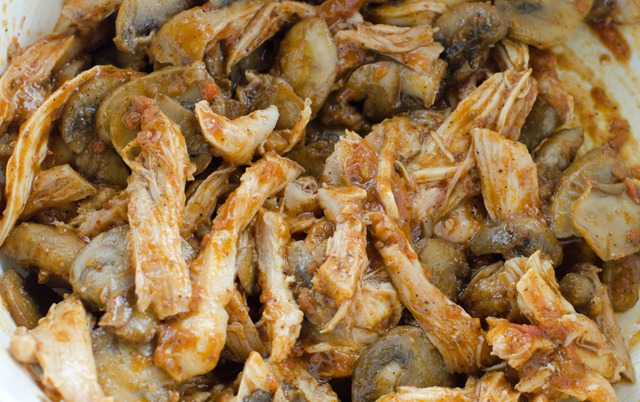
Chicken and mushroom enchilada filling.
Filling the “caulitilla”.
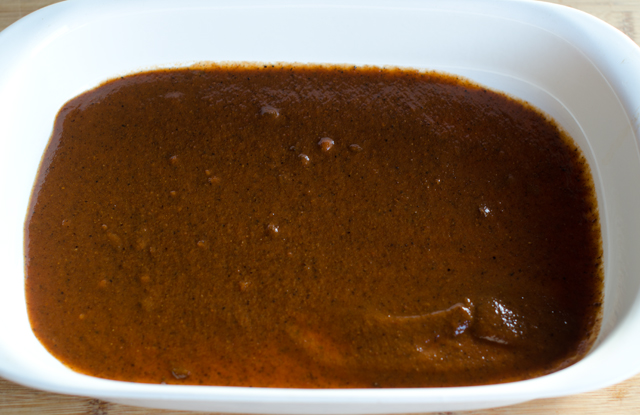
A thin layer of sauce on the bottom of the baking dish.
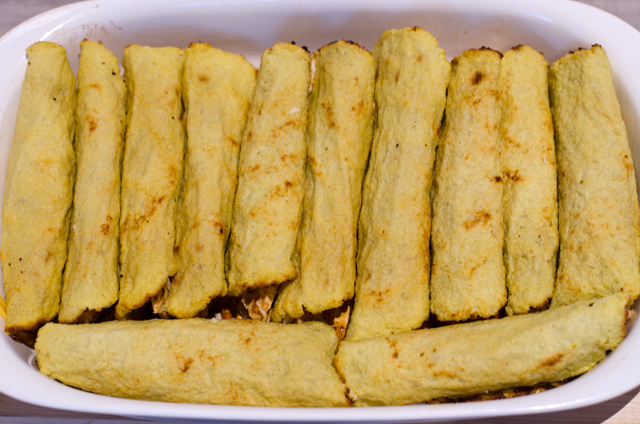
Rolled and filled tortillas ready to be topped with sauce.
Next the sauce and cheese.
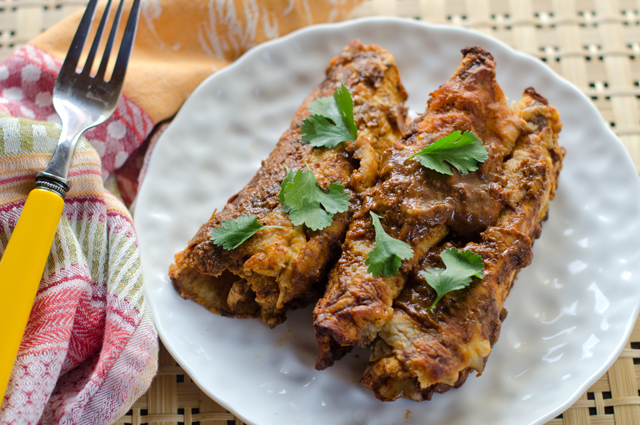
Ready to dig into!


Chicken Enchiladas

Makes 10-12

Red Enchilada Sauce

Makes about 2½ cups

Ingredients

  • 2 T vegetable oil (I used avocado)
  • 2 T all-purpose flour
  • 3 T chili powder-I used 2 T regular and 1 chipotle (Penzey brand)
  • 1 ½ t ground cumin
  • ½ t dried oregano (Mexican is best)
  • ½ t kosher salt
  • 1/8 t cayenne pepper
  • ¼ t cocoa powder
  • pinch of cinnamon
  • 3 oz tomato paste
  • 2 c chicken or vegetable broth
  • ½ to ¾ c tomato sauce

Directions

  1. Measure out the flour and the spices into a small bowl.  Whisk to combine.
  2. In a medium saucepan over medium high heat, warm the oil until it begins to sizzle.
  3. Add the flour/spice mixture and whisk constantly. Cook until fragrant and darkened in color.
  4. Whisk in the tomato paste and sauce until thoroughly combined with the flour/herb mixture. In a steady stream, whisk in chicken broth.
  5. Reduce heat to medium and let sauce come to a simmer. Cook 8 to 10 minutes, sauce will thicken slightly. If not using immediately you may need to thin it out with a little stock or water.
  6. Remove the sauce from the heat and let cool slightly. Add salt and freshly ground pepper to taste.

Shredded Chicken and Mushroom Filling

Ingredients

Directions

  1. In a medium saute pan cook the mushrooms over medium high heat until they release their juices and are softened, 6 to 8 minutes.
  2. In a medium bowl add chicken and slightly cooled mushrooms.
  3. Stir in about a half cup of sauce to moisten the ingredients.

Assembly

  • 9 x 13″ baking dish
  • 10-12 corn tortillas or “caulitillas
  • Chili sauce
  • 2 c shredded Mexican blend cheese
  1. Preheat oven to 375°F
  2. Coat the bottom of the baking dish with a thin layer of the sauce.
  3. Set up an assembly line to make the tortillas: corn or cauliflower tortillas, chicken mushroom filling, cheese and sauce.
  4. Lay out a tortilla and place about 2 generous tablespoons of the filling down the center of the tortilla. Sprinkle a little cheese on top. Roll it up with your fingertips and place in the baking dish, seam side down. Continue rolling and filling the rest of the tortillas.
  5. Pour the remaining sauce over the enchiladas and sprinkle with the remaining cheese. Bake for 20 minutes and serve immediately.


September 24, 2017 Braised Chicken Thighs with Tomatillo Sauce

When is a tomato not a tomato? When it’s a tomatillo. Yes, their aliases include Mexican husk tomato and “tomato verde” and both tomatillos and tomatoes are members of the nightshade family, but that’s where the similarities end.

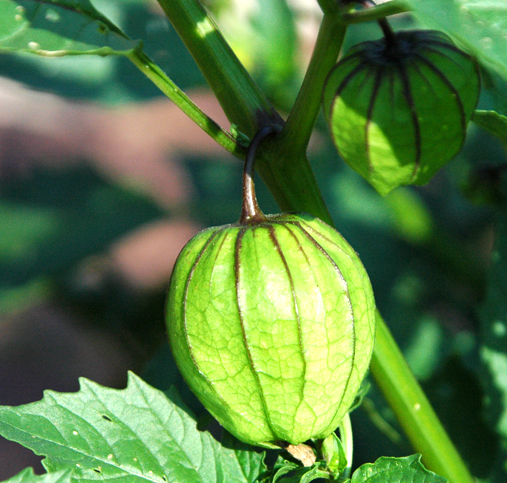
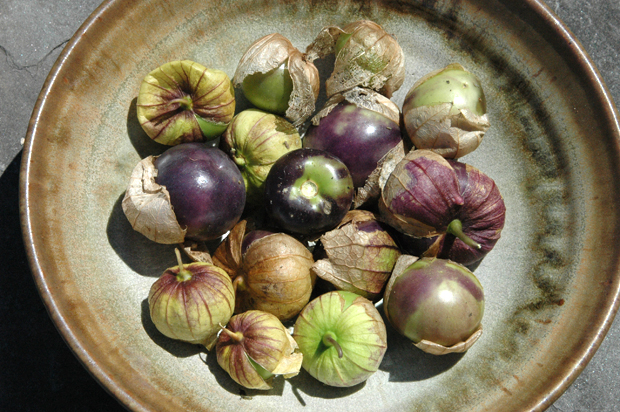
Years ago tomatillos were one of those “let’s try this and see” additions to the garden. I certainly wasn’t familiar with the sprawling bushy plants that first produce lots of leaves and little yellow flowers. These flowers eventually turn into bright green papery Chinese lanterns. The tomatillo grows inside this husk and when the fruit is mature, the husk dries out and turns a tan color and the tomatillo splits the husk open. Under that husk they look like hard little green tomatoes. They have a bright fresh flavor, a little citrusy and herbal. I have used them for salsa verde and a  chicken tomatillo soup. This time I wanted to use tomatillos in a sauce for braised chicken thighs. I found my inspiration from Mexican cooking authority, Rick Bayless. His recipe for a braised pork loin in tomatillo sauce could be adapted for chicken so I knew I would be getting the direction I needed.

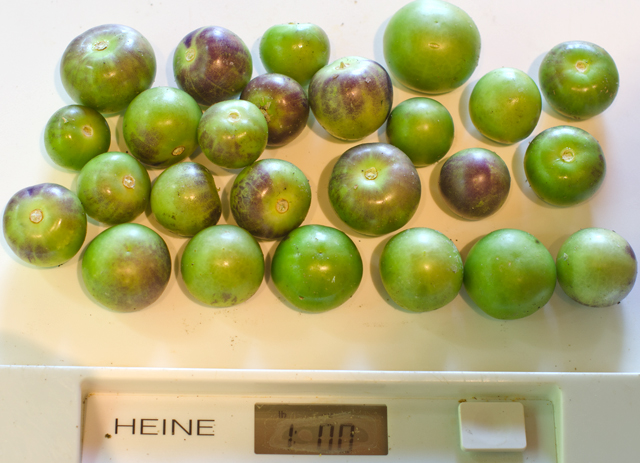
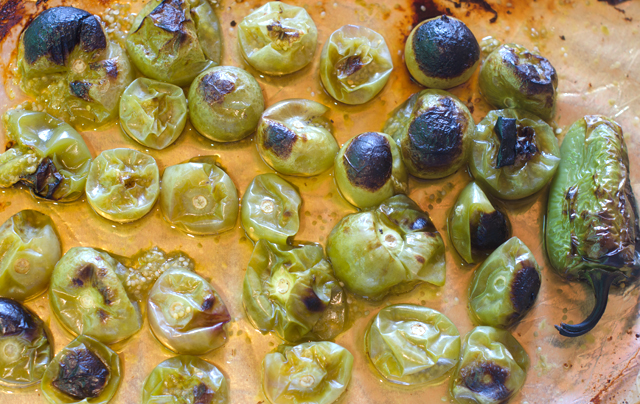
Start the dish by making the tomatillo sauce or salsa, remember, salsa is the Spanish word for sauce. Turn the broiler to high and move the oven rack to the highest position.Remove the papery husks from the tomatillos and rinse off the sticky residue, that residue is a natural deterrent to insects. In this case it took 28 tomatillos to make a pound. Put them on a foil lined baking sheet, stem side down so they won’t roll around as much. It is a good idea to double up on the baking sheets so they won’t buckle under the broiler from the heat. Add one green jalapeno to the sheet and broil until the tomatillos are roasted, even blackened in spots and very soft. Transfer everything, including the juices to a blender and process until smooth. Set the sauce aside while you brown the chicken.

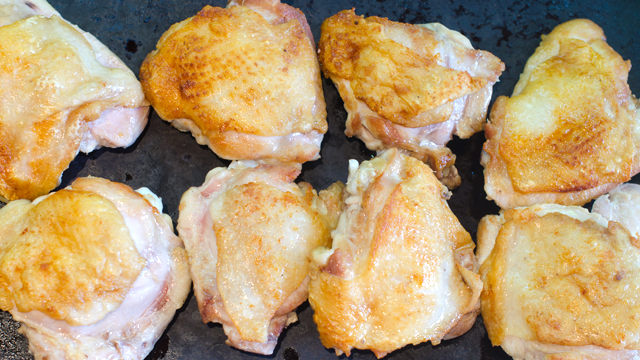
In a 4-5 quart Dutch oven, brown the chicken pieces. You will need to do this in batches, the chicken should be golden brown, not stewed. Rick instructs that you use either all white meat (breast) or all dark (thighs) because the cooking times will be different, I find that dark meat holds up better to the braising process. After the meat is browned it is removed to a plate. No need to rinse the pot, now it’s time to finish off the sauce.

Return the Dutch oven to medium heat and cook the onion and garlic. Raise the temperature to medium high and add the tomatillo puree. Cook until it is dark green and thickened, this concentrates the flavors of the sauce.  A little water thins out the sauce, Rick feels the addition of stock would make the sauce too rich. Now is the time to add some heavy or sour cream if desired. It lightens up the sauce and I liked it with the chicken. Add some fresh cilantro or the more traditional purslane also known as verdolagas in Mexico. I will definitely try that when purslane makes an appearance in the garden again. Nestle the chicken pieces in the sauce, put the lid on and cook in the oven for thirty minutes.

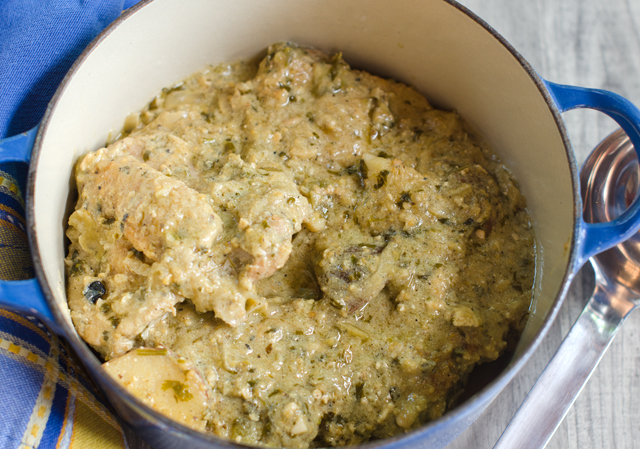
Potatoes add an earthy element to the dish. Parboil some red potatoes while the chicken is cooking, close to the end of the cooking they are nestled in the sauce between the chicken pieces. Serve the chicken topped with sauce with some potatoes on the side. The end result is a rich, warm satisfying dish and the perfect transition from summer to fall cooking.

Tomatillo on the vine, not ready for picking yet.

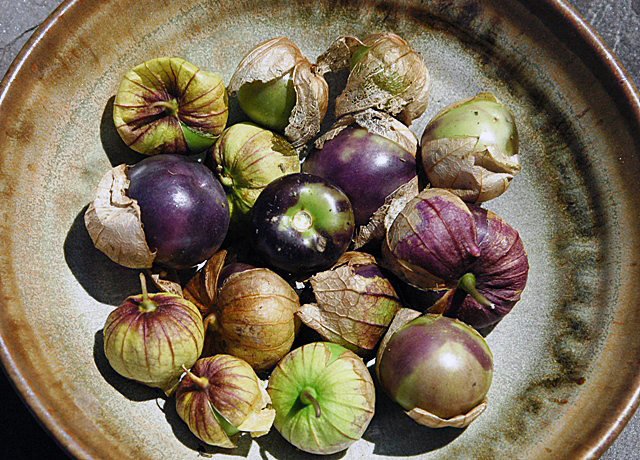
Ripe green and purple tomatillos.

It took 28 tomatillos to make a pound.
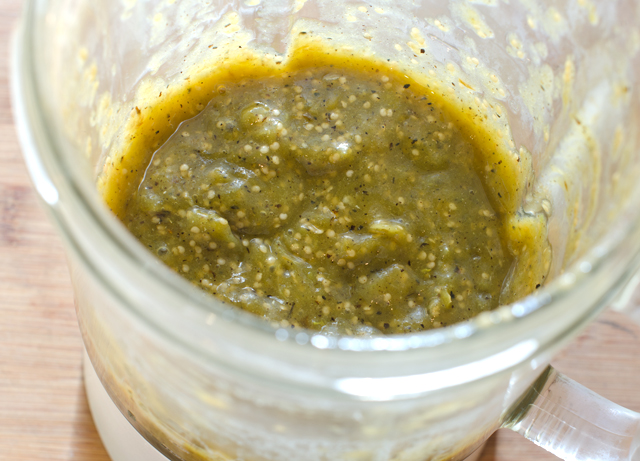
Roast tomatillos until soft and blackened in spots. Make sure the juices go in the blender too.
Blended tomatillos.
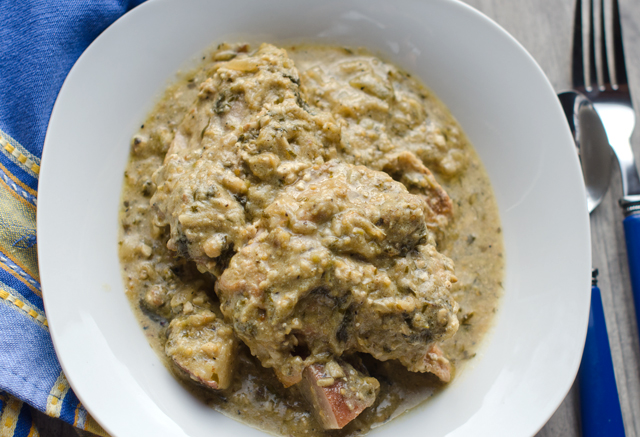
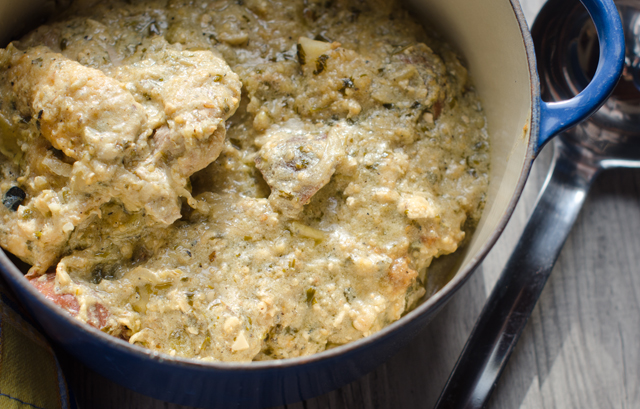
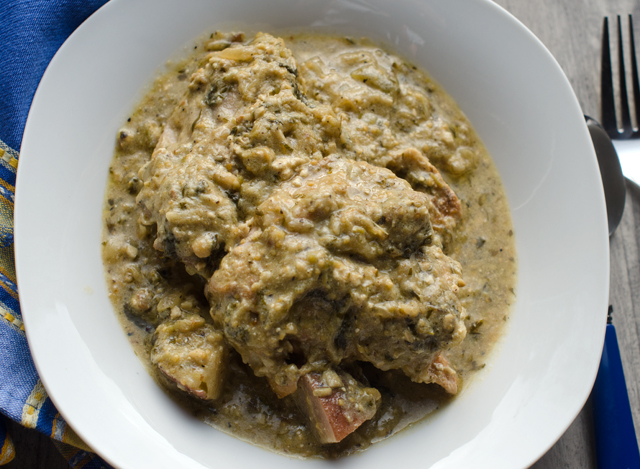
Chicken thighs are browned, then nestled in the tomatillo sauce.

Braised Chicken Thighs in Tomatillo Sauce

Serves 4-6

Ingredients

  • 1 lb fresh tomatillos
  • 1 medium jalapeno pepper
  • Kosher salt and fresh ground pepper
  • 8 medium skin on, bone in chicken thighs, 2½ to 3 lbs
  • 1½ T olive oil
  • 1 medium onion, finely sliced
  • 3 cloves of garlic, peeled and finely chopped’
  • 1/3 c chopped cilantro
  • A little crema or heavy cream if desired
  • 1¼ lbs red skinned potatoes, scrubbed and quartered

Directions

  1. Roast the tomatillos and chile on a baking sheet four inches below a very hot broiler until darkly roasted, even blackened in spots, about 5 minutes. Flip them over and roast on the other side for another 4-5 minutes. Tomatillos should be splotchy black and the chile soft and cooked through.
  2. Cool a bit then transfer everything, including the juices that have accumulated on the tray to a blender. Process until smoothly pureed.
  3. Set a 4-5 quart Dutch oven over medium heat, when the oil is hot add chicken pieces skin side down. It is best to do this in batches, you want the chicken to brown, not stew. Brown the chicken on the first side for 5 minutes, then turn over and brown on the other side. Remove the chicken pieces to a plate and keep warm.
  4. In the same Dutch oven over medium heat, add the onion and cook, stirring regularly, until golden, about 7 minutes. Stir in the garlic and cook a minute longer. Raise the heat to medium heat and when the oil is sizzling, add the tomatillo puree all at once. Stir until it is darker and noticeably thicker. Add 1 ½ cups of water and the cilantro. If you desire a mellower sauce add about a ½ cup cream or sour cream to the sauce. Taste and season with a little salt. Stir the sauce well to combine.
  5. Heat oven to 325°F. Nestle the chicken pieces in the warm sauce, cover the pot and set in the oven. Cook for 30 minutes.
  6. While the chicken is cooking, simmer the potatoes in a pan of salted water to cover until tender, about 10 minutes. Drain and set aside.
  7. When the chicken has cooked for thirty minutes, nestle the cooked potatoes into the sauce around the meat. Recover and cook for another 5-10 minutes.
  8. Serve the chicken and potatoes with the sauce over it.

April 1, 2017 Mayan Citrus Salsa (Xec) with Salmon

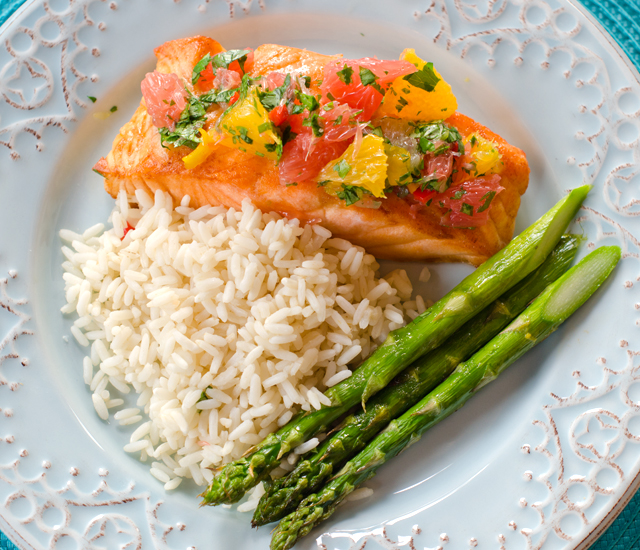
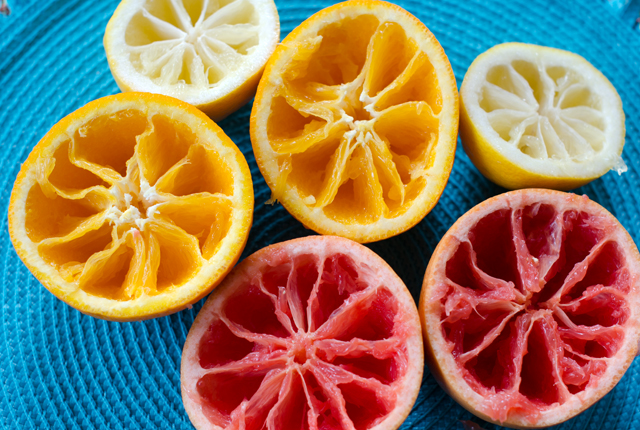
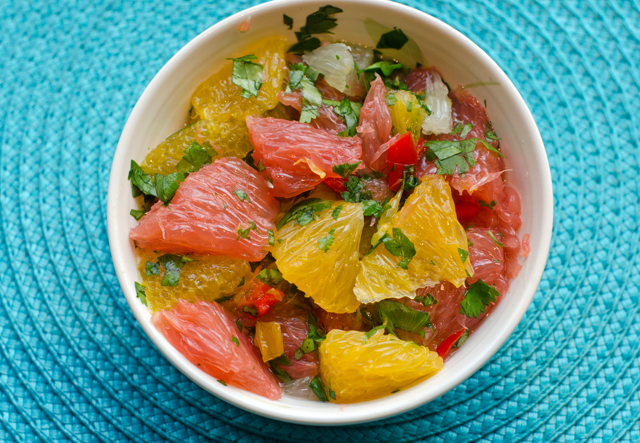
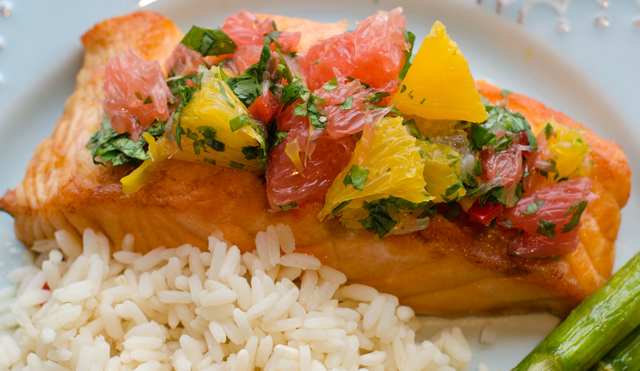
A vibrant combination of juicy grapefruit, orange, lemon and lime sections, accented with fragrant and spicy habanero pepper, the Yucatan peninsula is home to this colorful and healthy salsa. The Mayan name for this dish is Xec, pronounced, shek which roughly translates, “mixed”. It is an easy to prepare dish, all of the fruit is cut vertically and sectioned, the way you would cut into your morning grapefruit. If you prefer, the citrus could also be cut into supremes or segments.

The salsa gets its heat from habanero chiles. Lantern shaped and bright red, orange or yellow in color, the habanero is the hottest chile available in grocery stores. For perspective, a habanero registers in at 300,000 to 475,000 units on the Scoville scale, the standard for measuring the heat of a chili pepper, the jalapeno only 2,500 to 10,000 units. Treat all hot peppers with a certain amount of caution, wear gloves when working with them and keep your hands away from your face. It is best to add a little bit of chili pepper to see what your heat tolerance is before ruining a dish with too much at once.

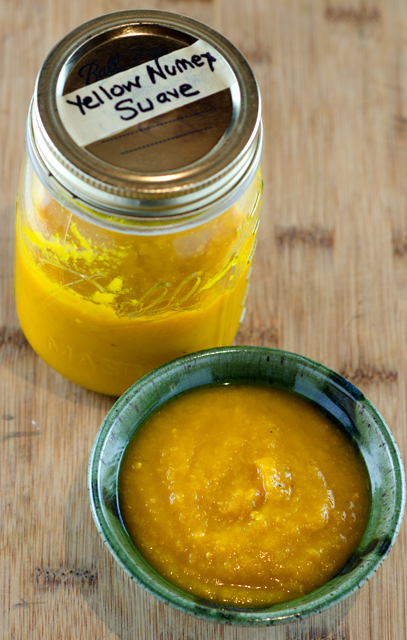
I am fortunate to have a supply of NuMex Suave Orange peppers from the garden to add to the salsa. NuMex Suaves have the citrusy flavor that most people miss in the habanero, without the numbing heat. I like this salsa with fish, but it would pair with chicken or pork as well.

Mayan Citrus Salsa (Xec)

Makes four servings

Ingredients

  • 1 large orange
  • 1 medium grapefruit
  • 1 medium lemon
  • 1 lime
  • Finely chopped habanero pepper (according to your heat tolerance)
  • 1 NuMex suave pepper
  • ½ c finely chopped cilantro
  • Salt to taste
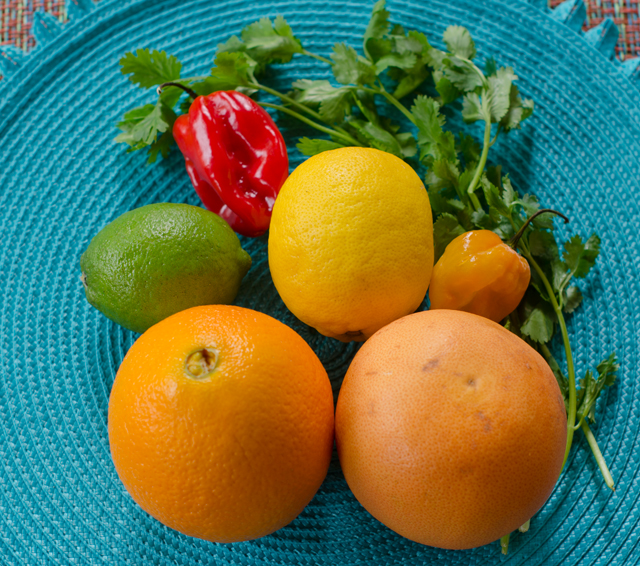
A combination of sweet, tart and sour citrus, habanero and cilantro are the ingredients for xec.
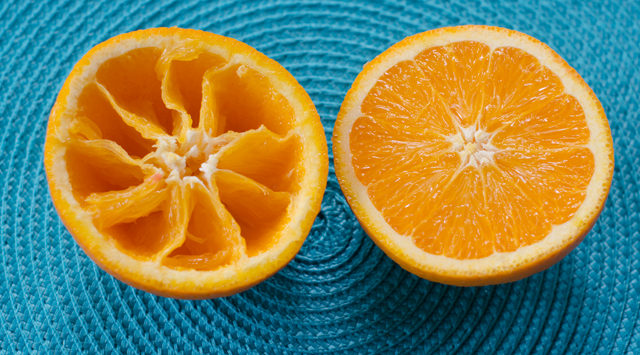
Section all the citrus the way you would a grapefruit.

Directions

  1. Cut orange in half horizontally and section it as you would a grapefruit. Do this over a bowl to capture all the juice. Remove the seeds and combine flesh and juice in a bowl. Repeat with the grapefruit, lemon and  lime. Stir in habanero, NuMex suave and cilantro. Season with salt.

November 23, 2016 Butternut Squash Quesadillas

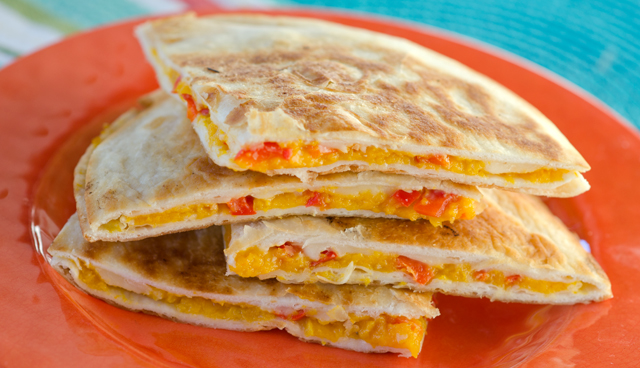
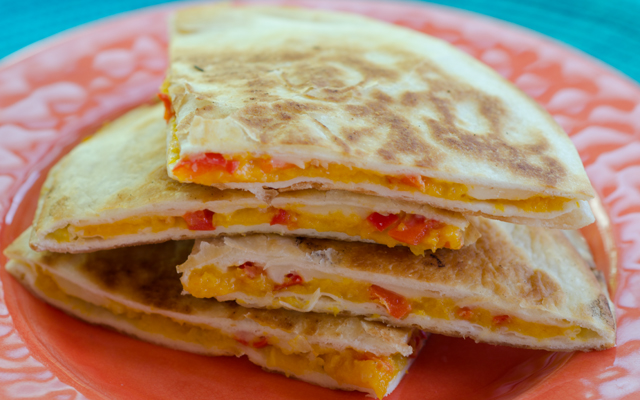
dsc_8327aAn often requested hors d’oeuvre from my catering days were butternut squash quesadillas with chipotle lime dipping sauce. They were a lighter alternative to classics like miniature beef wellingtons or scallops wrapped in bacon. A recipe I originally found in Gourmet magazine and now on the Epicurious website, it seemed to be universally liked by everyone. Crunchy on the outside, sweet roasted butternut squash and melted cheese inside, they disappeared as quickly as wait staff could get them out to hungry guests. The flavors of the roasted squash, onion and garlic are a perfect combination with creamy jack cheese, and sweet red pepper.

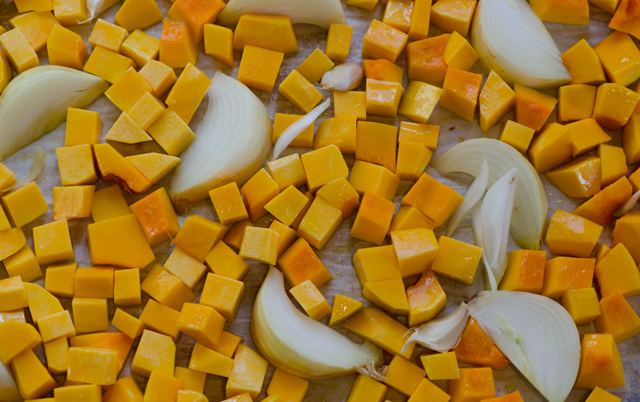
Begin the recipe by roasting squash cubes, an unpeeled onion cut in segments and several cloves of  garlic. Since we had a large butternut squash crop this year, I am getting faster at peeling and chopping my own squash. But if you don’t want to take the time, you can purchase butternut squash that has already been peeled and cubed. It is considerably more expensive for the convenience.  For the best results, roast cubes rather than baking squash halves . Although the roasted squash will be puréed before it is spread on the quesadilla, roasting cubed squash and the onion, allows the natural sugars in the vegetables to caramelize and enhances the flavor.

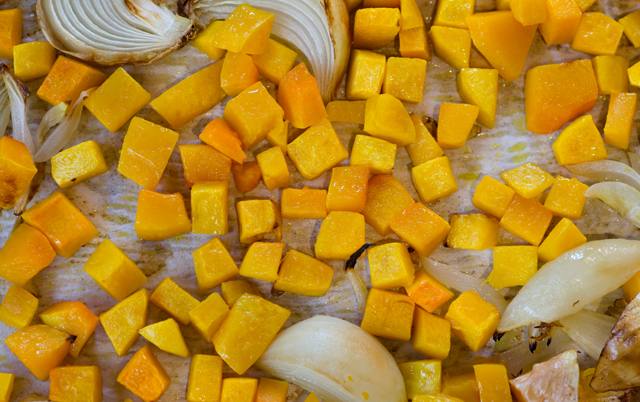
On a rimmed baking sheet, drizzle the squash cubes, onion and garlic with a neutral oil (vegetable, safflower) and toss lightly. Spread them out as evenly as possible so the squash will roast, not steam. Halfway through the cooking time use a plastic spatula to toss the cubes around a bit to maximize the surface area that gets browned. The garlic will be done first, use tongs to remove it to a work surface. Continue to roast the squash and onion until tender, as much as 15 more minutes, I like to check about every five minutes or so at this point. The squash will be soft and browned in places. Remove the peel from the onion and the garlic.

While the squash is cooking you will have time to chop the red pepper. Cut it into small dice, it will make for neater pieces when you cut the quesadillas. Place chopped pepper and jack cheese into separate bowls at your work station.

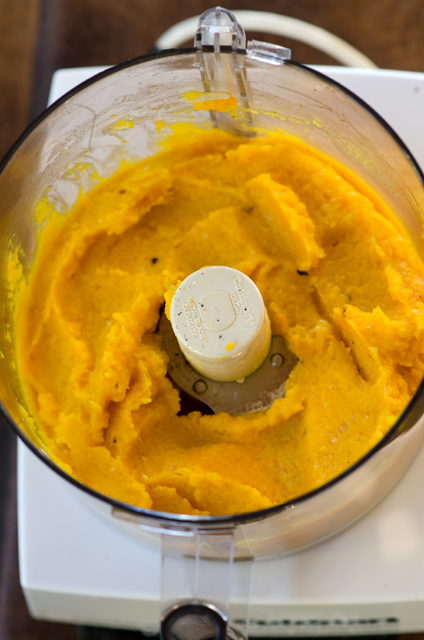
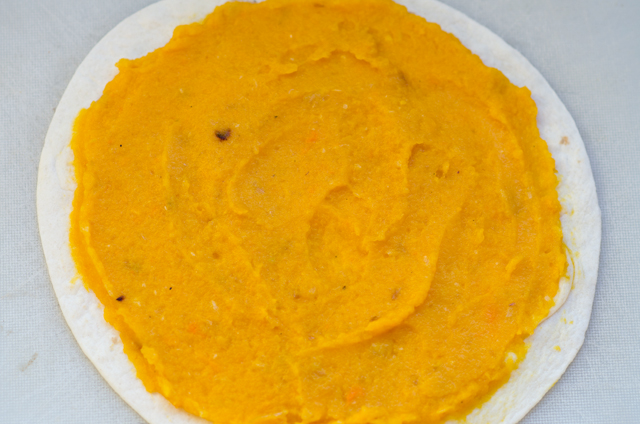
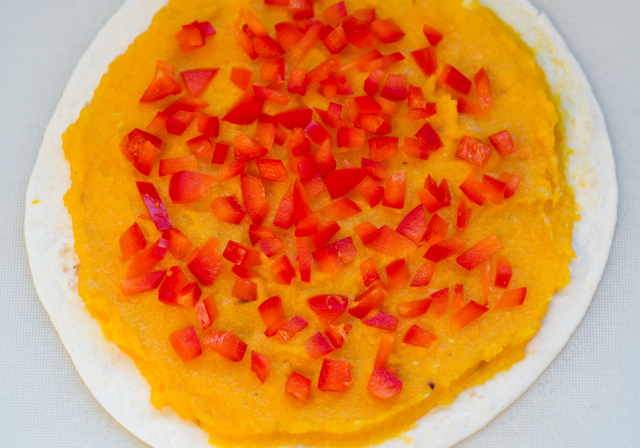
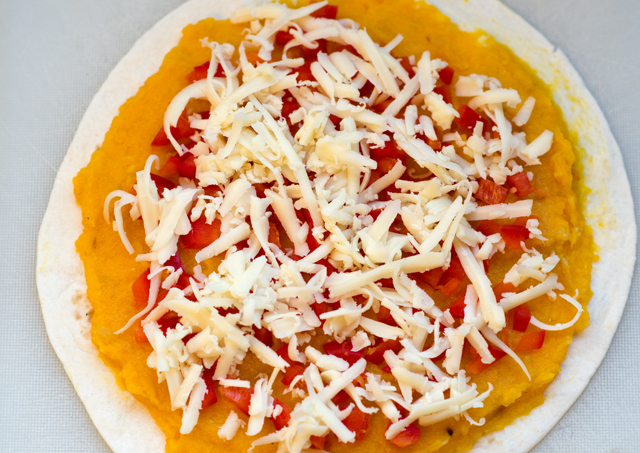
In a food processor or blender, purée the squash, onion and garlic until not quite smooth, leave it just a little chunky and transfer to a bowl. On a work surface spread out four tortillas. Next to the tortillas, place your bowls of squash puree, pepper and onion. Since you will be using one-fourth of each item on the tortillas, it’s relatively easy to “guesstimate” how much to use. Spread the puree first, evenly, almost but not quite to the edges, then sprinkle on the red pepper and then the cheese. Top with a second tortilla and press lightly to adhere. Spread a light coating of softened, not melted butter on either side of each tortilla. This step is little messy, you can put a sheet of waxed paper on two large baking sheet to cut down on the butter getting all over your work surface.

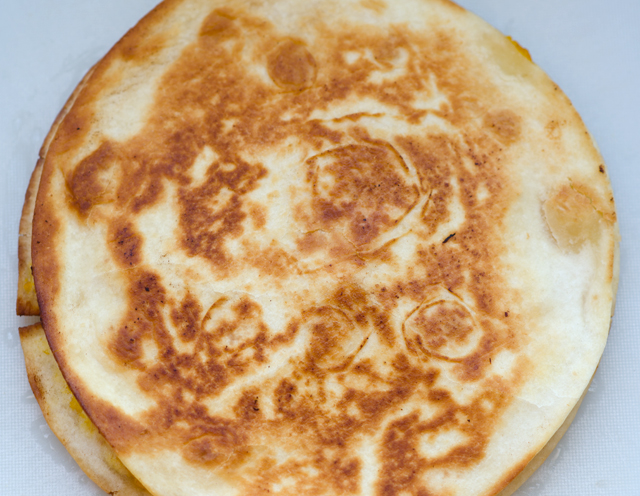
Heat a 7 inch non stick skillet over medium high heat until hot and cook the quesadillas. While the first side is cooking, press down lightly on the quesadilla so that everything sticks together, it will make the flipping easier. Cook the quesadillas about 3 minutes per side, you can lift up a little to see if you have achieved the light toasty brown color. I use a plastic spatula to flip them over, with a little help from my hand. Repeat with the remaining quesadillas and regulate the heat as necessary. Transfer to a warm oven while you are cooking the remaining quesadillas. Cut the quesadillas into 6 to 8 wedges, I have found a pizza wheel makes the neatest cuts.

Serve quesadillas with chipotle lime dipping sauce. Years ago when I first made this recipe it was difficult to obtain chipotles, now they are available at any supermarket. Chipotle peppers are smoked and dried jalapenos that are marinated in a tangy sweet red sauce. A little chipotle goes a long way. It is better to add a little at first to see how it tastes. The sour cream will mellow the chili out and the lime adds a nice contrast.

The dip can be made ahead, and even though the recipe doesn’t say so, the quesadillas can be made ahead. Reheat the quesadillas in a warm oven for about 10 minutes or until they feel hot. The important thing to remember whether fresh or reheated is to let the quesadilla rest for a few minutes before cutting. Too hot and the filling oozes out and is a mess to eat.

I have always used the recommended flour tortillas, I’m sure other varieties would work too. If you like your food spicy, pepper jack cheese could be substituted or any other good melting cheese. They would make a good vegetarian entree or a light lunch along with a green salad.

Butternut Squash Quesadillas

Makes 24 to 32 pieces

Ingredients

  • 5 c butternut squash, peeled and cut into ¾ inch pieces
  • 1 medium onion, unpeeled and cut into eights
  • 1 large garlic clove, unpeeled
  • 1 T vegetable oil
  • 8- 5 to 6-inch flour tortillas
  • 1 c chopped red pepper
  • 1 c coarsely grated jack cheese
  • ½ stick unsalted softened butter

Directions

  1. Preheat oven to 400°F.
  2. Arrange squash cubes, onion and garlic in a single layer on a shallow baking sheet. Drizzle with oil and toss lightly to coat.
  3. Roast vegetables in the oven for about 15 minutes, until the garlic is softened. Transfer garlic to cutting board.
  4. Roast squash and onion for an additional 15 minutes or until tender. Discard peels from the onion and garlic.
  5. Purée the squash, onion and garlic in a food processor. Season to taste with salt and pepper.
  6.  On a work surface, spread out four tortillas. Spread one-fourth of the squash purée on each of the four tortilla. Sprinkle each tortilla with one fourth each of  the red pepper and the cheese. Top each quesadilla with a plain tortilla, pressing gently together. Spread each side of the quesadillas with a thin layer of softened butter.
  7. Heat a medium non stick skillet over medium high heat until hot and cook quesadillas, 1 at a time until golden, about 3 minutes on each side, transferring to a cutting board.
  8. Cut each quesadilla into 6 to 8 wedges and serve with chipotle lime dip.

Chipotle Lime Dip

Makes one cup

Ingredients

  • 1 canned chili in adobo, minced
  • 2 t fresh lime juice
  • 1 c sour cream

Directions

  1. In a small bowl  stir the chili and lime juice into the sour cream until well combined. Can be made ahead,  cover and chill.


dsc_8305a
Spread out squash, onion and garlic on a parchment lined baking sheet.
After roasting
After roasting the vegetables.
Process until not quite smooth, you want the butternut squash to have some texture.
Spread the puree evenly over four tortillas to about a quarter inch from the edges.
Spread the puree evenly over four tortillas to about a half inch from the edges.
Next is the finely diced red pepper.
Top it with an even layer of Jack cheese.
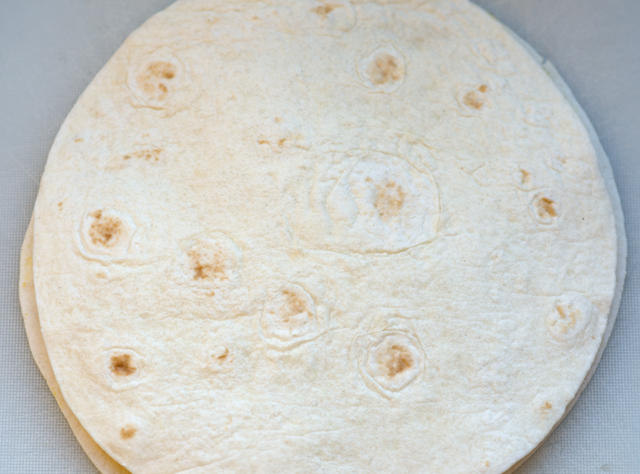
And another tortilla.
And another tortilla. Press down so everything sticks together.
Cook individual tortillas in a non stick pan on both sides until they are golden brown.

 dsc_8333adsc_8331a

October 31, 2015 Homemade Hot Pepper Sauces

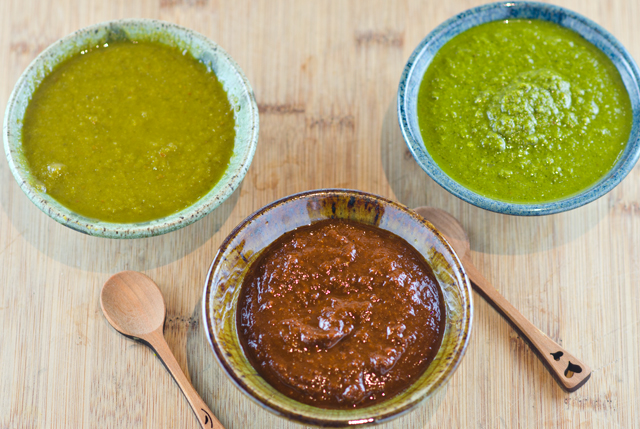
DSC_4979aLast weeks plunge into the deep freeze meant it was time for one final harvest of hot peppers. With a formula that worked and an abundant source of peppers the challenge was to make a few hot sauces using the same method as the sriracha sauce from a few weeks ago. I first tried the NuMex Suave Orange peppers and several days later using green and red pasilla peppers and green poblano peppers. The jars fermented on the back kitchen countertop for about a week. I wasn’t sure what the results would be so my expectations weren’t very high.

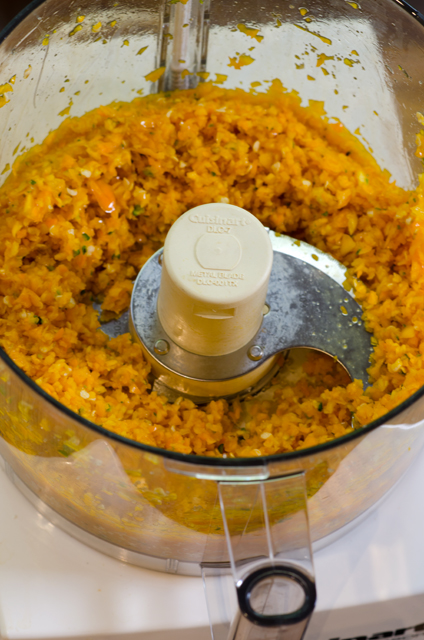
To finish, I followed the same procedure for each variety, transferring the chopped chilis to the food processor, adding enough (1/3 to 1/2cup) white vinegar to puree until smooth. I carefully washed out the processor between peppers to keep each type as pure as possible. I strained the mixture through the medium disc of the food mill to eliminate any seeds. I think it’s easier than the mesh strainer and gives the finished product a little texture.

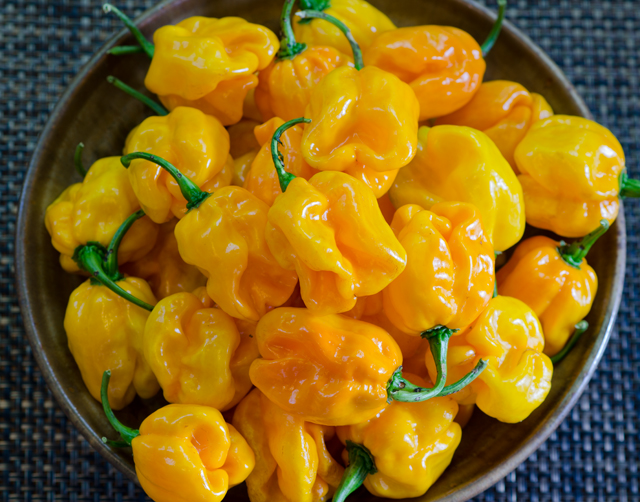
Now for some taste testing. The Numex Suave Orange has the flavor nuances of the habanero that are usually missed because the heat dominates. The sauce has a citrusy flavor with hints of orange and lemon and finishes with a little heat. The green pasilla flavor reminds me of green bell pepper and has a touch of moderate heat. The green poblano has an initial hint of sweetness and finishes with more heat than the green pasilla. I especially like the red pasilla sauce. The color is a deep dark red and the flavor is rich and full but not too hot. I think it would be the perfect addition to a chili recipe.

Numex Suave Orange Peppers
DSC_4858a
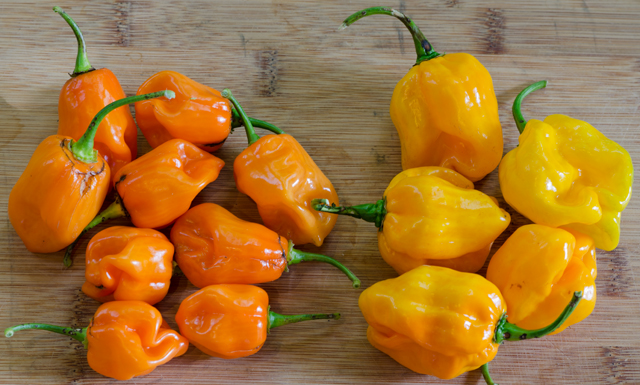
The habanero peppers on the left measure a tongue burning 100,000 to 300,000 on the Scoville scale while the Numex Suave Orange on the right are a very mild 800!
Adding peppers and garlic to the food processor.
Chop the peppers as finely as possible.
The peppers ferment for about a week.
DSC_4985a
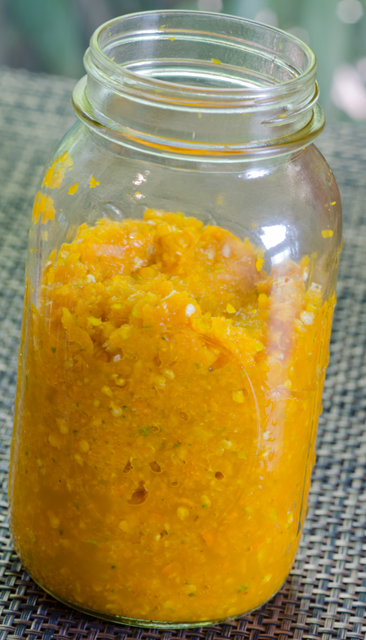
The finished product

March 19, 2015 Beer Battered Fish Tacos

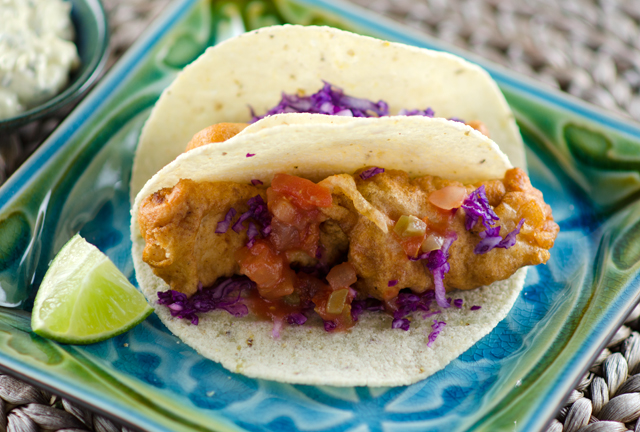
DSC_1911aFresh white fish encased in a crispy batter wrapped in a warm corn tortilla slathered with creamy and spicy tartar sauce and a sprinkling of cabbage and a spritz of lime, what’s not to love?

After all the fish tacos we consumed on our trip to Florida, you might think we would be tired of them about now. But we can’t get our fill of this delicious south of this border treat, so it was time for us to try our hand at them in our own kitchen.

Fish tacos are native to the Baja peninsula of northwestern Mexico, most likely originating in the town of Ensenada. An hour and a half south of the San Diego-Tijuana  border, Ensenada is surrounded by the beautiful Sierra de San Pedro Martir mountains and sits on an inlet of the Pacific Ocean. Fishing is one of the major industries of Ensenada and fishing boats pull up to the dock to unload their abundant fresh catch at the local seafood markets. More than ninety species are commercially fished or farmed in the area. A large portion of the catch is shipped to Asia, but some of it is sold by local vendors.

Though some fish taco recipes call for grilled or blackened fish, the classic fish taco recipe uses fish that is cooked in a tempura like batter. Many believe this is a result of the influence of Japanese immigrants who began settling  in Mexico at the beginning of the twentieth century. A firm fleshed white fish will hold up best for frying. Bass or cod are good choices, but at the suggestion of my fishmonger, I chose triggerfish.  Triggerfish is a delicious fish that takes well to any cooking method. The name refers to  an unusual interlocking dorsal fin that has to be “unlocked” by releasing a trigger shaped spine. They are usually about a foot long and weigh about 2 pounds with strong scales and tough skin.

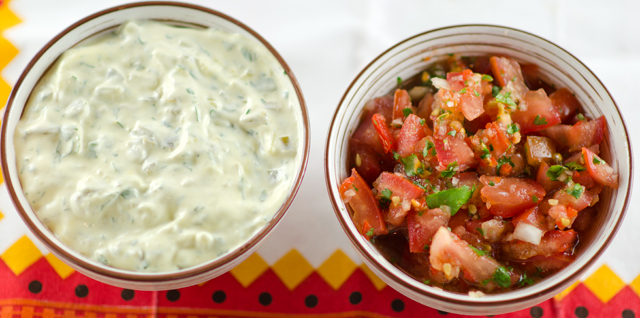
In addition to the usual pico de gallo or tomato salsa, these tacos are accompanied by a spicy tartar sauce. It is a simple sauce of mayonnaise combined with pickle relish, yellow mustard, lime and pickled jalapenos. I am fortunate enough to have my own stash of pickled jalapenos that I canned several years ago. They are nice and briny with quite a potent kick. A little shredded cabbage and a squeeze of lime are the finishing touches to these tacos.

Corn tortillas are the wrappers of choice here. There are several methods to keep them warm. Put five or less on a microwave plate and cover with a damp paper towel. Microwave in 30 seconds intervals and heat until warm. Wrap a small stack in aluminum foil and warm them in a 300 F oven for 15-20 minutes. You can also heat them one at a time in an ungreased skillet.

Beer Battered Fish Tacos

Serves 4-6

Yields 12-16 tacos

Spicy Tartar Sauce

Ingredients

  • 1c mayonnaise
  • 1/4c minced fresh cilantro
  • 3T minced pickled jalapeno
  • 2T dill pickle relish
  • 1T fresh lime juice
  • 1t yellow American mustard
  • 1/4t kosher salt

Directions

  1. Mix all the ingredients in a medium bowl, can be refrigerated for up to 5 days.

Pico de Gallo

Makes about 1 1/2 cups

Ingredients

  • 1/4 c chopped white onion
  • 1/4c coarsely chopped cilantro
  • 3 fresh serrano or jalapeno peppers, cored, seeded and coarsely chopped
  • 2 medium ripe tomatoes, finely chopped
  • Kosher salt and freshly ground black pepper

Directions

  1. Put the onion, cilantro and peppers in the bowl of a food processor and pulse until finely chopped. Transfer to a bowl and stir in the tomatoes. Season with salt and pepper to taste.

DSC_1891a

DSC_1898a

Fish for the tacos

Ingredients

  • About 2 quarts vegetable oil for frying
  • 1c all purpose flour
  • Kosher salt
  • 1c beer
  • 2 egg whites, beaten to soft peaks
  • 1lb firm fillets of mild white fish, I used triggerfish but bass, cod or haddock can also be used, cut into strips about 41/2 inches long and 3/4 inch wide

Directions for the fish

  1. Fill a large, deep heavy pot with vegetable oil to about 1 1/4 inches deep. Heat the oil to about 350°F. Check the oil temperature with a deep fry thermometer or add a cube of bread to the oil, it should bubble immediately.
  2. Mix the flour and 1 teaspoon salt in a medium bowl and stir in the beer until smooth. Gently fold in the egg whites.
  3. Season the fish with salt. To cook the fish, work in batches of about three or four pieces at a time. Using kitchen tongs, dip each piece in the batter, let any excess drip off, carefully submerge the fish in the hot oil, and fry until golden brown and cooked through, about 5 minutes. Transfer to a baking sheet lined with paper towels

To assemble the tacos

  • 12-16 corn tortillas (5-6 inches wide), warmed
  • 1 1/2 cups finely shredded green or purple cabbage
  • 2 limes quartered
  • Pico de Gallo

To serve: Just after the fish comes out of the fryer, arrange on a heated dish on the table. Set out the tartar sauce, hot tortillas, shredded cabbage, lime quarters and pico de gallo for each person to assemble their own tacos.

DSC_1912a


November 23, 2013 Chicken Tomatillo Soup

DSC_3964a


As previously confessed, when we first grew tomatillos I wasn’t only unfamiliar with how to cook with them, but more importantly how the fruit develops and matures in the garden. The first year we grew them by about the beginning of July I was certain our crop was a bust.

The sprawling bushy plants grew to about three foot tall and were quite healthy. The vines produced little yellow flowers that eventually turned into small bright green papery looking Chinese lanterns.  When I examined the fruit, it felt like only a small pea was inside the husk. So I would either forget about them or months later gather up the few that would finally burst out of their now light brown husks.

Since then I have learned quite a bit about this member of the nightshade family. Tomatillos are more closely related to cape gooseberries than they are to eggplants and tomatoes.  I learned that as the fruit matures it fills out the husk. Tomatillos are about the size of a large cherry tomato, low in calories, a good source of iron and magnesium and vitamins C and K. Though they look like green tomatoes, they are much firmer in texture when ripe.  The thin papery coating will turn light brown as the fruit matures. They can be stored in the fridge for a couple of weeks or frozen whole.  Leave the husks on the fruit until ready to use.  To prepare tomatillos, remove the husk and stem and rinse off the remaining sticky residue that coats the fruit.
I am enjoying tomatillos more each season. We grow both green and purple tomatillos. The purple variety is supposed to be sweeter, I can’t say that for certain, but they certainly make an attractive addition to the garden. My tomatillo recipe repertoire to this point was limited to accompaniments. Roasting tomatillos for salsa verde was initially a good way to use them but now I wanted to branch out  This year I did something I never did before, I ate one raw. I was surprised and delighted with the bright, not too tart citrusy flavor. Prior to this I thought that biting down on a tomatillo would be the same as eating a green tomato, not necessarily a pleasant experience.

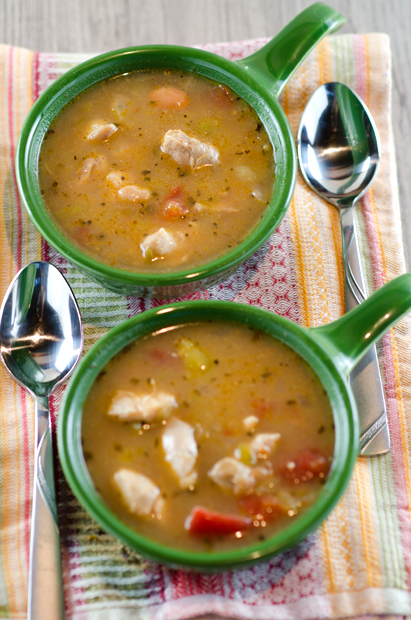
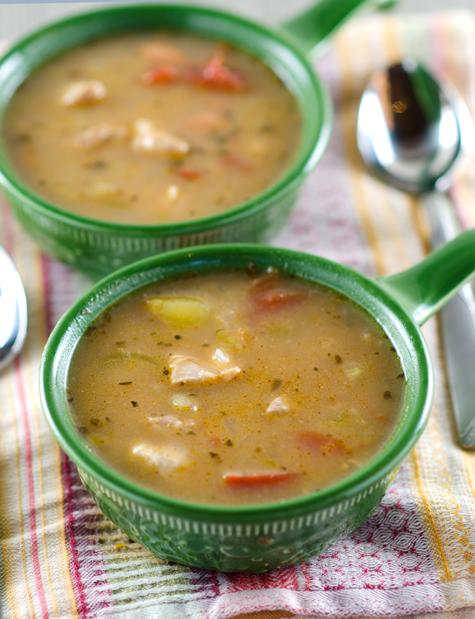
This time I used them in an easy to put together soup.  Bright lemony flavored tomatillos are combined with tomatoes, smoky cumin and green chilies. Homemade chicken stock is always a good base for a soup but low sodium chicken broth is fine also. I prefer using chicken thighs in soup recipes because they will hold up better if the soup is reheated.

DSC_0233a


Chicken and Tomatillo Soup

Ingredients

  • Olive oil
  • 1lb boneless, skinless chicken thighs cut into 1″ pieces
  • 1 medium onion, finely chopped
  • 2 t chile powder
  • 1T cumin
  • 1 t dried oregano (for this recipe I prefer Penzey’s Mexican oregano)
  • 1 clove garlic finely chopped
  • 2T diced canned roasted mild green chiles
  • 8 cups chicken stock or substitute low sodium chicken broth
  • 2c diced tomatoes, I use my roasted tomatoes, substitute your brand of choice
  •  3c finely chopped tomatillos
  • 1 can Great Northern beans
  • Kosher salt and freshly ground black pepper

Directions

  1. Heat 1T olive oil over medium-high heat in a 5- to 6-quart Dutch oven. Add the chicken pieces and brown on all sides, about 5-6 minutes. Remove to a plate and keep warm.
  2. Add onion and cook, stirring, until tender, 4 to 5 minutes. Add the chili powder cumin, oregano, and garlic and cook until fragrant, about 1 minute longer.
  3. Stir in the chicken and chiles and then add the broth, chopped tomatoes and tomatillos and a can of beans. Bring to a simmer. Reduce the heat to low and simmer, partially covered and stirring occasionally, until the flavors blend, about 30-40 minutes. Season to taste with salt and pepper.

DSC_0030aDSC_3961a