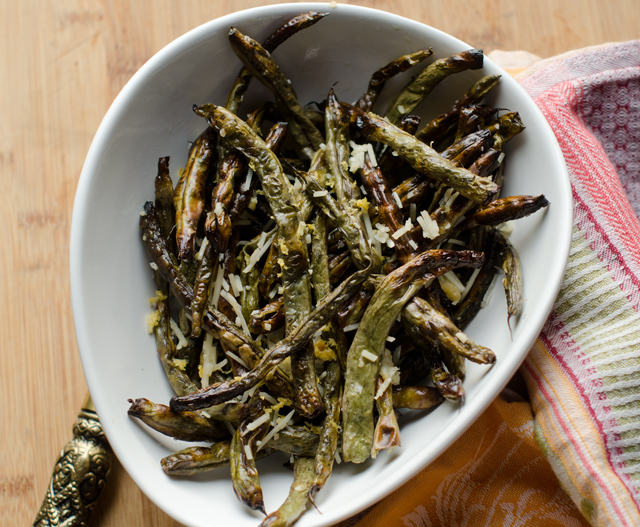
August 28, 2018 Roasted Green Beans with Parmesan

Rain happens. And when it does day after day I am less likely to make my way out to the garden. Unfortunately that doesn’t stop the veggies from growing. A prime example of this is the bush and pole beans Back in the early spring it’s easy to dream of vines loaded down with beautiful slim beans. Haricot Verts, as the French call them, only need a quick steaming, finished with butter, garlic, thyme and squeeze of lemon.

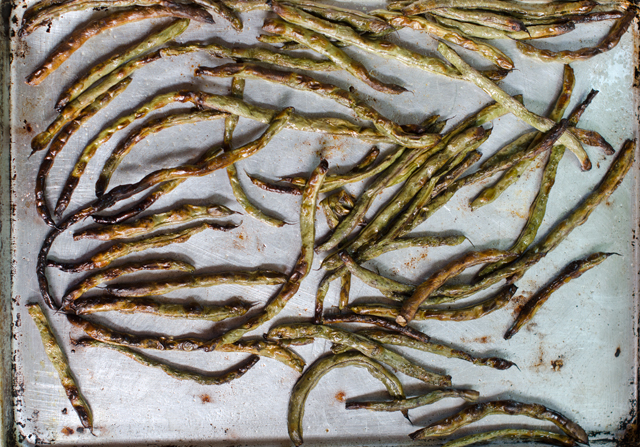
The beans I picked that first day without rain were well beyond their haricot verts stage but still usable. Since we love just about every other vegetable roasted, why not green beans? Using the method I use for other vegetables, I was certain they would turn out great.

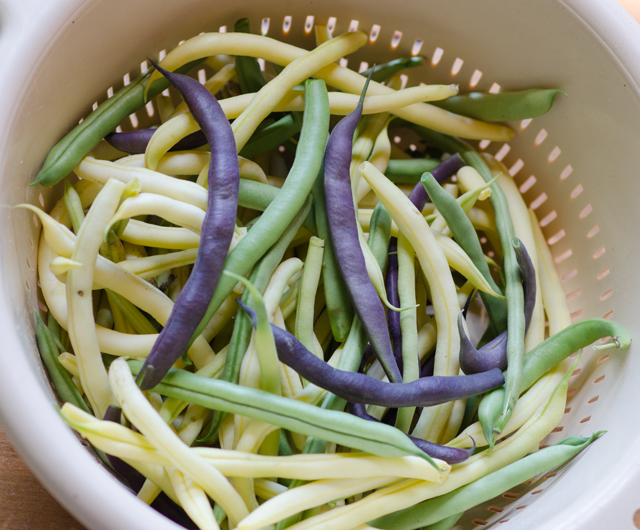
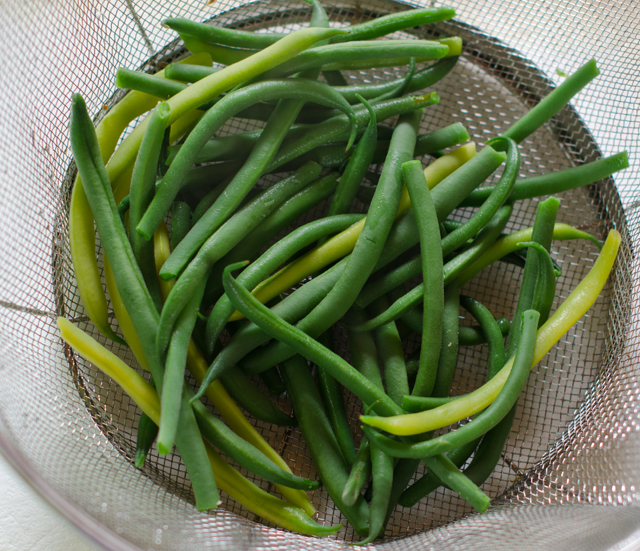
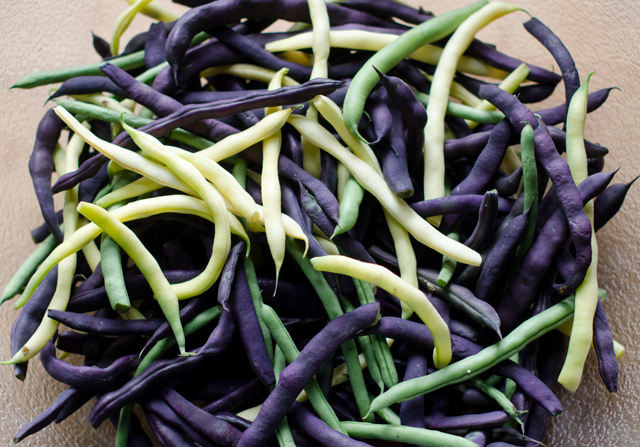
Start with about a pound of beans, we have green, yellow and purple beans this year. Purple beans are pretty on the vine but when you cook them they do not stay purple, they become a very dark green color.

After you have rinsed the beans lay them out on paper towels and pat them dry as possible. This will allow for the beans to be thoroughly coated with the olive oil. Place the beans in a bowl large enough to toss them in. Add a few tablespoons of olive oil and toss the beans well.Then add kosher salt and fresh ground pepper and toss again. Place the beans on a lined baking sheet spread out as evenly as possible.

Roasting time is a function of how old your beans are. Slimmer beans may only ten to fifteen minutes, larger ones fifteen or more. When I made the first batch I timed them for ten minutes and rotated the pan, then every five minutes so they wouldn’t burn. As soon as the beans are close to being done, take them out the oven and sprinkle with cheese. Return the pan to the oven to melt the cheese. Serve warm.
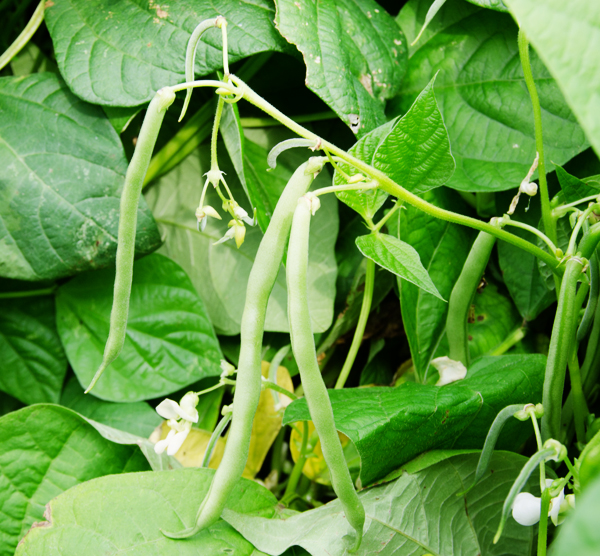
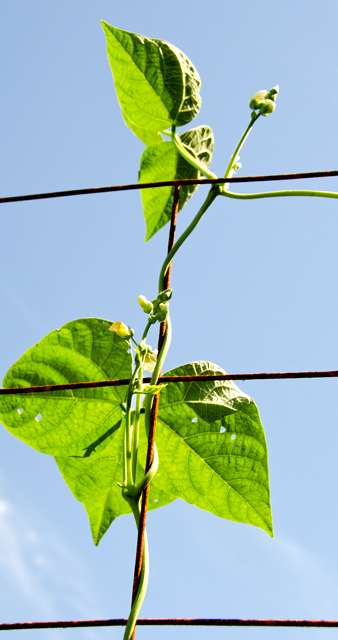
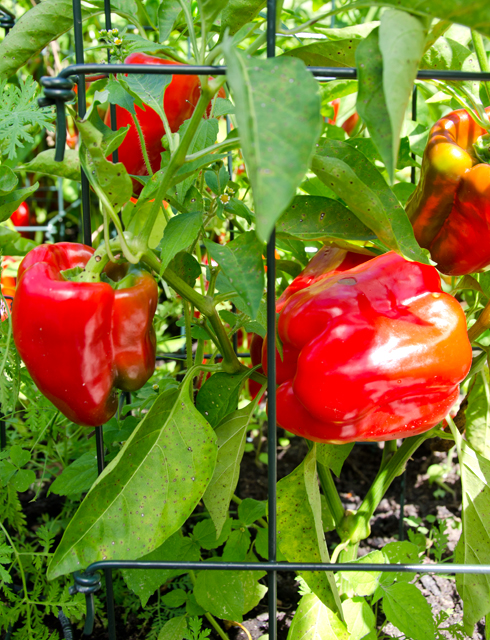
Joe is growing both bush and pole beans.
One days pick.

Roasted Green Beans with Parmesan

Ingredients

  • 1 lb green beans, medium to large in size
  • Extra virgin olive oil
  • Kosher salt and fresh ground pepper to taste
  • ½ c freshly grated Parmesan cheese

Directions

  1. Preheat oven to 425°F
  2. Rinse beans in a colander with cool water. Removing all stems and blemishes, then blot with paper towels to remove off excess moisture.
  3. Transfer beans to a bowl large enough to toss them in. Use enough oil to lightly coat all the beans.  Sprinkle with kosher salt and freshly ground pepper and toss them again to coat.
  4. Put beans on a parchment lined baking sheet. Spread the beans evenly on the sheet.
  5. Roast for ten minutes, then pull out the oven and toss the beans in the pan again.
  6. Return the beans to the baking sheet and continue to roast until the beans are browned in spots.
  7. Remove pan from the oven and immediately sprinkle with Parmesan as evenly as possible. Return pan to the oven for a few minutes to melt the cheese.  Serve warm.
 

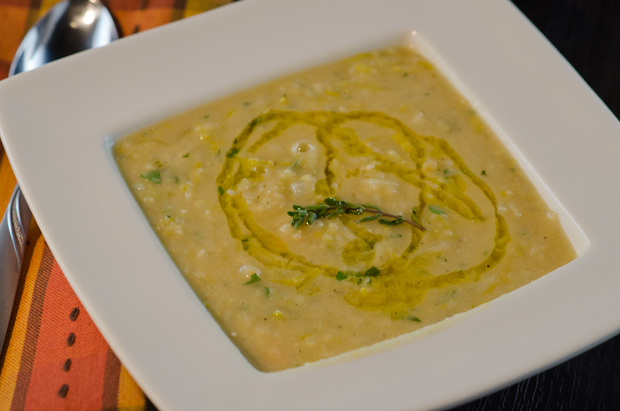
January 27, 2018 Sausage, Kale and Chickpea Soup

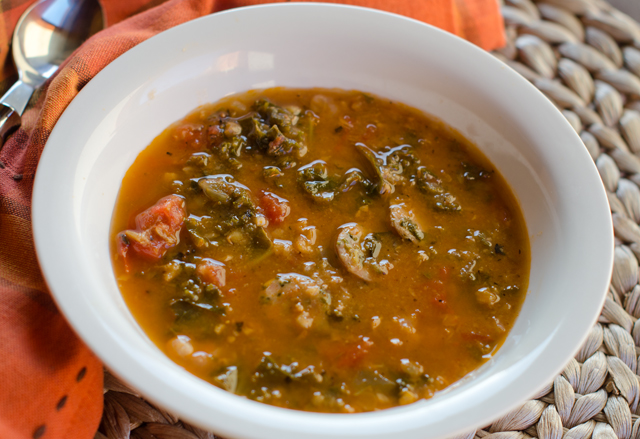
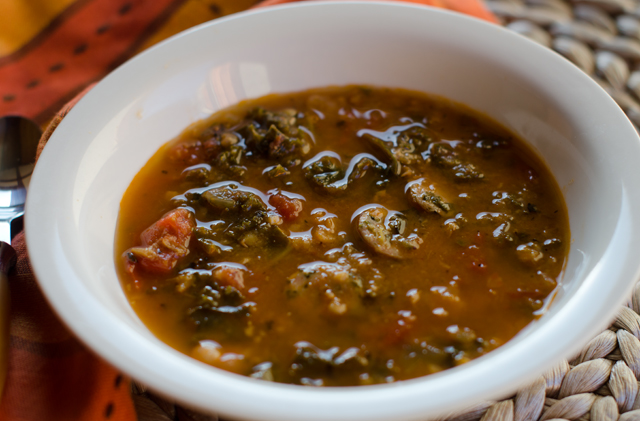
Nothing fancy here, just an easy satisfying soup for a cold winter night. It’s hearty and healthy as well. You can swap out ingredients to suit your own taste. Spicy sausage for the chicken, spinach for kale, cannelini beans for the chickpeas etc. I added the red lentils because they cook quickly and give body to the soup.Make this a day ahead because we all know soups like this taste better the second day. Shred a little Parmesan on top and pair with an arugula and radicchio salad, some crusty bread for a quick satisfying meal.

Sausage, Kale and Chickpea Soup

Serves 4-6

Ingredients

  • 2 T olive oil
  • 1 medium onion, finely chopped
  • 3-4 cloves of garlic, minced
  • ½ t smoked paprika
  • 1 t ground cumin
  • ½ t ground coriander
  • ¼ t sumac
  • 4 c low sodium chicken or vegetable broth
  • 1 (14.5-ounce) can of fire roasted diced tomatoes
  • 1/3 c red lentils
  • ½ t dried thyme
  • 2 bay leaves
  • Kosher salt and freshly ground pepper to taste
  • 1 (14.5-ounce) can chickpeas, drained and rinsed
  • 8 ounces of fully cooked chicken sausage, cut into 1-inch pieces
  • 4-5 cups chopped kale

Directions

  1. In a Dutch oven, heat olive oil over medium high heat. Add the onions and cook, stirring occasionally until soft, about 5 minutes. Add the garlic and spices and cook, stirring occasionally so the garlic doesn’t get brown, about 2 minutes more.
  2. Add broth, diced tomatoes, lentils, thyme, salt and pepper and bring to a boil. Cover the pot and simmer for 15 minutes. Add the chickpeas and cook for 10 more minutes.
  3. Remove the bay leaves and pour 2-3 cups of the soup, depending how thick you want it, into a bowl and purée with a hand blender until smooth. Return the puréed soup to the pot and stir.
  4. Add sausage and kale and simmer until the kale is wilted and the soup is hot.
  5. Ladle soup into bowls and serve.

January 6, 2018 Smoked Turkey Lentil Soup

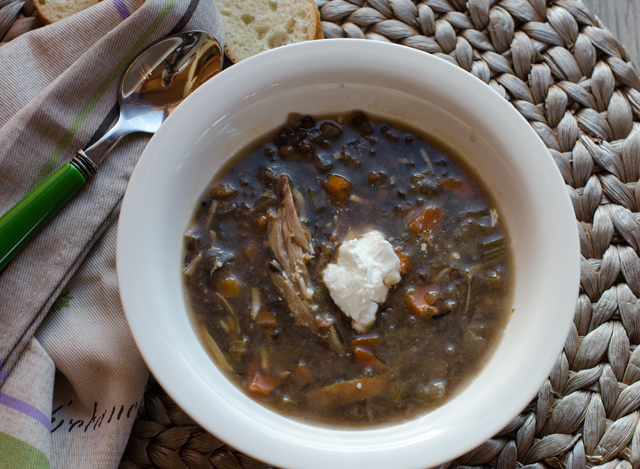
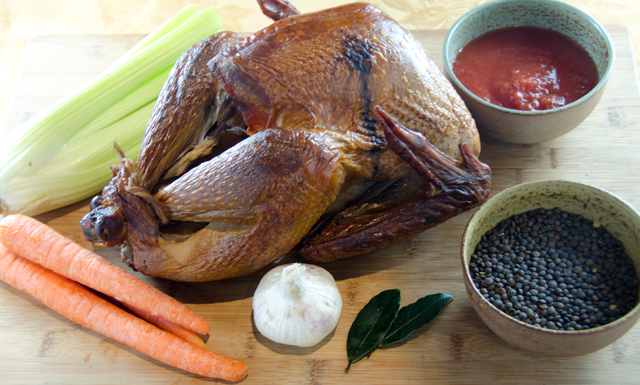
Smoked turkey has been a favorite of ours for many years. The original recipe we found came from the first cookbook Joe ever gave me, Better Than Store Bought. The book, a classic for the DIY cook features “authoritative recipes for the foods that most people never knew they could make at home”. One of the many recipes that interested us was for smoked turkey. We invested in a water smoker and different varieties of wood chips, learned about brining and went to work. The results were delicious. The turkey was tender, succulent meat with a pleasing hint of smoke. It soon became a regular favorite on my catering menu, whether it was on a carving station or used in an hors d’oeuvre recipe. We still smoke turkey for parties, especially around the holidays. Inevitably there are leftovers and since the temperatures are going to plunge into the minus zero territory I thought a hearty smoked turkey lentil soup would be perfect to keep us warm.

This soup is rich in flavor in spite of its very simple ingredients. The turkey infuses the soup with deep rich smokiness. If you don’t own a smoker, smoked turkey legs are available in many supermarkets. If you can’t find smoked turkey legs, you can use smoked turkey sausage instead. You could even do this recipe with roasted turkey wings and legs.

If you are not already saving Parmesan rinds you should. Store them in your freezer where they will keep indefinitely.  Add one to your soup pot to infuse it with a subtle depth of flavor. It may totally dissolve in the soup, if not fish it out at the end of cooking along with the bay leaf.

Lentils are the perfect companion to the smoked turkey and they are very nutritious. A great source of antioxidants, vitamins A, D, E and K , the mineral selenium, lentils also contain high levels of soluble fiber and have zero cholesterol. Unlike other dried beans, lentils can be prepared the day of serving since a presoak isn’t necessary. Spread lentils on a light-colored plate to check for stones or debris. Then place the lentils in a fine strainer under cool running water. Purchase lentils in a store where you know there is high product turnover to ensure freshness. If they are more than a year or two old, they will often stay crunchy in the center no matter how long you cook them. I used the Puy variety, they are mottled green-brown in color and have a robust peppery flavor.
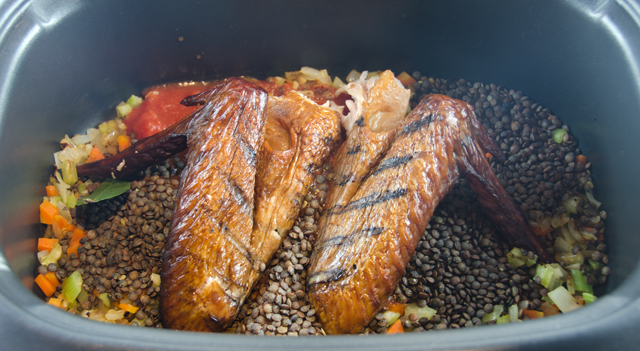
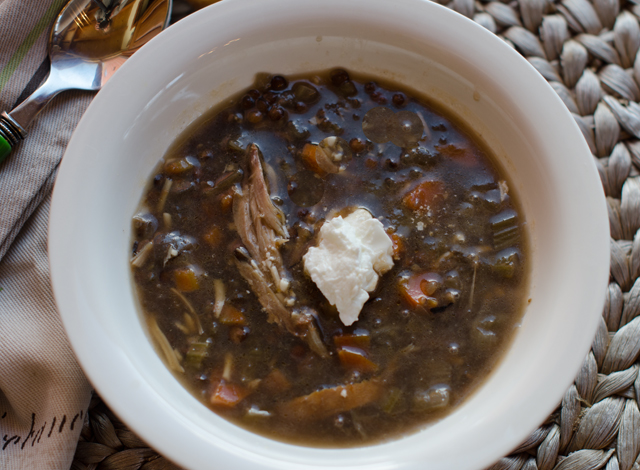
I adapted this recipe for the slow cooker but it could be done just as easily on the stovetop. In a dutch oven, cook vegetables until softened, add remaining ingredients and simmer partially covered for an hour. To serve, remove bay leaf,  cheese rind, turkey wings and drumsticks. Remove the turkey meat from the bones and stir back into the soup pot. Ladle soup into bowls and top with a dollop of sour cream or yogurt.

Smoked Turkey Lentil Soup

Serves 4-6

Ingredients

  • 1 T extra-virgin olive oil
  • 3 garlic cloves, peeled and chopped
  • 2 celery ribs, finely chopped
  • 2 carrots, peeled and finely chopped
  • 1 medium onion, finely chopped
  • 1 c crushed tomatoes
  • 1 fresh bay leaf
  • 1 cup lentils, green or brown
  • 2 smoked turkey wings
  • 2 smoked turkey legs
  • 1 Parmesan rind (optional)
  • 8 c chicken or turkey stock
  • Kosher salt and freshly ground black pepper
  • Yogurt or Parmesan cheese to top the soup
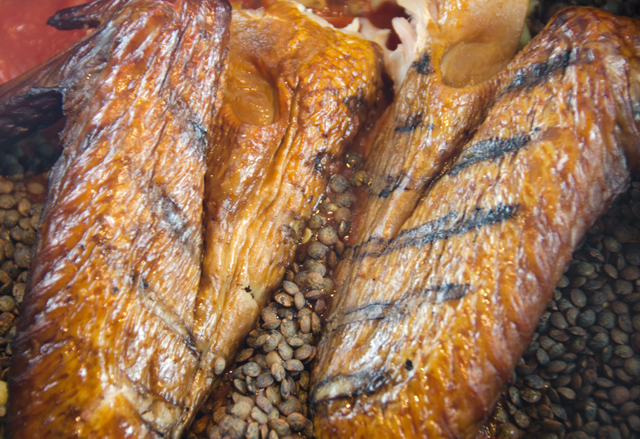
Golden brown smoked turkey wings.

Directions

  1. In a large pot, heat the oil. Add the garlic, celery, carrots and onion and cook over moderate heat until softened, 6-7 minutes.
  2. Transfer vegetables to a large capacity 6 qt slow cooker.
  3. Add the tomatoes, bay leaf, smoked turkey and stock optional Parmesan rind and simmer on the low setting for 5-6 hours.
  4. Before serving, remove bones and large pieces of turkey from the pot; allow to cool slightly on a platter. Once cool enough to handle, separate meat from the bones and any unappealing connective tissue. Return meat to the pot and discard bones.
  5. Ladle soup into bowls and garnish with sour cream or yogurt.

September 7, 2017 Green Bean Salad with Cherry Tomatoes, Feta and Parsley

Whether you call them snap beans, green beans or string beans, our garden has produced a steady stream since early July. Joe plants both bush and pole beans and not just green beans. We grow purple beans that look pretty on the vine but as soon as you plunk them in a pot of boiling water, they turn a dark green color. This is due to a plant pigment, anthocyanin, that deteriorates in high temperatures. If you want to preserve the bean’s  purple color, choose a crisp young bean that doesn’t require cooking.

Yellow or wax beans also add color to the garden. According to Cook’s Illustrated, yellow beans are just green beans bred to have none of the chlorophyll pigment that gives the green bean its color.

Snap beans are low in calories, a good source of fiber and vitamins A and C. Their grassy, nutty flavor is appealing to just about everyone. In the cooler months we are most likely to do a warm preparation of beans with garlic and thyme. In the summer I like to blanch them and make a green bean salad. This combination is a creation of my own and a dish I have made countless times this summer.

I start with approximately a pound of beans. I wash and stem the beans and sort out any that are significantly fatter and or older. Bring a large pot of water that has been well salted to the boil and add the large beans first. I give them an extra minute or two to cook. Then I add the rest of the beans and start my timer at a generous four minutes. I taste (careful, it will be hot) one bean, and if I can bite through with no resistance, they are done. If not, set the timer for another minute, then taste again. Drain the beans in a colander and rinse with cool water. Spread the beans out on dish towels to let the excess moisture evaporate.

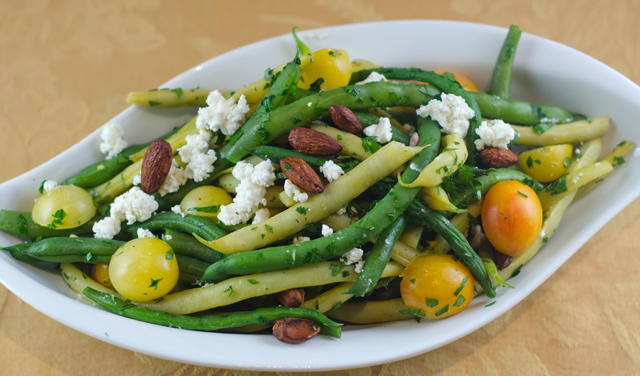
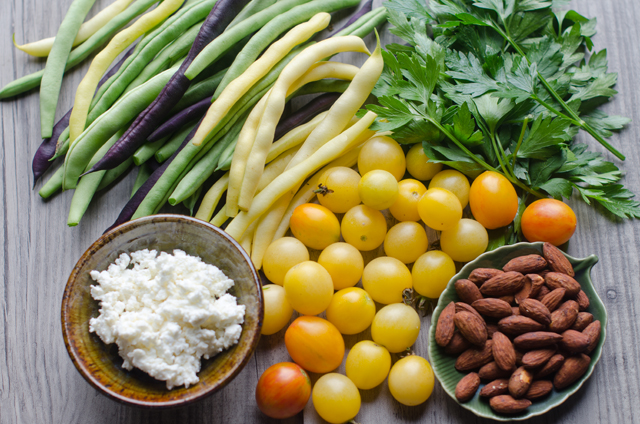
In a large bowl combine the beans, chopped parsley and tomatoes. A bite-sized cherry tomato works best here, cutting them in half makes them easier to eat. I have used different varieties over the summer. On this particular day I used a white cherry tomato. They aren’t really white but a very pale yellow. Toss the ingredients with the vinegar and oil. Next add the feta and tamari almonds. My preference is French feta, it is milder (less salty) in flavor and creamier in texture. Tamari almonds bring a umami flavor and a pleasant crunch. Season to taste with salt and pepper. Serve immediately, leftovers taste great the next day.

Green Bean Salad with Cherry Tomatoes, Feta and Parsley

Serves four

Ingredients

  • 1 lb green beans, washed, stemmed and trimmed into 2-3 inch pieces, can be wax or purple beans also
  • 15-20 small tomatoes, halved
  • 1/3 c finely chopped parsley
  • 1/3 c crumbled feta (I prefer French feta in this salad)
  • 1/3 c tamari almonds
  • 3 T grapefruit or another light balsamic vinegar
  • 6 T olive oil
  • Kosher salt and freshly ground pepper

Directions

  1. Bring a large pot of lightly salted water to a boil. Add the beans, bring back to the boil and turn back the heat to a simmer and cook beans for 4 ½ minutes. Test one bean to be sure they are tender. Drain in a colander and rinse with cool water.
  2. In a bowl large enough to toss the ingredients comfortably, add the beans, tomatoes and chopped parsley. Toss with the oil and vinegar. Add feta and tamari almonds and toss again.  Season well with salt and pepper and serve immediately.

August 11, 2017 Green Beans and Cucumbers with Miso Dressing

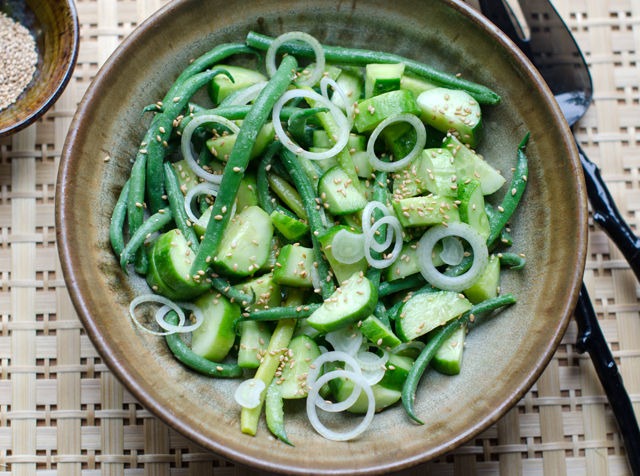
I couldn’t bear to do it, smash the cucumbers and green beans as called for in this recipe that is. This very easy and flavorful dish from the June issue of Bon Appetit uses a technique popular in many Asian countries. Smashing the cukes and beans with a cleaver or a rolling pin tenderizes them and makes lots of nooks and crannies for the dressing to permeate. But not with the first green beans and cucumbers from the garden this season. Maybe in a week or two but for now I will use a more traditional approach. This recipe is quite similar to pau huang gua, a Sichuan cucumber salad, typically served with rich spicy food.

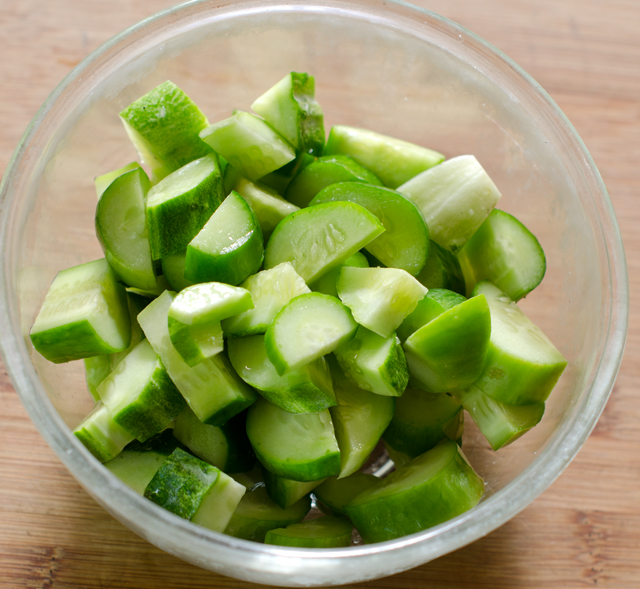
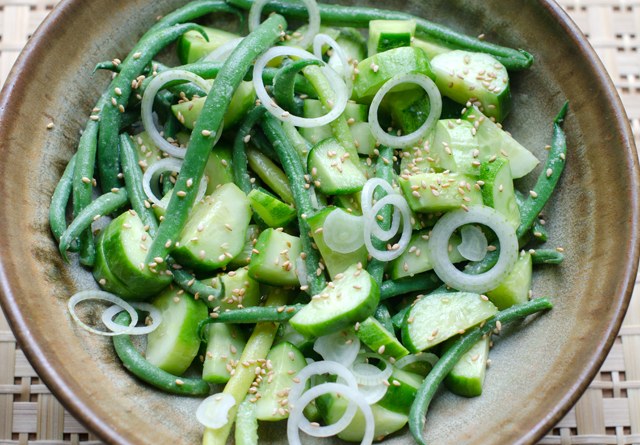
Start the recipe by peeling the cucumber, I like to leave a small strip of skin for color contrast. Chop into bite sized pieces and toss with a little salt to draw out excess moisture. The beans were an interesting addition, the original recipe in Bon Appetit didn’t call for cooking them, I presume they thought dressing them would do the job of tenderizing them. I chose to blanch the beans for just a few minutes to make them crisp-tender and ready to absorb the dressing.

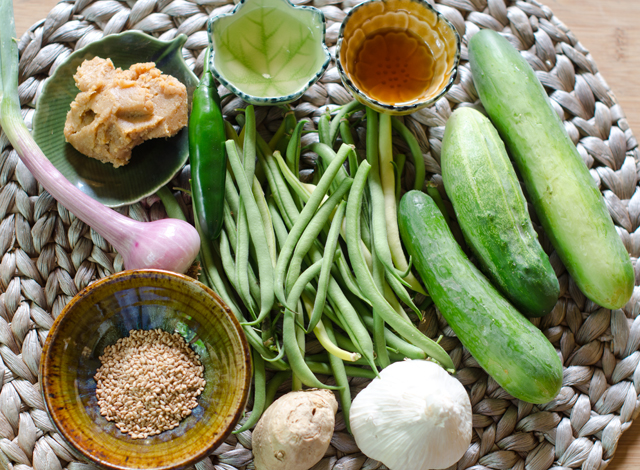
The dressing couldn’t be easier, the ginger, garlic and serrano pepper are all grated, a Microplane makes quick work of that. Combine these ingredients with white miso, rice vinegar, olive and sesame oil. Miso is a fermented soybean paste traditionally used in Japanese cooking. White miso will provide a more delicate flavor, switch in a red miso for a stronger and saltier flavor. You will find miso in the refrigerated section of Asian grocery and health food stores.

Place the well-drained cucumbers and green beans in a bowl and toss with some of the dressing, just enough to coat the vegetables. You will have more than enough, which is a good thing. Toss sautéed eggplant and zucchini with halved cherry tomatoes with the dressing for another version of this dish.

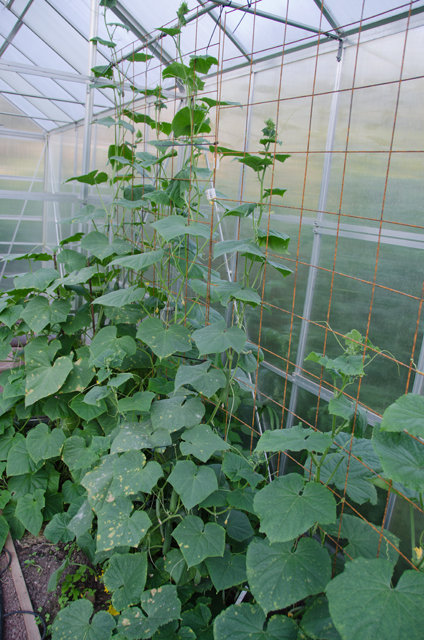
Cucumber vines in the greenhouse, circa 2015.
Joe is growing both bush and pole beans.

Green Beans and Cucumbers with Miso Dressing

Serves 4

Ingredients

  • 3 Persian cucumbers or 1 English hothouse cucumber
  • Kosher salt
  • 1 lb green beans, stems trimmed
  • 1 1½ piece ginger, peeled and finely grated
  • 1 serrano or Fresno chile, finely grated
  • 1 garlic clove, finely grated
  • 1/3 c unseasoned rice vinegar
  • ¼ c white miso
  • ¼ c olive oil
  • ½ t toasted sesame oil
  • Toasted sesame seeds and scallions or thinly sliced shallots for serving

Directions

  1. Peel cucumbers and chop into bite-sized pieces. Toss with a pinch of salt in a medium bowl. Let sit to allow salt to penetrate.
  2. Bring a medium sized pan of water to a boil with a pinch of salt. Add beans and cook until just tender, 3-4 minutes. Drain beans in a colander.
  3. Whisk ginger, chile, garlic, vinegar, miso, olive and sesame oils in a medium bowl until smooth.
  4. Transfer the beans to a bowl for serving and toss with the dressing. Drain cucumbers well and add to the bowl, toss again. Top beans and cucumbers with toasted sesame seeds and scallions.
Toss cucumber chunks with a pinch of salt to extract excess water.
The beans I used were just picked, blanching them for a few minutes tenderizes them and brings out their flavor.
The original recipe used scallions, I used shallots from our garden.


April 9, 2017 Butternut Squash, Bacon and Black Bean Chili

I am well aware that butternut squash is typically a sign that the cool crisp days of fall are approaching. But since I still have a large supply from last year’s garden, I will be looking for ways to use them into the summer. And why not, butternut squash has a sweet nutty  flavor and creamy texture that pairs well with many ingredients and is loaded with vitamin A, C, potassium and fiber. Joe’s opinion on the last variety I made, butternut squash soup with cannellini beans and sage pesto was,”I really like it, but bacon would make it even better”. Since there are many who would concur that bacon makes just about anything better, I was up for the challenge.

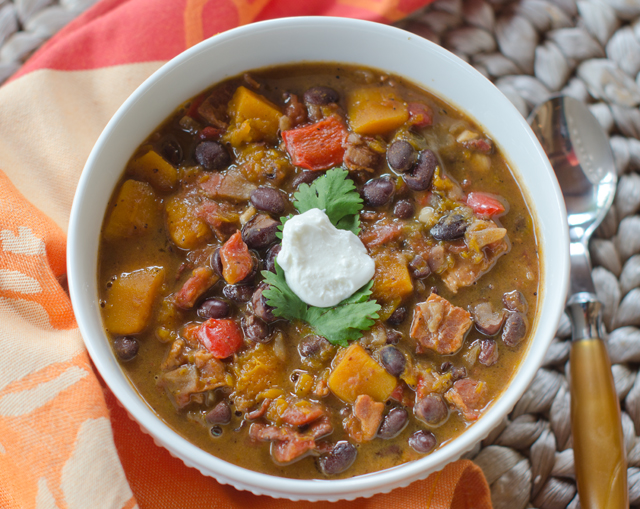
Butternut squash, bacon and black bean chili is a delicious, hearty and slightly spicy chili that’s great any time of the year. The sweetness of the butternut squash contrasts nicely against the salty bacon and the savory richness of the black beans.

It all begins with bacon, cooked over medium heat to render out the fat.  Restrain yourself from eating the bacon pieces, they will be added to the finished soup. Place the cooked bacon on a paper towel lined plate to absorb excess grease. Pour the fat through a fine strainer into a metal bowl. Don’t use plastic, if the fat is hot, it could melt the container, I know from experience. Add 2 tablespoons of the strained bacon fat back to the pan and saute the chopped onion. The garlic, butternut squash and red pepper are added and cooked until soft. Chili powders, herbs, a can of tomatoes with chilis, and cook for one minute. Stir in the chicken broth and drained black beans and simmer until the butternut squash is tender.

I made this recipe with fridge and pantry ingredients. I think the chipotle chili powder adds a complexity with its smoky flavor. Other additions to the soup could include a finely chopped chili en adobo, cooked corn, avocado slices and tortilla strips. If desired, top with a dollop of sour cream.The flavors get even more complex over the course a few days and makes great leftovers and lunches.


Butternut Squash, Bacon and Black Bean Chili

Serves 4-6

Ingredients

  • 3-4 slices of thick cut bacon, cut into 1-inch pieces
  • 1 medium onion, finely diced
  • 3 cloves of garlic, minced or pressed
  • 4 c cubed butternut squash
  • 1 c minced red pepper
  • 1 t chili powder
  • ½ t chipotle chili powder
  • 1 t ground cumin
  • 1 t oregano (preferably Mexican)
  • 1-15 oz can tomatoes with green chilis, I used Rotel
  • 1-15 oz can of black beans, drained and rinsed
  • 3-4 c chicken broth
  • kosher salt and freshly ground pepper
  • cilantro leaves
  • sour cream

Directions

  1. Cook the bacon in a Dutch oven over medium high heat. Remove bacon pieces to a towel lined plate to drain, strain the fat into a metal bowl. Add about 2 T bacon fat back to the pan and add onion and cook until soft, 5 to 8 minutes. Stir in the garlic, butternut squash and red pepper and cook until the vegetables are tender and the onion begins to brown, 12-15 minutes. Add more fat to the pan if needed.
  2. Add chili powders, herbs and tomatoes with green chilis and cook for 1 minute. Stir in chicken broth and drained black beans. Simmer until the butternut squash is tender, 20 minutes or more. Add more broth as needed.
  3. Stir in the bacon pieces, serve with sour cream and cilantro leaves.

January 30, 2016 Spinach, Blood Orange and Bean Salad with Sprouts

DSC_5806aThe February issue of Bon Appetit includes a nine page (ten if you count the colorful illustration on the first page) article devoted to beans. The title, “Cool Beans” brings a smile to my face because it was an often used expression of a dear friend of mine.

“Cool Beansincludes a four step method on how to cook dried beans from scratch, a pictorial of some of the prettiest beans I have ever seen, available by mail order only and they even address the, ahem, gas issue. There are recipes for cassoulets, pastas, stews and chilis. What caught my attention however was a bean salad; blood orange and mixed bean salad with sprouts. Since I wanted to make the salad for that evening, I needed to forgo the soaking and the next day slow cooking. So I did the next best, and most practical thing, I used a can of cannellini beans, Goya is my brand of choice. If you use canned beans, rinse and drain them well. A large can of cannellini beans will give you 1 1/2 cups of beans as opposed to the 2 cups in the original recipe.

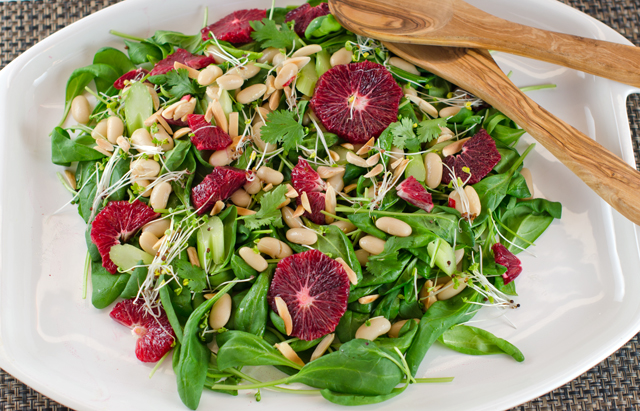
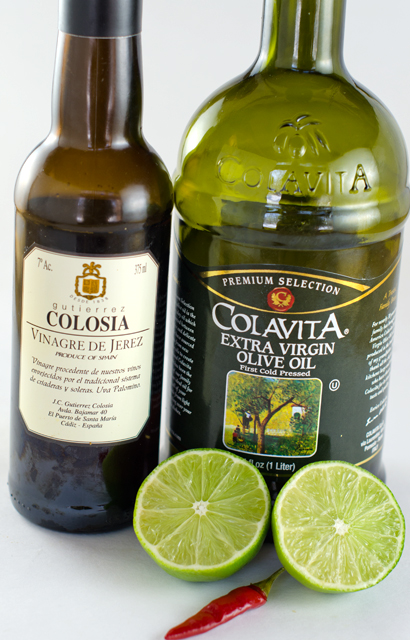
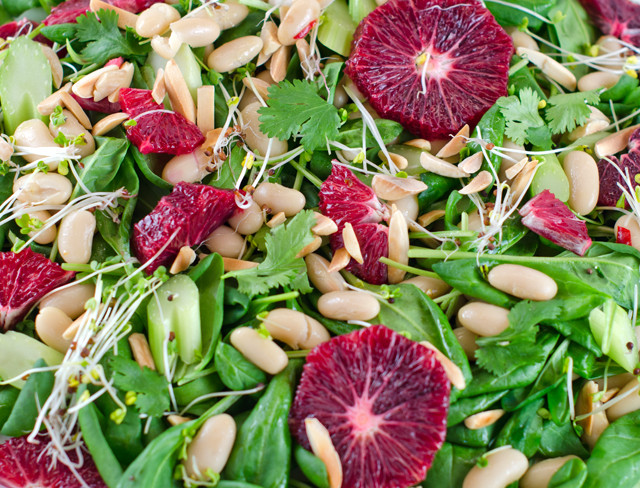
The salad comes together very quickly. Blood orange segments, readily available this time of year enhance the salad with beautiful garnet red color and deep sweet orange flavor with just a little bit of raspberry tartness. Celery slices, underused in salads (at least by me) and broccoli sprouts give a crisp contrast. Fennel would be an interesting substitution for celery. The dressing is a very simple vinaigrette, lime juice, sherry vinegar, extra virgin olive oil and a small Thai chili. Our rather large supply of frozen chilis pack as much heat as any fresh one. My additions to the original recipe were baby spinach leaves and toasted almonds for crunch. Top the salad with some cilantro or parsley leaves. This salad probably could serve four but we ate it in one sitting as a side dish.

The origin of the expression “cool beans”? A Cheech and Chong movie? The 80’s sitcom Full House? There doesn’t seem to be a true concensus. What I do know is that it’s time to place an order for some heirloom beans so I can make this delcious salad again.

Spinach, Blood Orange and Bean Salad with Sprouts

Serves four

For the vinaigrette

Ingredients

  • 2T fresh lime juice
  • 2t Sherry or red wine vinegar
  • ¼c extra virgin olive oil
  • 1 small Thai chili, thinly sliced
  • Kosher salt and freshly ground pepper

DSC_5793a

Directions

  1. Whisk ingredients together in a medium bowl. Season to taste with salt and freshly ground pepper. Set aside.

For the salad

Ingredients

  • 6c baby spinach leaves
  • 1 can cannellini beans, rinsed and well drained or fresh cooked beans
  • 3 blood or navel oranges
  • 1c celery stalks, sliced thinly on the diagonal
  • ½c radish or broccoli sprouts
  • ¼c toasted almond slivers
  • Kosher salt and freshly ground pepper

DSC_5797a

Directions

  1. Add beans to vinaigrette and toss to coat, let sit for 10 minutes for flavors to blend.
  2. Remove peel and pith with a small, very sharp knife from 3 blood or navel oranges. Cut crosswise into ¼” thick rounds.
  3. Add the spinach, orange sections, celery slices and sprouts to the bowl with beans and toss. Season with salt and pepper.
  4. Top with additional sprouts, cilantro leaves and toasted almonds.
DSC_6772a
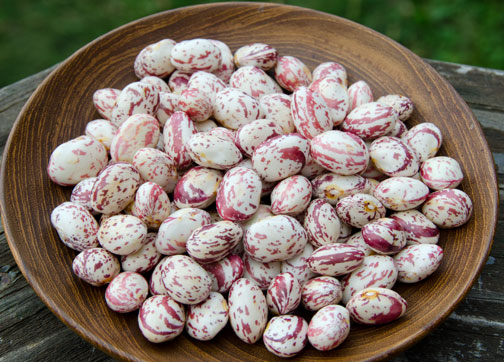
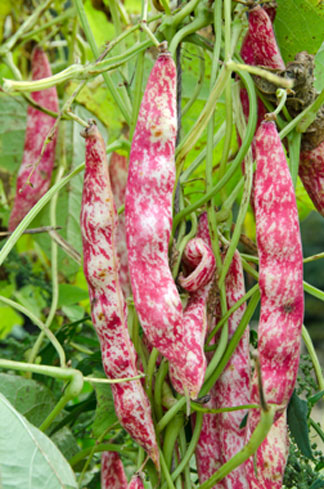
The borlotti beans we grow in the garden are very pretty. Unfortunately they lose their mottled color when cooked.

DSC_5800a

September 1, 2015 Mixed Bean Salad

DSC_4130aString or snap beans are in season from mid summer to early autumn and we have had a steady stream of them since the middle of July. Joe grows both pole and bush varieties.  Pole bean plants fare best when they are given support to grow, like a trellis or a teepee while bush beans grow on their own without added support. The bush beans were the first to produce, followed by the later maturing pole beans and now the bush beans are producing again. The crop this year has been quite successful and at times, overwhelming. I froze quart bags of blanched beans for fall and winter days when I will miss being able to pick them fresh. I even pickled a few jars of the very slim and straight filet beans.

In the cooler months we serve them hot, simply seasoned with garlic and thyme, but in the summer I like to serve them along side grilled vegetables in a cold salad. My latest inspiration, Mixed Bean Salad  came from Yotam Ottolenghi and Sami Tamimi’s cookbook, Jerusalem. Jerusalem won the IACP cookbook of the year in 2013 and was the 2013 James Beard award winner for the best international cookbook. The recipes are very approachable, not too “cheffy” and introduces the reader to the vibrant multicultural cuisine of that city.

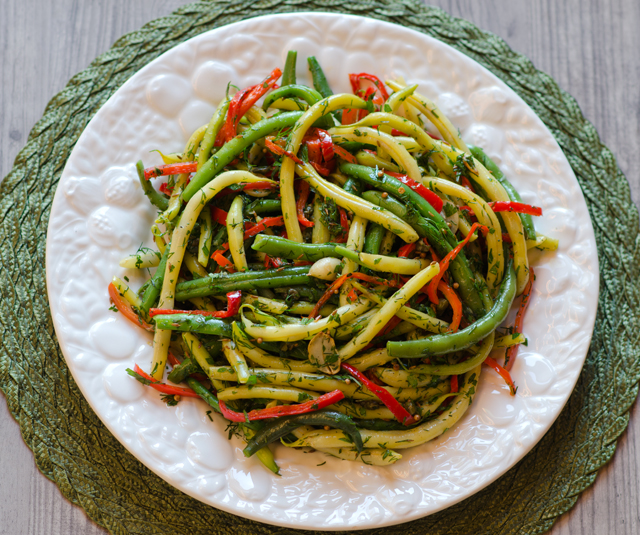
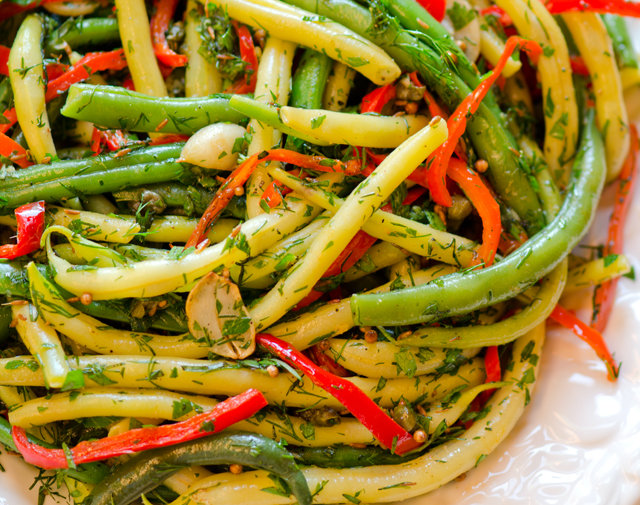
The “mixed” in the mixed bean salad refers to the combination of green and yellow beans paired with red pepper strips. Mr Ottolenghi likes yellow beans for their tenderness and the look they bring to the dish.  This is the best time of year to find them at the farmers markets and we have no shortage here. If you are making this and yellow bean are not available, substitute all green beans.

In his introduction to the recipe, Mr Ottolenghi states that string beans are symbolic of the Jewish New Year but he didn’t indicate how, so I did a little research of my own. Beans are mentioned in the Talmud as “ruviah” and are symbolic because their Hebrew name sounds like the Hebrew “to increase” and indicates a desire for increased blessings in the new year. Reminds me of the symbolism of foods associated with Chinese New Year.

Begin the recipe by blanching the beans until tender crisp. Look for beans that are relatively the same size in diameter so they will cook in the same amount of time. If you are not sure if the beans are ready, test one for doneness before draining the pot. Roast red pepper strips that have been tossed in olive oil until they are tender. They make a beautiful contrast to the green and yellow beans.  Next step are the aromatics, lightly toasted garlic, then capers that bring a salty element and their own unique texture. Rinse the capers well and dry them, careful when you add them to the oil, they will spit, so you might want to use a spatter screen. Cumin and coriander seeds are bloomed in the olive oil to best bring out their aromas and flavor.   Pour the warm dressing over the beans and pepper strips and toss. Green onions, herbs, lemon peel, salt and pepper are the next addition to the dish.

The original recipe calls for 2/3 cup chervil, not an easy or common ingredient for the home chef.  I have never seen it sold in the supermarket or even at our local farmers market for that matter.  We have an abundance of it that comes up from seed in the early spring and bolts as soon as the weather gets hot.  He suggests a substitute combination that everyone has access to, dill and parsley.

I will not mislead you, this is not a salad you can whip together in 15 minutes, but it is certainly worth making. Step one for me is a trip to the garden for beans, peppers and herbs.  It is very important for your ingredients to be “mis en place” ready to go so the warm dressing will thoroughly season the beans and peppers. I have had my cookbook only two weeks and I have made this salad twice and plan on making it again for a Labor Day picnic. I think that constitutes a winning recipe.

DSC_4114a

DSC_4125a

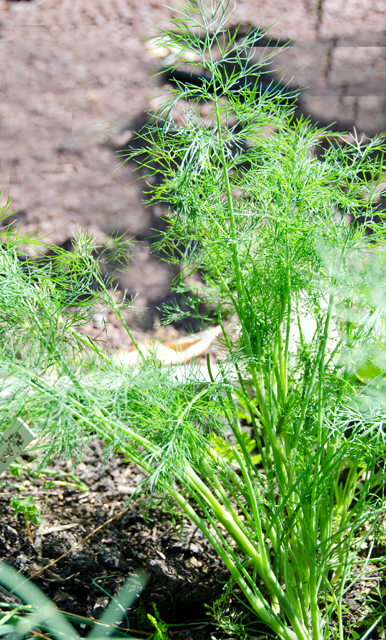
Dill in the garden.
Dill in the garden.


Mixed Bean Salad

From the Jerusalem Cookbook

Ingredients

  • 1¼ lbs. mixed green and yellow beans
  • 2 medium sweet red peppers, cut lengthwise into ¼ inch strips
  • 4T olive oil-1T for the peppers, 3T for the salad
  • 3 cloves garlic, thinly sliced
  • 6T capers, drained, rinsed and patted dry
  • 1t cumin seed
  • 2t coriander seed
  • 4 green onions, thinly sliced
  • 1/3 c each, roughly chopped tarragon, dill and shredded parsley.
  • Grated zest of one lemon
  • Kosher salt and freshly ground pepper

DSC_4111a

Directions

  1. Preheat the oven to 450°F.
  2. Bring a large pot of lightly salted water to a boil. Add the beans to the pot and cook for 4-5 minutes, take a bean out at this point to check doneness. It should be cooked through but still be “toothsome”. When done, immediately drain in a colander and refresh the beans with very cold water. Drain well, pat them dry with a towel and place in a large bowl.
  3. Toss the pepper strips with a teaspoon of olive oil, then spread them out on a baking sheet. Bake for five minutes or until tender. Add pepper strips to the bowl of cooked beans.
  4. Heat the remaining 3 tablespoon olive oil in a small saucepan. Add the garlic and cook for 30 seconds; add the capers (be on guard for spatters) and fry for 15 seconds. Add the cumin and coriander seeds and continue frying for another 15 seconds. The garlic slices should be golden by now. Remove pan from the heat and pour this over the bowl of beans and pepper strips. Toss and add the green onions, herbs, lemon zest, salt and pepper to taste.
  5. You may serve immediately or refrigerate up to one day. Just remember to bring the salad back to room temperature before serving.

DSC_4134a


July 8, 2014 Borlotti and Green Bean Salad

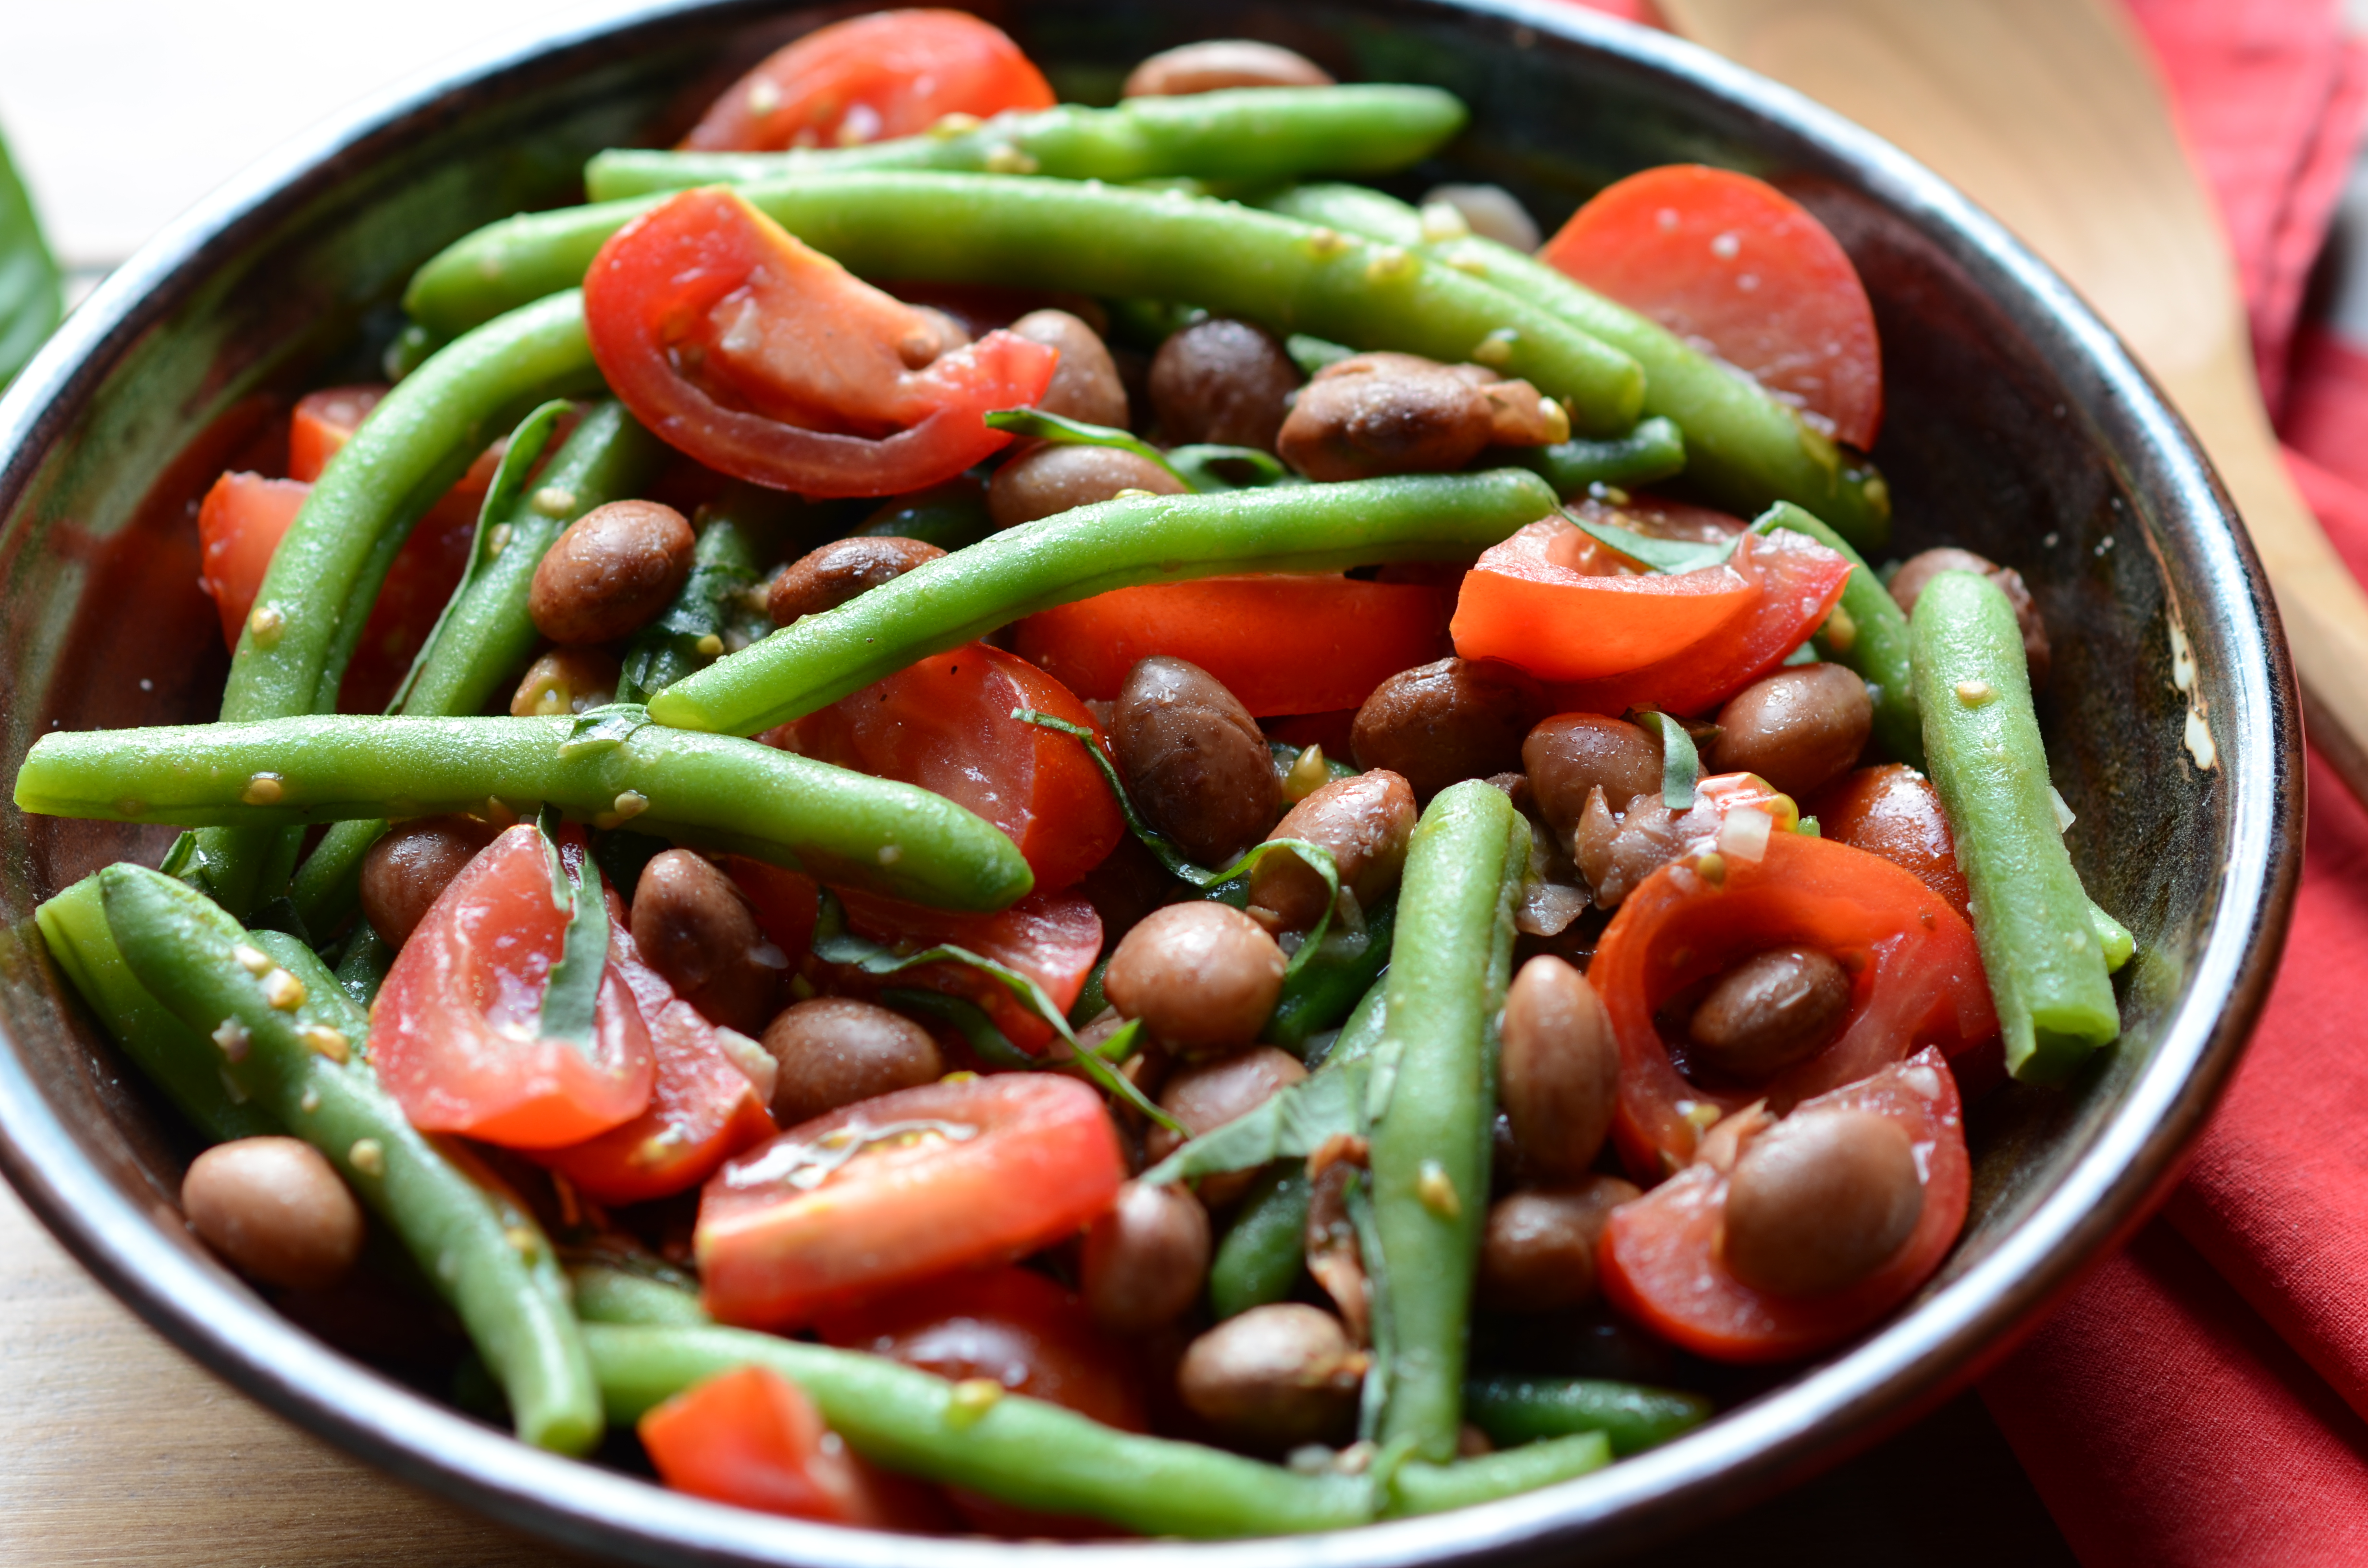
DSC_8039a-copyOur beans, both pole and bush varieties, are still a few weeks away from being ready to harvest so I couldn’t resist the green beans I spotted at the farmers market. The shelling beans we are growing are months away from being ready to harvest but I still had some left from last season.  I combined the green beans from the farmers market along with our dried borlotti beans for a simple bean salad.

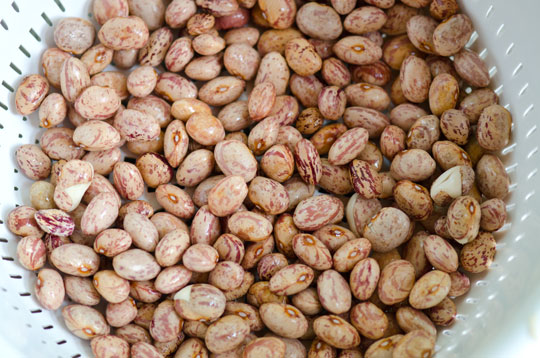
Borlotti beans, labeled by the source we use, Seeds of Italy as Borlotto, are also known as cranberry beans and the very serious moniker, French Horticultural beans. They are an attractive addition to the garden. Their bright magenta colored pods with white streaks give a hint to the creamy white beans with cranberry red spots that wait inside.

Borlotti are a shelling bean which means the outer pod is inedible and must be removed. They can be used fresh, or dried for later storage. They have a wonderful nutty flavor and a creamy texture. Shelling beans need a long time to dry out. I learned that the hard way. The first year we had them, I thought they were sufficiently dry and stored them in canning jars. Much to my dismay, weeks later when I went to use them I discovered they were moldy. I learned my lesson from this and now allow sufficient time and space to achieve a totally dried bean. A dehydrator could speed up this process.

Some recipes call for only a few hour soak before proceeding with a recipe. I always try to soak dried beans overnight for the best results. In this case, one cup of dried beans became two and a half cups of soaked beans. After the soak drain and rinse the beans before proceeding with the recipe. The pretty spots on the beans are gone as soon as you cook them and they turn a pinkish brown color. Nothing can compare to the flavor of fresh cooked beans, they are sweet, creamy and delicious. If you have time restraints and choose to use canned beans, I prefer Goya beans as a substitute in this recipe.  Add chopped basil just before serving for the freshest taste.

DSC_6642a

Borlotti and Green Bean Salad

Serves six

Ingredients

  • 1 cup dried large  beans, I used Borlotti, well rinsed and soaked overnight
  • Several sprigs fresh thyme
  • 1 large clove garlic, smashed and peeled
  • 1 small yellow onion, cut in half
  • 1 small carrot, cut into several pieces
  • Kosher salt
  • 1 large shallot, finely chopped
  • 2 salt-packed anchovies, filleted (or 4 oil-packed anchovy fillets), rinsed, patted dry, and finely chopped
  • 3 T. red-wine vinegar
  • Freshly ground black pepper
  • 1/2 c extra-virgin olive oil
  • 1 lb. small tomatoes cut into quarters
  • 1 lb. green beans, trimmed and cut into pieces if large
  • 1/2 cup chopped fresh basil

Directions

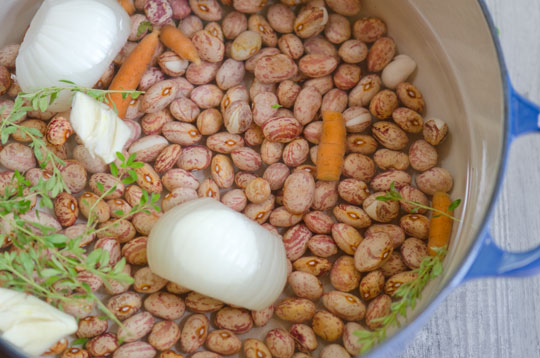
  1. In a deep, heavy-based pot, cover the beans with 6 to 8 cups cold water. Add the thyme, garlic, onion, carrot, and 1 tsp. salt. Bring to a boil over high heat. Reduce the heat to a gentle simmer, skimming any foam that rises to the surface. Cover and cook until the beans are tender, about 90 minutes; let cool in the broth.
  2. In a large bowl, combine the shallot, anchovies, vinegar, 1/2 tsp. salt, and 1/4 tsp. pepper. Whisk in the olive oil until well combined. Drain the white beans and add them and the tomatoes to the bowl. Toss to coat the vegetables well with the dressing. Let stand at room temperature for 2 to 4 hours.
  3. Cook the green beans in a large pot of boiling salted water until tender, about 5 minutes. Drain and spread on a paper towels to cool. When ready to serve, add the cooled green beans to the white beans and then the basil, tossing well after each addition. Taste and add salt and pepper if needed.
DSC_6772a
A bowl of freshly shelled Borlotti beans.
DSC_8032a
The beans are almost three times their size after an overnight soaking.
DSC_8033a
Combine the drained beans with onion, garlic, carrot and a few sprigs of thyme.

DSC_8049

February 21, 2014 Chickpea and Leek Soup

DSC_4682a

I am a lucky woman. My husband planned, shopped, and took the day off from work and shoveling snow to cook a very special Valentine’s Day dinner for me. At the time I wasn’t even sure what the menu would be. I made a few requests and he filled in the rest. They were small courses or “bites” as he called them. A favorite tradition of mine, the demands of life and family required us to take a break from this meal for several years.The “meal of love” as he calls it, lasted several hours so I had some movies and the season finale of Top Chef to watch. I should have probably worked out between courses, we went to a wedding the next day and I was concerned about fitting into the dress I was wearing.

One dish I did request was a soup made with fresh chickpeas that stayed in my memory as a favorite after all these years. I love chickpeas and fresh ones have a wonderful nutty quality. My job now was to locate the source of memorable recipe. After some thought I remembered where it was from, a magazine that I subscribed to for some time, The Herb Companion.

The tag line of The Herb Companion was “in celebration of the useful plants”. Useful they are, The Herb Society of America defines an herb as “a plant valued for it’s flavor, fragrance, medicinal and healthful qualities, economic and industrial uses, pesticidal properties and coloring materials (dyes).”  The magazine helped familiarize readers with herbs, both common and quite unique, how to grow them and their uses from culinary to crafts.

This issue (Feb-Mar 95) was in part devoted to alliums. Allium is a classification (genus) that includes garlic, onions, shallots and leeks to name just a few. Alliums are rich in sulphur compounds and have been said to be useful in everything from lowering blood pressure to relieving pain and inflamation.

However, my main interest was in the recipes, not the health benefits of alliums. Alliums pair well with the culinary herbs, in this case, Italian or flat leaved parsley and marjoram. Marjoram is closely related to oregano with a sweeter, more delicate flavor. Appropriate for the occasion, marjoram, according to Roman legend is known as the “herb of love”,

In this simple soup the delicate onion flavor of leeks combines with nutty chickpeas and fragrant fresh herbs. The original recipe called for water but Joe substituted a rich homemade turkey stock that brought another layer of flavor to the soup. When making any dish with dried beans, it’s best to purchase them from a bulk bin with a high turnover rate for the freshest possible beans. Old beans don’t rehydrate very well. Store dried beans in a cool dark pantry and use within a year. Chickpeas,as with all beans are a good source of iron, folate and dietary fiber. Canned beans could be substituted but they also bring additional salt and preservatives to the soup.

My memory was happily confirmed, this was a delicious soup and the recipe made enough to freeze for future meals. Sad to say, The Herb Companion is no more. As of 2013, after more than twenty years of bimonthly publication, the magazine has been incorporated into Mother Earth Living Magazine.

DSC_4628a
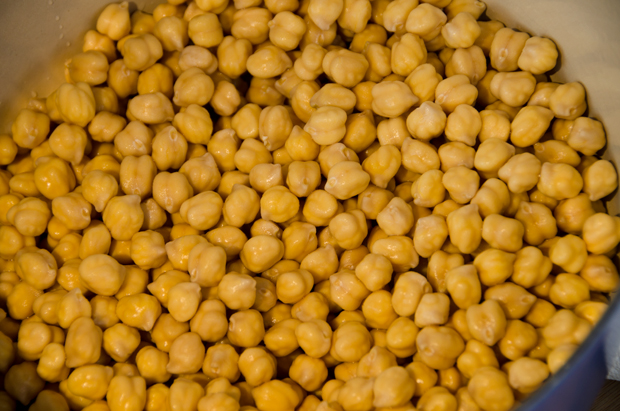
Fresh chickpeas after an overnight soak.

Chickpea and Leek Soup

Serves four to six

Ingredients

  • 1/2lb. dried chickpeas
  • 1 bunch leeks (about 1 1/2lbs.)
  • 1 medium onion
  • 3 large cloves garlic
  • 3-4c water, chicken or turkey stock
  • 1/3c extra virgin olive oil
  • 5 sprigs Italian parsley
  • 3 marjoram sprigs
  • Kosher salt and freshly ground black pepper
DSC_4638 copy
The other players in the soup

Directions

  1. Soak the chickpeas in cold water to cover overnight
  2. Drain, rinse and cover with fresh water. Bring to a boil, reduce heat and simmer until very tender, about an hour. Puree half the chickpeas (or more for a thicker textured soup) Return them to the pot and salt well.
  3. Meanwhile, clean and trim the leeks, including only the tender green and slice 1/8 inch thick. Dice the onion and mince the garlic. Gently cook the vegetables covered, in 3 tablespoons of oil over low heat until they have softened,
  4. Add the vegetables to the chickpeas along with 3 cups of water or stock. Salt and pepper lightly and simmer the soup for about 30 minutes. Chop the parsley and marjoram leaves and add them to the soup. Simmer for an additional 5 minutes and adjust seasoning.
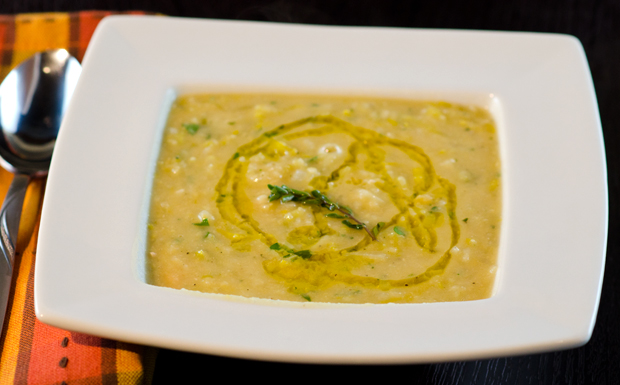
  5. Serve the soup hot with the remaining olive oil drizzled on top.
DSC_2854a
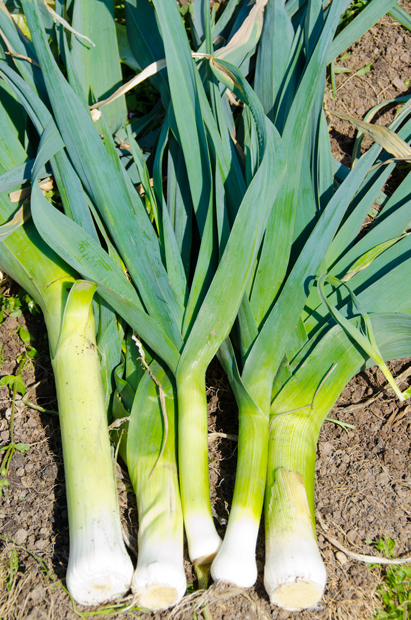
Leeks from the garden will have to wait for a spring thaw.

DSC_4681a