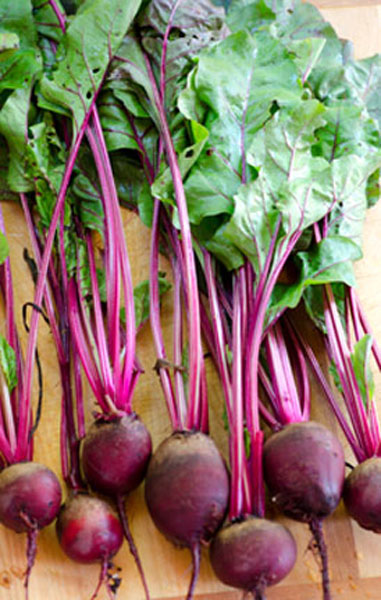
 Move over broccoli, step aside tomatoes, the research has been completed and the new ranking of the powerhouse fruits and vegetables is in. Researchers at William Patterson University in conjunction with the CDC did a study of 41 fruits and vegetables ranking them by the 17 critical nutrients they contain. The foods were scored by their content of fiber, potassium, protein, calcium, folate and important vitamins. Following watercress and Chinese cabbage is our bronze medal winner, Swiss chard. Chard is a good source of vitamins K, A and C as well as potassium, iron and fiber.
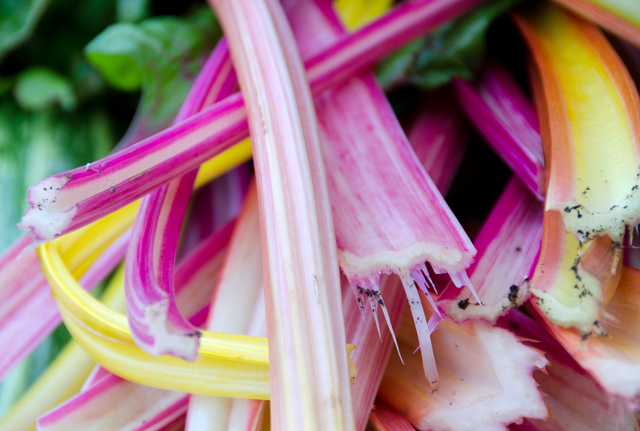
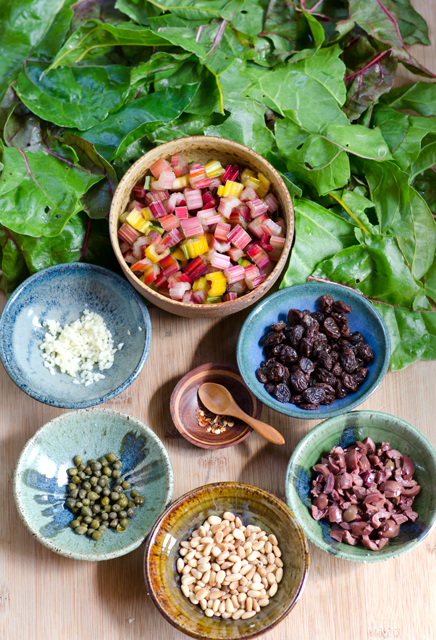
We have been long time fans of chard, it is our choice for a cooked green in the summer after the heat causes our spinach plants to bolt. I think many people shy away from chard because it has two distinct parts, the leaves and the stems that need to be cooked separately. Many recipes avoid the stems but that is unfortunate since the stems can add texture and color to the dish. Two of the varieties we grow, Rhubarb, has bright red stems and Bright Lights has stems in almost neon shades of pink, yellow and orange. Although they will fade a bit, I prefer to simmer the stem sections in broth or water to maintain optimum color. Remember to cook chard in a non reactive pan, like spinach it will discolor if cooked in aluminum or unlined iron.
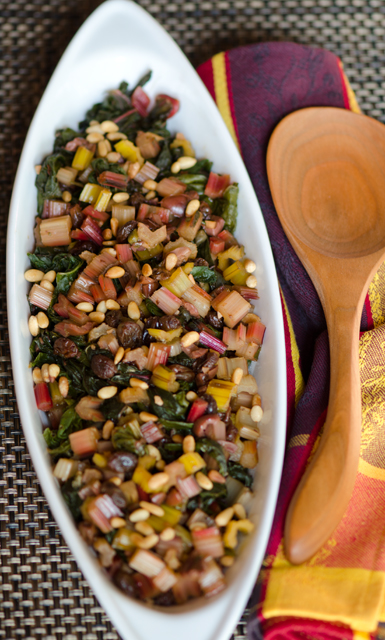
This preparation is one of our favorites that we have enjoyed for years. The earthy assertive flavor of chard combines nicely with Mediteranean flavors of garlic, capers, olives and raisins. I like to plump raisins in warm water for just a few minutes before adding to the recipe. I cut the stems of the chard into slightly smaller pieces than most recipes call for, the stems will cook quicker and will retain their color.
Farmers markets will be your best source for chard this time of year. Wash well in several changes of water. For a more detailed explanation about the preparation and cooking of chard, please look at this post.
As for the rankings, the word powerhouse equals nutrient density. Higher ranking foods provided more nutrients per calorie. Watercress scored a perfect 100, chard not far behind with 89.27. Broccoli and tomatoes? 34.89 and 20.37 respectively, reason enough to add chard to your diet.

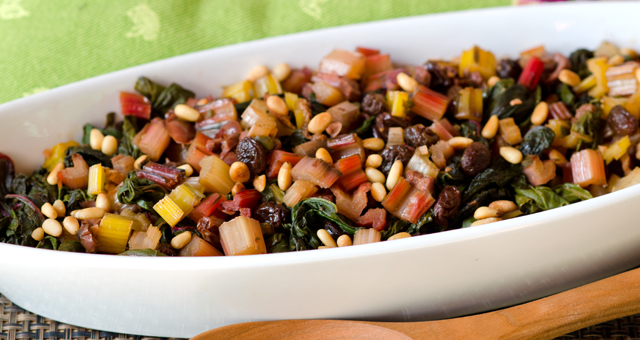
Braised Swiss Chard with Raisins, Olives and Capers
Serves four
Ingredients
- 2lbs chard, washed, leaves and stems separated
- 11/2c chicken or vegetable stock (water is okay too)
- 1T olive oil
- 1T capers, rinsed
- 2t chopped garlic
- 1/4c raisins (dark or golden)
- 1/4c chopped Kalamata olives
- 1/8t red pepper flakes (or to taste)
- Kosher salt and freshly ground pepper
- 2T toasted pine nuts
Directions
- Cut the chard stems away from the leaves. Cut chard leaves into rough slices and set aside. Cut stems into 1/2 inch pieces. Combine stems in a large non reactive saute pan with stock and bring to a simmer. Simmer over low heat for about 8-10 minutes until softened. Check an individual stem piece to see if it is at your desired doneness. With a slotted spoon, transfer to a bowl and keep warm.
- Add the olive oil, capers, garlic, raisins, olives, red pepper flakes to the saute pan. Bring to a simmer and add the reserved chard leaves, in batches if necessary. Cover the pan and cook for 2 minutes, or until wilted. Uncover the pan and continue to simmer over low heat until the leaves are tender, 8-10 minutes. Add the reserved stems and toss with the ingredients in the pan. Increase the heat to evaporate any remaining liquid. Season with salt and pepper. Transfer to a serving dish and sprinkle with toasted pine nuts.