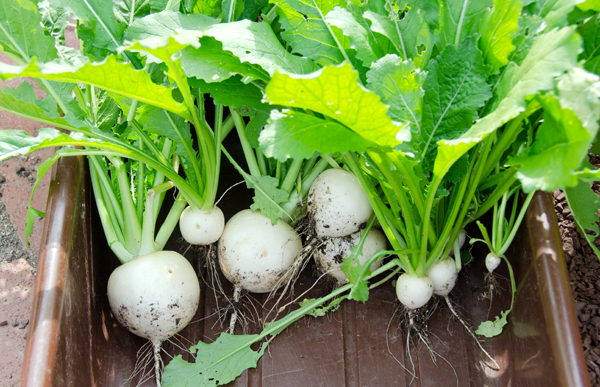
Our spring salads are a combined effort. The greens are from our garden, arugula, mache, spinach and lettuces with names like Freckles and Burgundy colored Red Velvet. Last year I discovered Hakurei turnips at the farmers market and they are a welcome addition to this years garden. We are harvesting them now and they are pure white and sweet as can be. The farmers market offered French breakfast radishes, purple and green kohlrabi and the first asparagus of the season. Our first batch of radishes has already been picked but with succession planting the next are soon to come.
Trimmed kohlrabi reminds me of little space aliens and are a crunchy addition to the salad. Since this is young kohlrabi, I julienne them raw since the purple color is only skin deep. Many years ago we had an asparagus patch, but the time and effort didn’t seem worth it. Now we enjoy the harvest from our local farms.
The supermarket provided organic golden baby beets, our own beets are less than a week away. The first beet micro green thinnings are part of our salads, then used as cooked greens as they get bigger. We are growing three varieties this year, Golden, candy-striped Chiogga and the ruby red Detroit Red.
Soft cheeses like feta and chopped nuts would be a welcome addition to this salad. In weeks to come our salads will include snow peas, more radishes, carrots and eventually tomatoes, cucumbers and all the produce that summer brings.
A Spring Salad for two
Ingredients
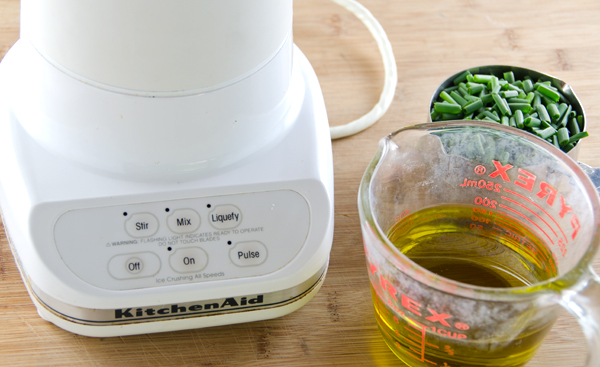
- 1/4 c Sicilian lemon vinegar
- 1t Dijon mustard
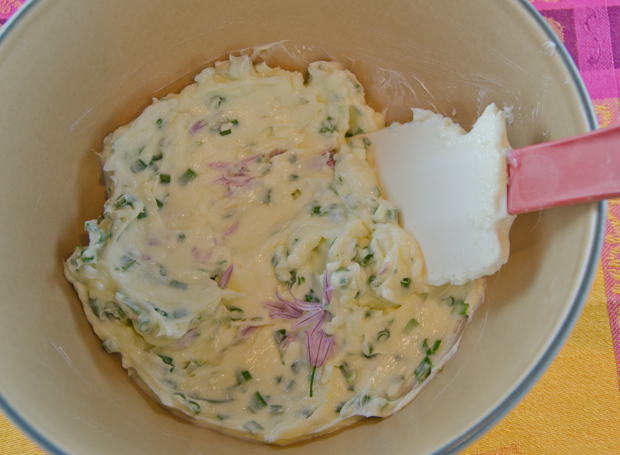
- 1t minced shallot
- 3/4 c extra virgin olive oil
- splash of lemon olive oil
- Kosher salt and freshly ground pepper
- 6c loosely packed salad greens, spinach, mache, arugula, baby lettuces
- 1 small kohlrabi, purple or green, cut into matchstick julienne (if possible, don’t peel to maintain the color)
- 2 small Hakurei turnips peeled and thinly sliced on a mandoline
- 1 Golden beet, peeled and very thinly sliced on a mandoline
- 8 asparagus spears, trimmed, sliced on the diagonal and steamed until crisp-tender
- 4 French breakfast radishes, sliced
Directions
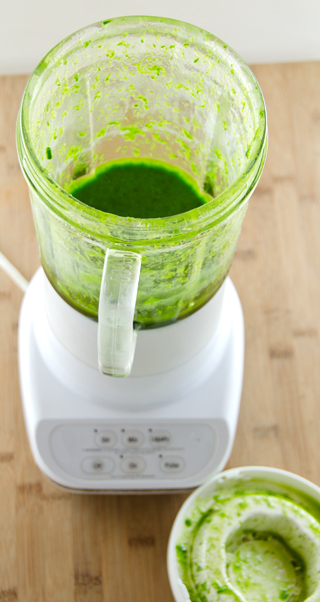
- Combine the first five ingredients in a small bowl, whisk to combine, add salt and pepper to taste
- Place lettuce on serving platter, top with turnip slices, beet slices, asparagus and radishes. Toss with enough dressing to lightly coat, there will be some left. Top with fresh ground pepper to taste