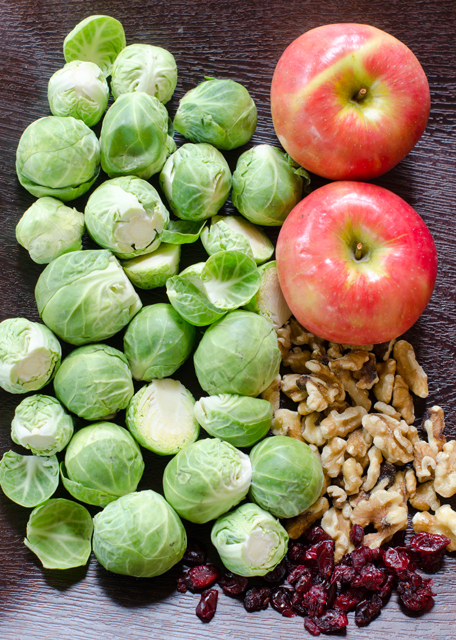
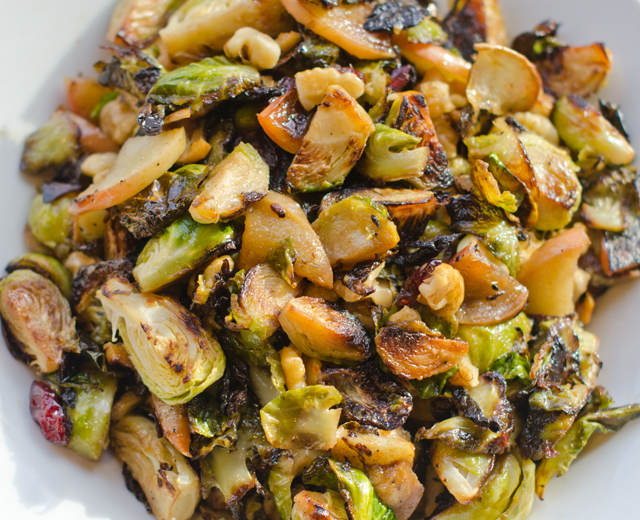
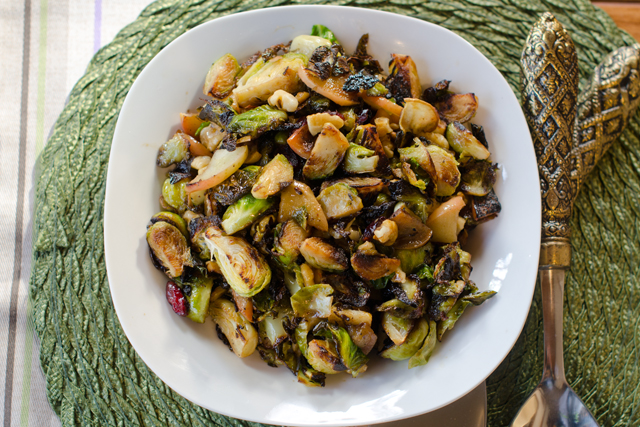
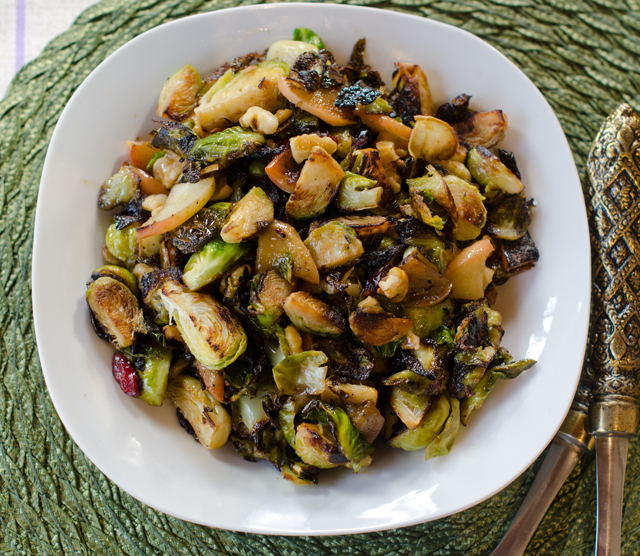
A delicious side dish for holiday entertaining, caramelized Brussels sprouts with apples and walnuts brings out the best in this often maligned vegetable. When Brussels sprouts are cooked in a heavy bottomed saute pan,(think cast iron) they get brown and toasty. When they are cooked in some bacon fat, it even gets better. I save bacon fat in a container in the freezer for moments like this. If you don’t store up bacon fat like me, a combination of butter and olive oil will do just fine.
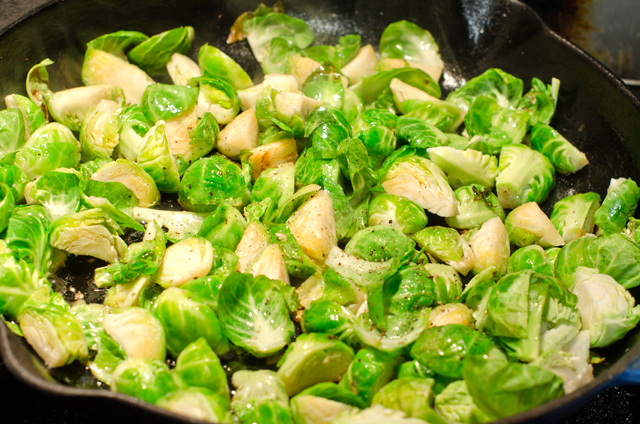
Start by getting the pan hot and adding your fat of choice. When I added the quartered Brussels sprouts, some of the leaves popped up in the pan like kernels of popcorn. Get some golden color on the Brussels sprouts before you add the chopped apple. I chose a Honeycrisp because of its super crisp texture and sweet juicy flavor. Feel free to substitute your own favorite, a Gingergold or Mutsu would work well here too. It will take a little more time in the sauté pan to cook the apple and tenderizing the Brussels sprouts. Please note I said tenderize, not turn to mush, they should still have a bite.
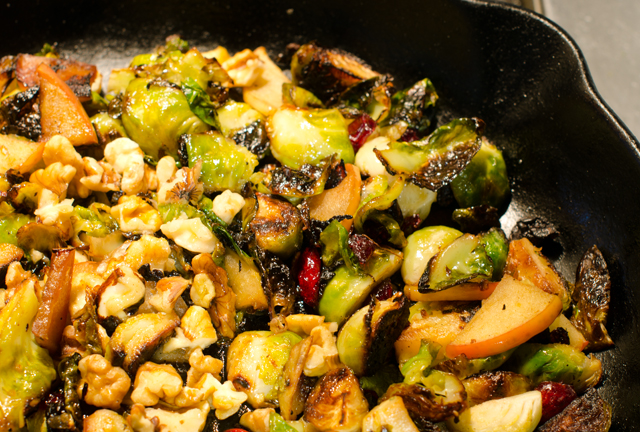
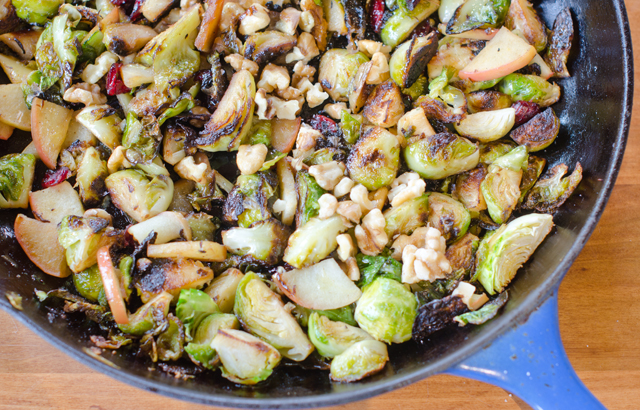
While the sprouts and apples are still warm, add the toasted walnuts and dried cranberries. Pour the dressing of sherry vinegar, honey, mustard and just a touch of olive oil over and lightly toss. Serve warm or at room temperature. Make it your own by substituting dried cherries for the cranberries, toasted almonds for the walnuts and a fruity balsamic for the sherry vinegar and honey. Maybe some crispy bacon too. Looks like I just created another recipe that I need to try.
Caramelized Brussels Sprouts with Apples and Walnuts
Serves 4-6
Ingredients
2 T butter
2 T bacon fat (can substitute olive oil)
1 pound Brussels sprouts, outer layer removed and quartered
1 Honeycrisp apple cut into small dice
1 c walnuts, toasted and chopped
2 T sherry vinegar
2 T honey
1 t Dijon mustard
1 T olive oil
¼ c dried cranberries
Kosher salt and freshly ground pepper to taste
Directions
Heat a large heavy bottomed or cast iron skillet with butter and bacon fat over medium high heat. Add Brussels sprouts, season with salt and pepper and cook until the sprouts start to caramelize, about 4-5 minutes.
Add apples, toss to combine and cook until the sprouts and apples are caramelized and almost tender, another 3 minutes or more. Remove from the heat and add the walnuts and dried cranberries, toss lightly.
In a small bowl combine the sherry vinegar, honey, Dijon mustard and olive oil. Pour this over the Brussels sprouts and toss lightly.
Remove to a platter and spoon any additional liquid from the pan over the dish.
Season again with kosher salt and freshly ground pepper.
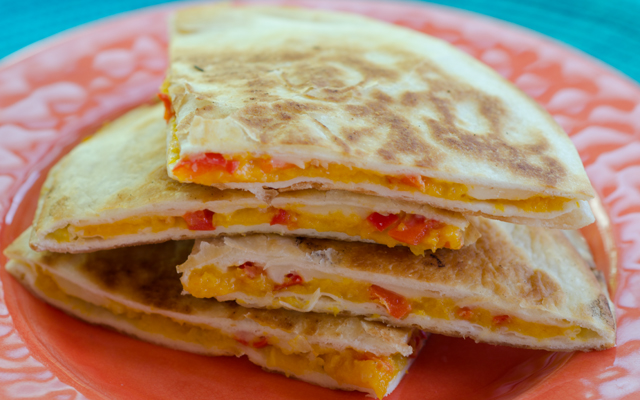
An often requested hors d’oeuvre from my catering days were butternut squash quesadillas with chipotle lime dipping sauce. They were a lighter alternative to classics like miniature beef wellingtons or scallops wrapped in bacon. A recipe I originally found in Gourmet magazine and now on the Epicurious website, it seemed to be universally liked by everyone. Crunchy on the outside, sweet roasted butternut squash and melted cheese inside, they disappeared as quickly as wait staff could get them out to hungry guests. The flavors of the roasted squash, onion and garlic are a perfect combination with creamy jack cheese, and sweet red pepper.
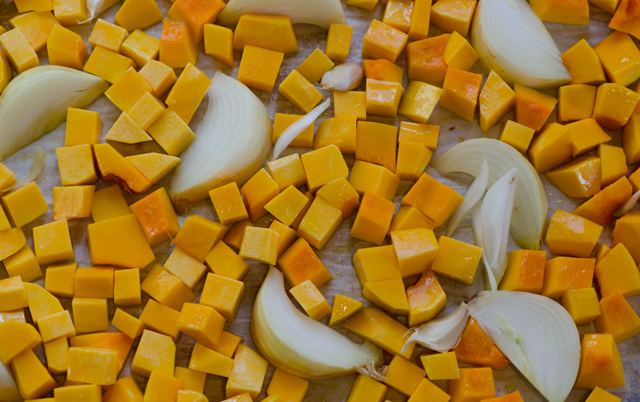
Begin the recipe by roasting squash cubes, an unpeeled onion cut in segments and several cloves of garlic. Since we had a large butternut squash crop this year, I am getting faster at peeling and chopping my own squash. But if you don’t want to take the time, you can purchase butternut squash that has already been peeled and cubed. It is considerably more expensive for the convenience. For the best results, roast cubes rather than baking squash halves . Although the roasted squash will be puréed before it is spread on the quesadilla, roasting cubed squash and the onion, allows the natural sugars in the vegetables to caramelize and enhances the flavor.
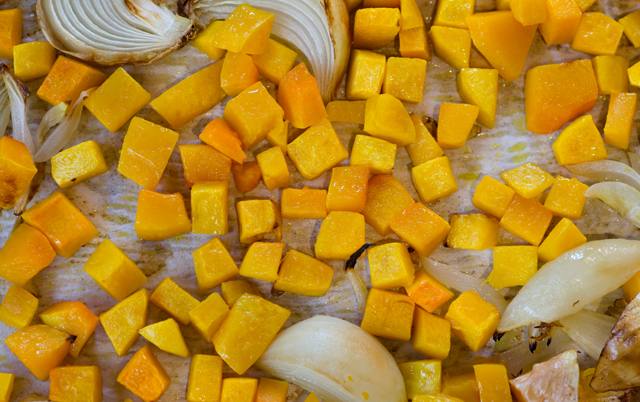
On a rimmed baking sheet, drizzle the squash cubes, onion and garlic with a neutral oil (vegetable, safflower) and toss lightly. Spread them out as evenly as possible so the squash will roast, not steam. Halfway through the cooking time use a plastic spatula to toss the cubes around a bit to maximize the surface area that gets browned. The garlic will be done first, use tongs to remove it to a work surface. Continue to roast the squash and onion until tender, as much as 15 more minutes, I like to check about every five minutes or so at this point. The squash will be soft and browned in places. Remove the peel from the onion and the garlic.
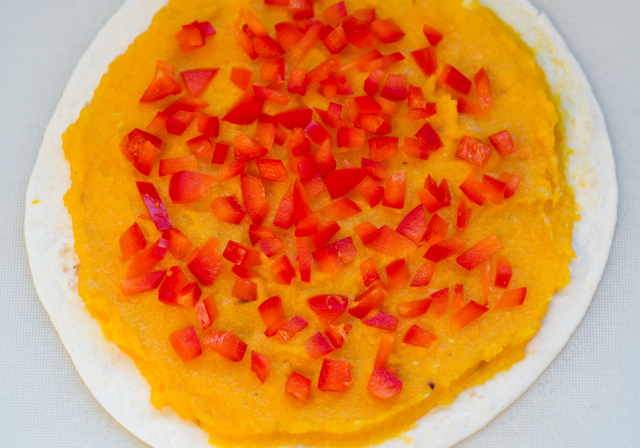
While the squash is cooking you will have time to chop the red pepper. Cut it into small dice, it will make for neater pieces when you cut the quesadillas. Place chopped pepper and jack cheese into separate bowls at your work station.
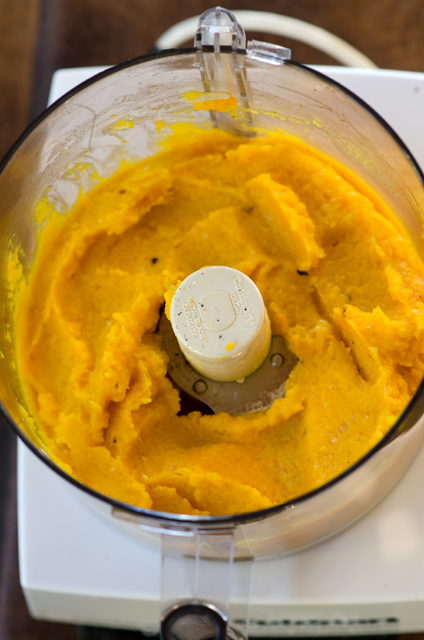
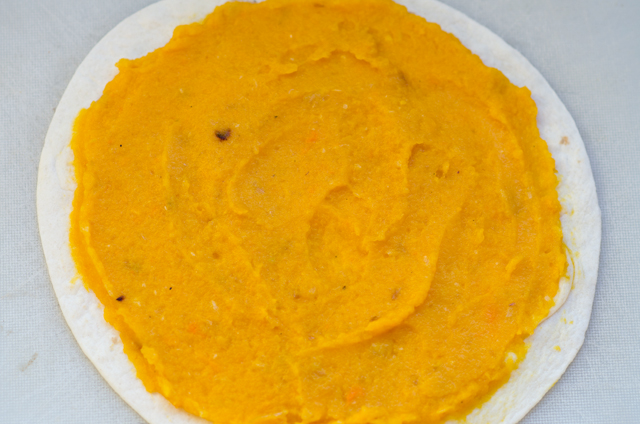
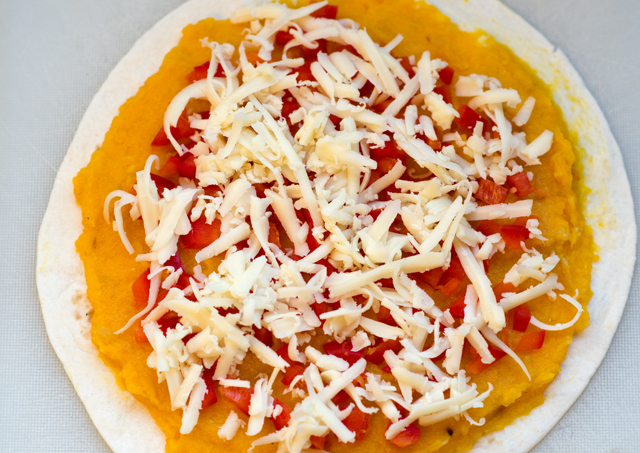
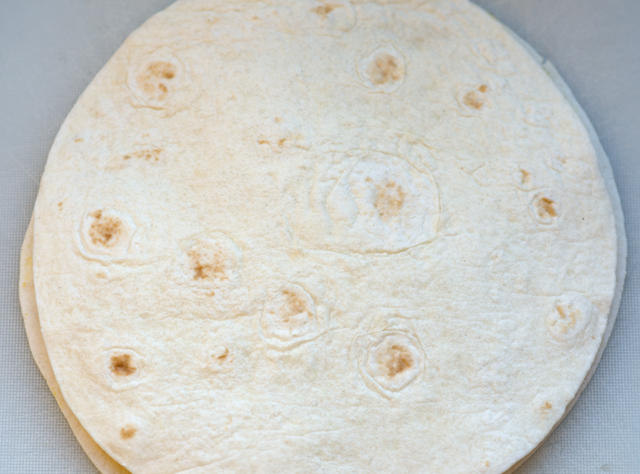
In a food processor or blender, purée the squash, onion and garlic until not quite smooth, leave it just a little chunky and transfer to a bowl. On a work surface spread out four tortillas. Next to the tortillas, place your bowls of squash puree, pepper and onion. Since you will be using one-fourth of each item on the tortillas, it’s relatively easy to “guesstimate” how much to use. Spread the puree first, evenly, almost but not quite to the edges, then sprinkle on the red pepper and then the cheese. Top with a second tortilla and press lightly to adhere. Spread a light coating of softened, not melted butter on either side of each tortilla. This step is little messy, you can put a sheet of waxed paper on two large baking sheet to cut down on the butter getting all over your work surface.
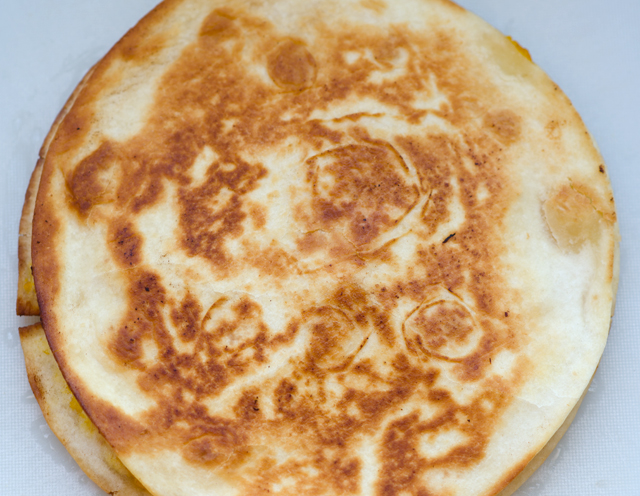
Heat a 7 inch non stick skillet over medium high heat until hot and cook the quesadillas. While the first side is cooking, press down lightly on the quesadilla so that everything sticks together, it will make the flipping easier. Cook the quesadillas about 3 minutes per side, you can lift up a little to see if you have achieved the light toasty brown color. I use a plastic spatula to flip them over, with a little help from my hand. Repeat with the remaining quesadillas and regulate the heat as necessary. Transfer to a warm oven while you are cooking the remaining quesadillas. Cut the quesadillas into 6 to 8 wedges, I have found a pizza wheel makes the neatest cuts.
Serve quesadillas with chipotle lime dipping sauce. Years ago when I first made this recipe it was difficult to obtain chipotles, now they are available at any supermarket. Chipotle peppers are smoked and dried jalapenos that are marinated in a tangy sweet red sauce. A little chipotle goes a long way. It is better to add a little at first to see how it tastes. The sour cream will mellow the chili out and the lime adds a nice contrast.
The dip can be made ahead, and even though the recipe doesn’t say so, the quesadillas can be made ahead. Reheat the quesadillas in a warm oven for about 10 minutes or until they feel hot. The important thing to remember whether fresh or reheated is to let the quesadilla rest for a few minutes before cutting. Too hot and the filling oozes out and is a mess to eat.
I have always used the recommended flour tortillas, I’m sure other varieties would work too. If you like your food spicy, pepper jack cheese could be substituted or any other good melting cheese. They would make a good vegetarian entree or a light lunch along with a green salad.
Butternut Squash Quesadillas
Makes 24 to 32 pieces
Ingredients
5 c butternut squash, peeled and cut into ¾ inch pieces
1 medium onion, unpeeled and cut into eights
1 large garlic clove, unpeeled
1 T vegetable oil
8- 5 to 6-inch flour tortillas
1 c chopped red pepper
1 c coarsely grated jack cheese
½ stick unsalted softened butter
Directions
Preheat oven to 400°F.
Arrange squash cubes, onion and garlic in a single layer on a shallow baking sheet. Drizzle with oil and toss lightly to coat.
Roast vegetables in the oven for about 15 minutes, until the garlic is softened. Transfer garlic to cutting board.
Roast squash and onion for an additional 15 minutes or until tender. Discard peels from the onion and garlic.
Purée the squash, onion and garlic in a food processor. Season to taste with salt and pepper.
On a work surface, spread out four tortillas. Spread one-fourth of the squash purée on each of the four tortilla. Sprinkle each tortilla with one fourth each of the red pepper and the cheese. Top each quesadilla with a plain tortilla, pressing gently together. Spread each side of the quesadillas with a thin layer of softened butter.
Heat a medium non stick skillet over medium high heat until hot and cook quesadillas, 1 at a time until golden, about 3 minutes on each side, transferring to a cutting board.
Cut each quesadilla into 6 to 8 wedges and serve with chipotle lime dip.
Chipotle Lime Dip
Makes one cup
Ingredients
1 canned chili in adobo, minced
2 t fresh lime juice
1 c sour cream
Directions
In a small bowl stir the chili and lime juice into the sour cream until well combined. Can be made ahead, cover and chill.
Spread out squash, onion and garlic on a parchment lined baking sheet.After roasting the vegetables.Process until not quite smooth, you want the butternut squash to have some texture.Spread the puree evenly over four tortillas to about a half inch from the edges.Next is the finely diced red pepper.Top it with an even layer of Jack cheese.And another tortilla. Press down so everything sticks together.Cook individual tortillas in a non stick pan on both sides until they are golden brown.
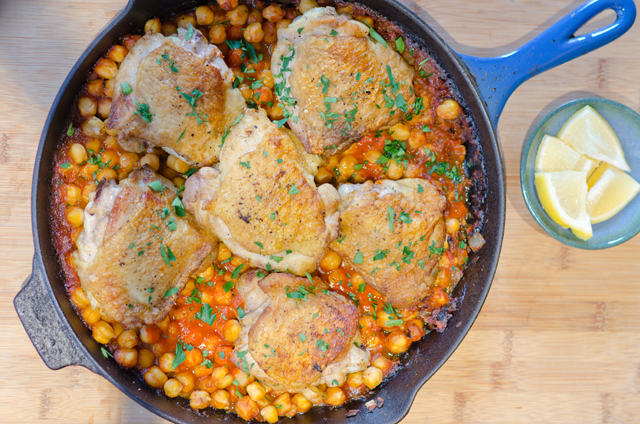
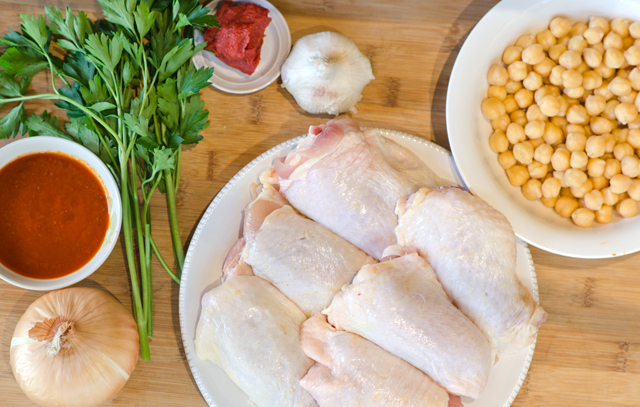
I’ve been putting the harissa I made back in September to good use with this recipe that combines browned chicken thighs and chickpeas with a tomato broth infused with onion, garlic and harissa. Harissa is a spicy garlicky condiment native to the cuisines of the northwest African countries of Algeria, Tunisia and Morocco. The recipe varies by country, ethnicity and even neighborhood. My recipe for harissa included fresh sweet and chile peppers, fragrant spices like coriander, cumin and caraway, dried mint, lemon, garlic and olive oil. You can add some to bring an unexpected kick to a tomato sauce, toss with roasted vegetables, stir into hummus or make this middle eastern inspired chicken dish.
I love cooking chicken thighs for a week night dinner. They are not temperamental like the boneless skinless chicken breast that has its brief moment of juiciness, then dries out and disappoints when held for any length of time. Chicken thighs, no matter what preparation you choose, will wait patiently in a warm oven if dinner is delayed. A combination of chicken thighs and legs works well in this recipe also.
Begin this preparation by finding the correct pan. You will need a heavy bottomed, oven proof skillet that fits comfortably in your oven. No plastic handles please, many skillets are marked oven proof on the bottom. Keep a pot holder over the oven door lest you forget and touch the very hot handle with your unprotected hands. I know because I have done it. Preheat the oven to 425°F or as I do, 400°F for convection cooking. Heat the oil over medium high heat and swirl the pan around to evenly distribute the oil. Salt and pepper the chicken pieces and add skin side down to the hot skillet. You may need to do this step in two batches. If you crowd the chicken it will steam, not brown. Brown the chicken on the first side for about five minutes, or until golden and crisp, resist peeking too soon or the skin may tear. Turn on the other side and cook an additional four to five minutes. Add all the browned chicken pieces to a plate and keep warm. Empty all the drippings from the pan except about a tablespoon full into a small metal bowl or glass measuring cup. Hot oil will eat right through that empty plastic yogurt container you considered using and then you will have the additional clean up of hot drippings on your countertop.
Add onion and garlic to your now empty skillet, cook, stirring often until softened, about 3 minutes. Add tomato paste and cook, stirring until it begins to darken, about 1 minute. Add the chick peas, harissa and chicken broth and bring the pan to a simmer. As much as I love fresh chickpeas, canned ones are fine for this recipe. They soak up the flavors in this dish and take on a nutty quality. Harissa, can be found in different forms. I’ve seen a powdered version that needs to be reconstituted, a jarred version, a paste in a tube and one that comes in the kind of container hummus comes in. Whatever version you buy or make, it is important to taste it before adding it to the dish. The recipe calls for a quarter cup of harissa and even though the other ingredients round out the flavor a bit, it is best to hold back if you think it will make the dish too spicy. It’s easier to add more at the end of the cooking time.
I have made this recipe several times on a weeknight which classifies it as a keeper for me. I like the fact that it doesn’t have a lot of ingredients, and most are pantry staples. Since it is finished in the oven, you have time to make a salad or cook a vegetable while the chicken cooks. I have added vegetables when the dish goes in the oven, for me, end of season baby eggplants, I think quartered Brussels sprouts or small florets of cauliflower would work as well.
Pan Roasted Chicken with Harissa and Chickpeas
Serves 4
Ingredients
1 T olive oil
3 lb bone in chicken thighs (6-8 thighs)
Kosher salt and freshly ground pepper
1 small onion, chopped
3 cloves garlic, finely chopped
2 T tomato paste
2 15-oz. cans chickpeas, rinsed
¼ c or more to taste harissa paste
½ c low sodium chicken broth
¼ c chopped fresh flat leaf parsley
Directions
Preheat oven to 425°F. Heat oil in a large ovenproof skillet over medium high heat. Season chicken with salt and pepper. Working in 2 batches, cook until browned, about 5 minutes per side; transfer to a plate.
Pour off all but 1 T drippings from the pan. Add onion and garlic; cook, stirring often, until softened, about 3 minutes. Add tomato paste and cook, stirring, until beginning to darken, about 1 minute. Add chickpeas, harissa and broth; bring to a simmer.
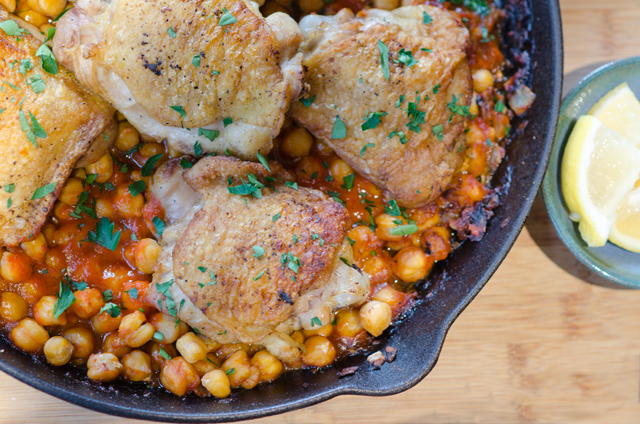
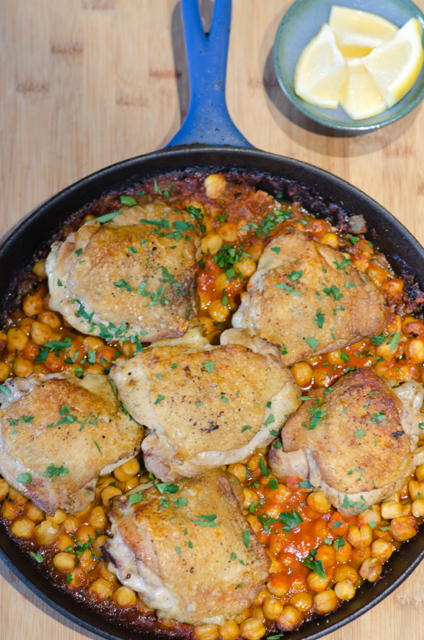
Nestle chicken, skin side up, in chickpeas; transfer skillet to oven. Roast until the chicken is cooked through, 20-25 minutes. Top with parsley and serve with lemon wedges for squeezing over.
 A delicious side dish for holiday entertaining, caramelized Brussels sprouts with apples and walnuts brings out the best in this often maligned vegetable. When Brussels sprouts are cooked in a heavy bottomed saute pan,(think cast iron) they get brown and toasty. When they are cooked in some bacon fat, it even gets better. I save bacon fat in a container in the freezer for moments like this. If you don’t store up bacon fat like me, a combination of butter and olive oil will do just fine.