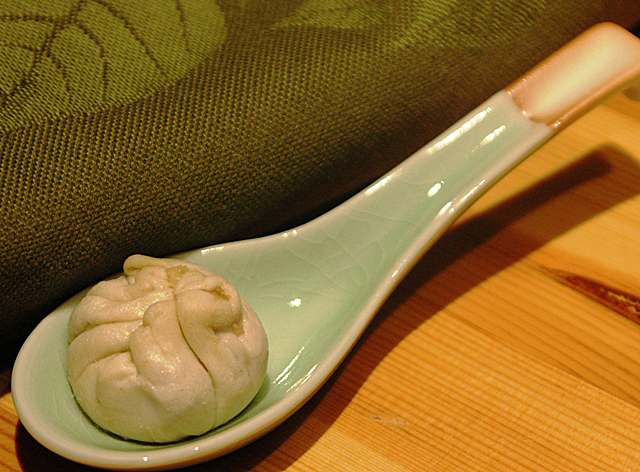
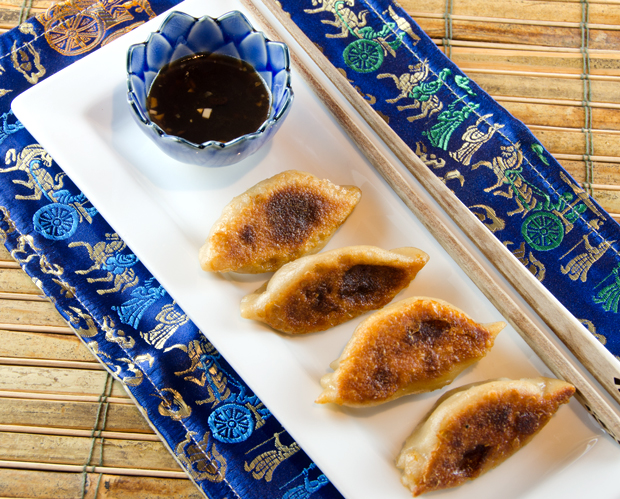
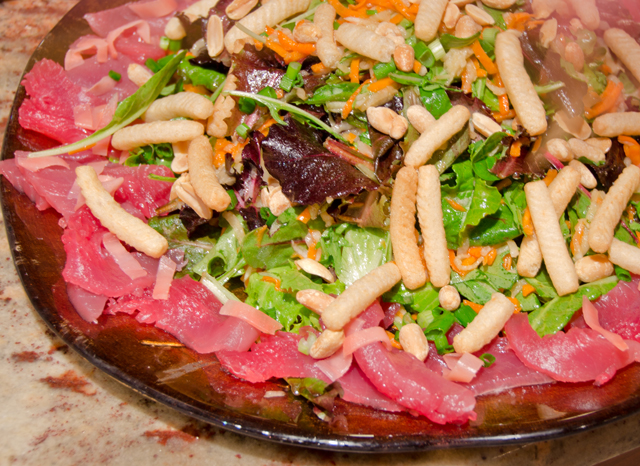
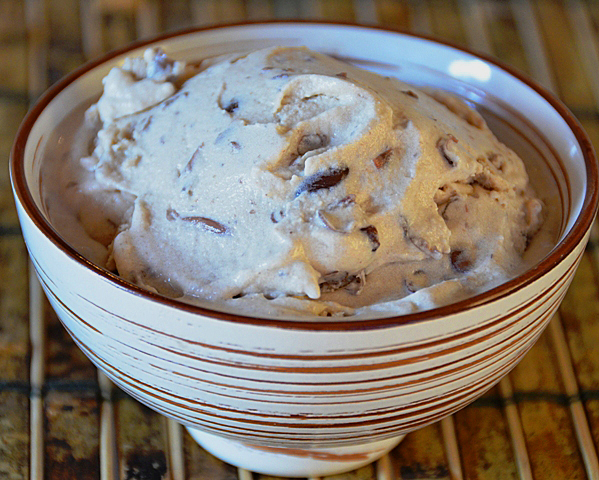
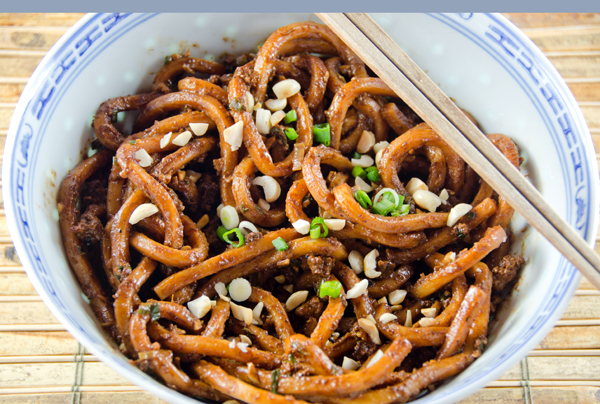
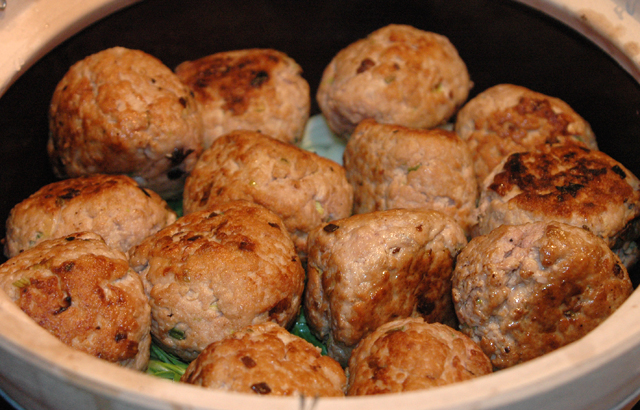
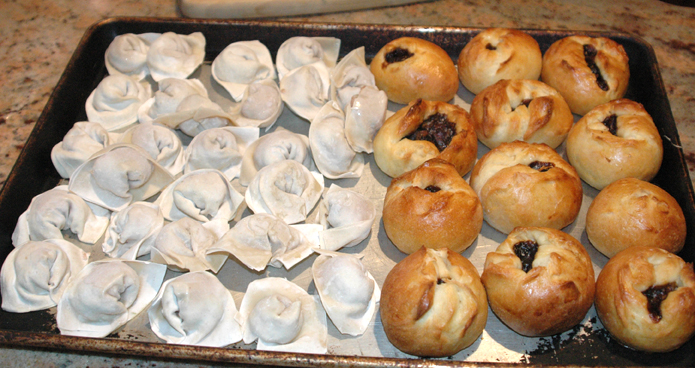
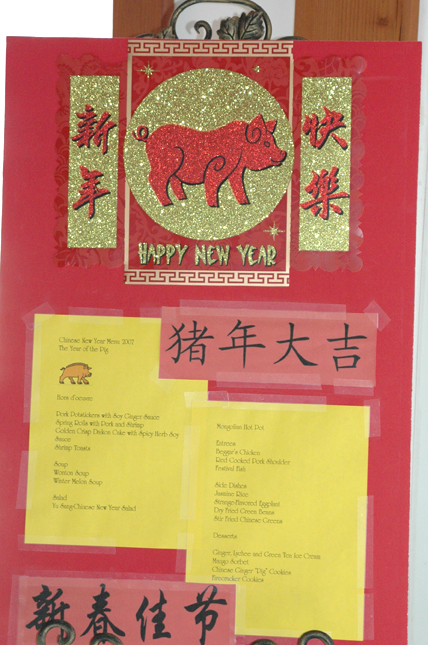
I shouldn’t be home, I should be landing in sunny Florida about now but a snowstorm changed our plans. Since Chinese New Year was this past week, I thought I would share some pictures from our celebrations of previous years.


I shouldn’t be home, I should be landing in sunny Florida about now but a snowstorm changed our plans. Since Chinese New Year was this past week, I thought I would share some pictures from our celebrations of previous years.


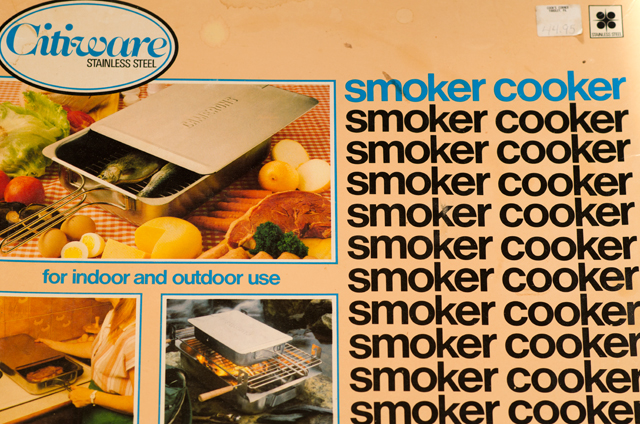
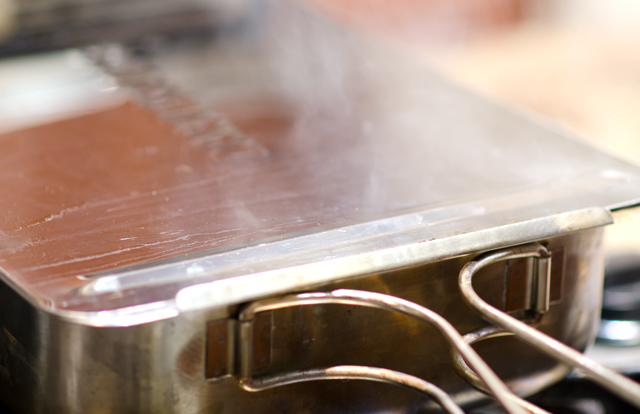
I discovered my love of cooking in the early eighties and a good time for me meant a trip to the cookware store. In those years I was the proverbial gadget queen. Some of them were good purchases, a KitchenAid stand mixer, food processors in different sizes, a serious ice cream maker, all very useful when I was catering. One purchase I made that was a good investment was a stovetop smoker. Made by the Camerons company, the one I purchased thirty years ago looks exactly the same as the one they sell today, at about the same price. The smoker is made from dishwasher safe stainless steel. It is a rectangular box (15″x11″) fitted with a wire rack that sits over a drip tray with a lid that slides on for a snug fit. The handles fold out from the side of the box and stay relatively cool during the cooking time but I would still advise using a potholder. One source said it easily fits over a burner but I have always used it over two burners.
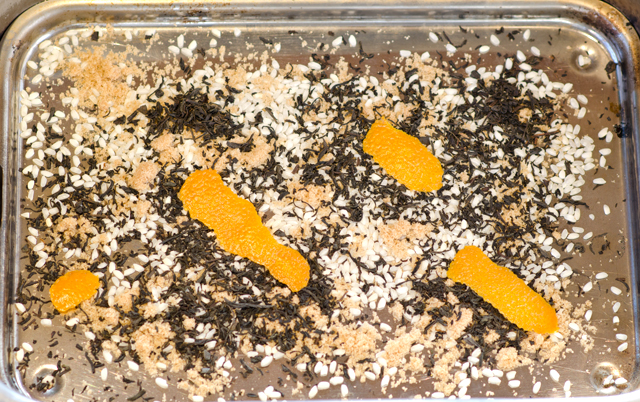
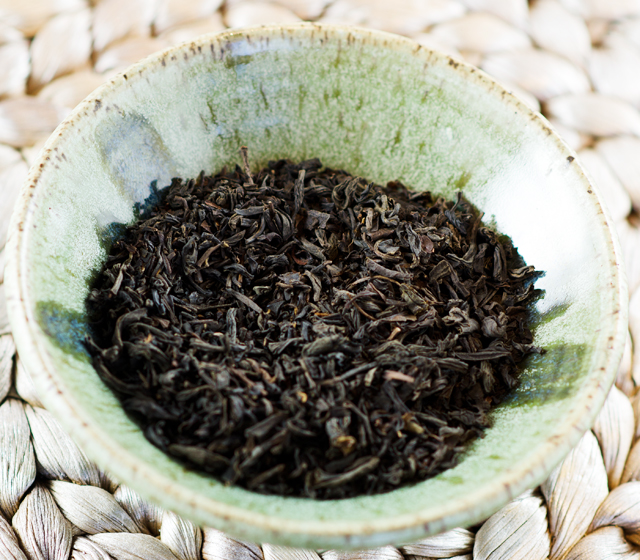
I confess I haven’t used this smoker as much as I probably should. I have smoked cheese, shrimp and, of course, salmon. The Camerons company sells wood chips in oak, alder, hickory and cherry that I have used in the past. This time I chose a different smoking medium, tea. I followed a smoking formula that I have used previously with tea smoked chicken. Brown sugar is used because when sugar caramelizes it forms volatile compounds that enter the air as smoke. This gives the salmon a bittersweet caramel flavor. Rice adds it’s own flavor and absorbs the moisture the sugar creates. This is important because the smoking mixture should be as dry as possible, the goal is to create smoke, not steam. I chose Lapsang souchong, a black tea from the Fujian province of China and Joe’s favorite. The tea is dried over a smoking pine fire that gives it a sweet, clean smoky flavor. I also used some orange peel to add some of it’s aromatics.
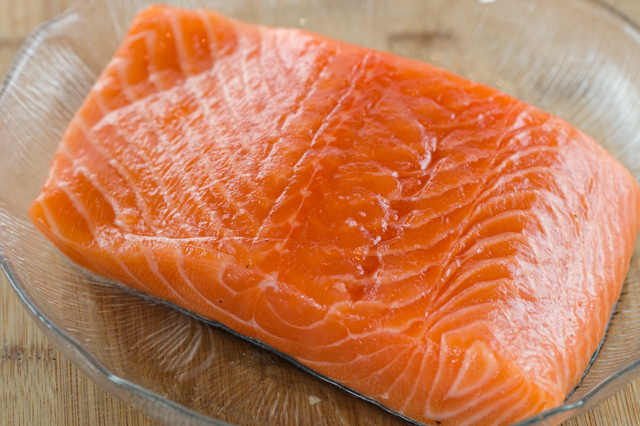
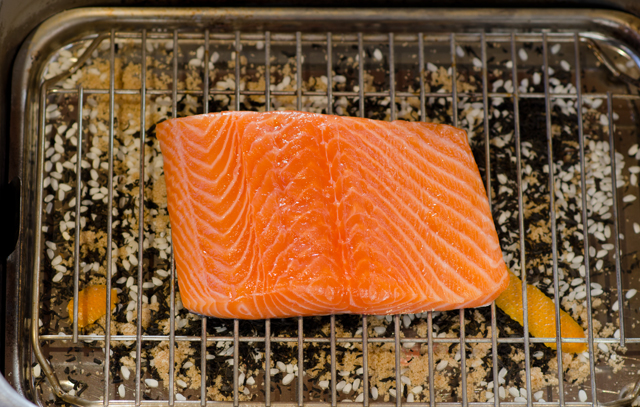
The smoking medium is placed on the base, lining the bottom with foil makes for the easiest clean up. Next is the drip tray, then the wire rack. If you spray the wire rack with a little non stick spray it will make the salmon easy to remove. Place the salmon on the middle of the rack so that the smoke can circulate freely around it. Slide on the lid and close it completely. I turn the burners on to medium high until I see the first puffs of smoke wafting out, then I back it down to a low simmer. The guide states that for every 6 ounces of fish, allow ten minutes cooking time, so the one pound piece of salmon cooked in less than a half hour.
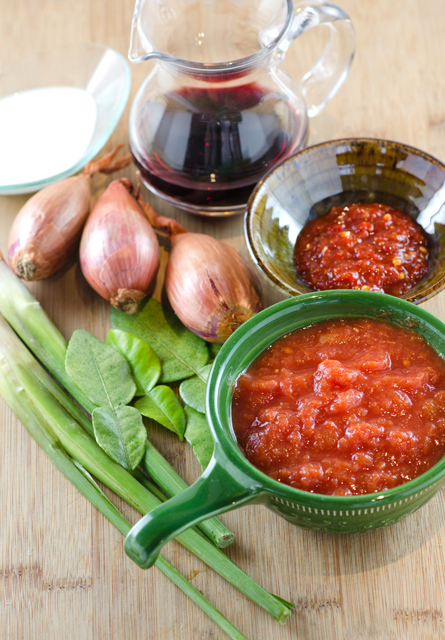
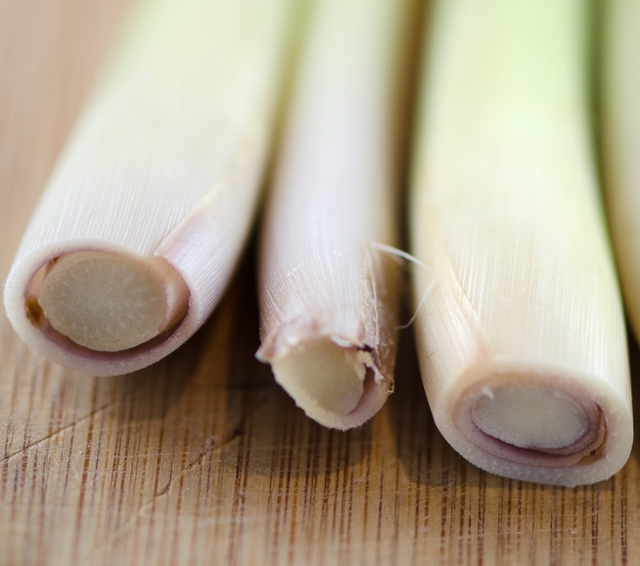
The salmon can be served as an appetizer or a main course. Serve with an accompanying sauce. Horseradish and sour cream or tzatziki would be good choices. I made a sauce that I found on the Martha Stewart website using both lemongrass and kaffir lime leaves. Since I would venture to guess most people don’t have a stovetop smoker, though it is a good investment, a heavy pot or wok lined with foil with a rack that suspends the food over the smoking mixture and a foil lid would be a reasonable substitute.
The booklet that came with the smoker gives recipes for fish, poultry, meat, sausages, cheese and even eggs! It is also suitable for outdoor use, either over a campfire or on the rack of a barbecue. Quoting directly from the booklet it is, “perfect for slimmers” that’s how dieters are referred to in the U.K.. It describes the smoking technique as one that is “widely used in Europe” and it “puts pleasure back into eating.” I must agree, it is a healthy way of cooking and the salmon turned out moist and quite delicious, just lightly scented with smoke. I won’t wait so long in between next time to use the stovetop smoker.
Stovetop Smoked Salmon
Makes 1 pound
Ingredients
Smoking medium
Directions

Kaffir Lime Sauce
Ingredients
Directions
Magazine features come and go over the years and often reveal the trends of the time. In the first issue of Bon Appetit I purchased back in 1982 (!) readers could find a column featuring recipes created using a relatively new appliance, the food processor, “Bon Vivant”, a “who’s who and what’s new in the world of food, wine and spirits”, columns featuring cooking for two, wine and spirits, travel and “Too Busy to Cook”, time saving reader recipes.
One column that has lasted all these years is “R.S.V.P.”, reader’s requests of restaurant recipes. Back in 1982 you could find a baker’s dozen of recipes, everything from zucchini nut muffins to sole wellington with a recipe for homemade sausage thrown in for good measure.
In 2015, “R.S.V.P.” still graces the opening pages of the magazine in a paired down format. The February issue has just three recipes, one per page with an accompanying illustration. One recipe in particular caught my eye this month, Kung Pao Brussels sprouts. This recipe comes from Kevin Gillespie, Top Chef “cheftestant” season six and fan favorite. Kevin is presently the chef owner of Gunshow in Atlanta and the author of a best selling cookbook, Fire in My Belly.
I liked the idea of using the kung pao technique with a vegetable. In the elevated role of the vegetable in today’s cuisine, the first real star was kale and recently that title has been handed over to cauliflower, I feel it’s only a matter of time that Brussels sprouts will take over the spotlight. Like it’s counterparts, kale and cauliflower, Brussels sprouts are a member of the brassica family with the same health benefits. They are packed with antioxidants, vitamin C, folic acid and minerals such as potassium, iron and selenium. Their season is from about mid September to March, and as we have learned from other brassicas, those harvested after the first hard frost are the sweetest.
Kung Pao originates from the Szechuan province of China. The classic preparation involves two main ingredients, spicy chiles that contrast with the crunchy, fatty peanuts. Several sources recount the origins of this dish in similar ways with slight variations. It was either created by or it was the favorite dish of the Gong Bao, a high government official in the nineteenth century. I will leave out the part about the chicken needing to be cut into small pieces because of his dental problems or that the name Kung Pao fell out of favor during the Cultural Revolution. Or maybe you like the alternate explanation, the name Kung Pao loosely translates as “hot firecrackers”. The recipe calls for chile de Arbol but I thought this would be a perfect opportunity to use dried Kung Pao peppers with similar heat that were harvested from our garden.
Rinse the sprouts well and trim the bottoms. Slice in half lengthwise and remove any yellowed or damaged leaves. Toss the sprouts with oil, kosher salt and a generous grind of pepper. At the halfway point I take them out, toss them around a bit and flip the baking sheet in the opposite direction. I took my sprouts out about five minutes sooner than the original recipe called for because I was baking in convection mode. Adjust the heat of the dish to your own comfort level. The dish is supposed to be hot but remember you can always add a little more sambal oelek or another chili pepper, but you can’t take them away.
Assemble the sauce ingredients while the sprouts are baking. Cook the garlic and ginger until deliciously fragrant. Add sambal oelek, chilis and remaining ingredients, thicken with cornstarch and simmer. I found that using half the amount of sugar, 1 1/2 tablespoons, gave the right amount of hot to sweet balance in the dish.
Would I make this again? Definitely and Joe agrees, this sauce could be used with other vegetables, eggplant, green beans or in a stir fry using several vegetables. And that September 1982 issue of Bon Appetit? There’s a recipe for Red Snapper Szechuan, with surprisingly similar ingredients to the Brussels sprouts that looks pretty good to me.
Kung Pao Brussels Sprouts
Ingredients
Serves 6
Directions

If I told you, “we’re having meatballs” you might conjure up a vision of succulent, tender meatballs in a garlicky fragrant tomato sauce, or maybe you are imagining nutmeg scented Swedish meatballs in a creamy gravy. But the meatball is not confined to the West, the Chinese have the Lion’s Head, oversized pork meatballs traditionally cooked in a clay pot and southeast Asian countries such as Thailand, Laos and Cambodia enjoy the street food of seasoned ground meat wrapped in crispy lettuce leaves.
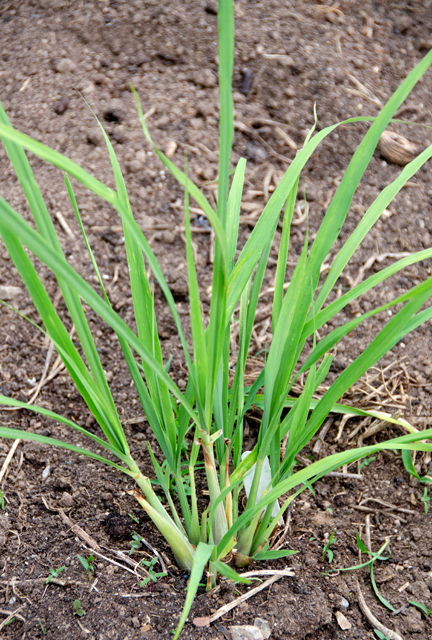
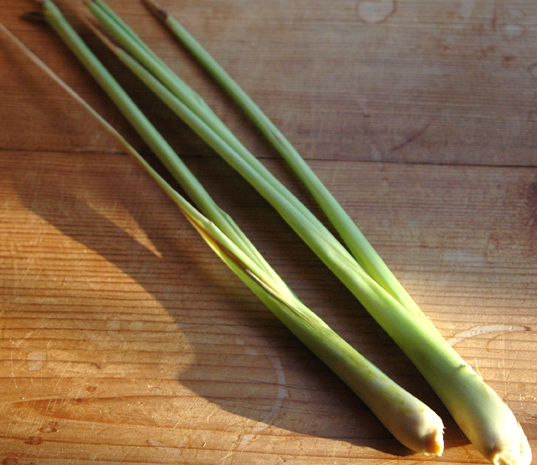
Our love of Thai food has led Joe to grow some of the ingredients that haven’t always been that common in the local supermarket. We have a lemongrass plant that gets large and bushy in the garden every summer. We harvest a large portion of the stalks and freeze them for recipes like this. The significantly cut back plant is brought indoors to winter over. The greatest danger the lemongrass plant meets inside is our Golden Retriever, Cody, who when given the chance, loves to nibble on the leaves. We have three kaffir lime trees that have never produced a lime. That’s okay though, they are grown for their leaves that when crushed produce an intense citrus aroma. We also grow Thai chiles and basil, Vietnamese mint and the herb that no one is on the fence about, coriander.
The dish this is loosely based on larb, a southeast Asian favorite. This recipe makes a do it yourself appetizer or a light lunch . Set out all of your ingredients and let everyone assemble their own wrap. To eat, take a lettuce leaf, top with several meatballs, add some julienned vegetables, an herb leaf or two, a spoonful of sauce and a sprinkling of chopped peanuts. Roll it up and dig in!
Thai Lettuce Wraps with Meatballs
Make about 2 dozen meatballs
Dipping sauce
Ingredients
Directions
Meatballs
Ingredients
Directions
For final assembly
Ingredients
Directions

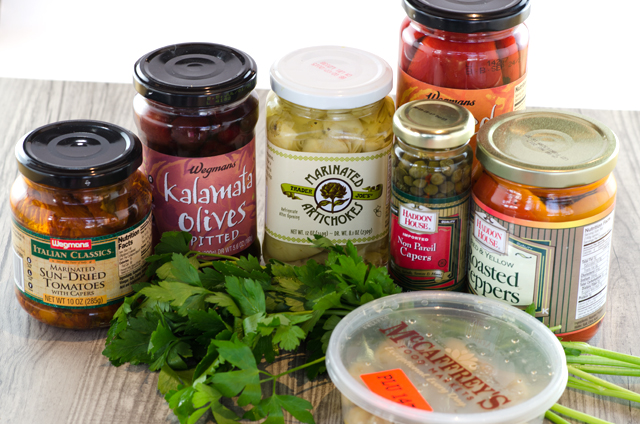
 My yearly “pantry purge” brought to my attention some items that would expire in the next few months and needed to be used sooner rather than later. The jar of marinated artichoke hearts I bought at Trader Joe’s last year would reach it’s expiration date in a month. Not wanting to waste them, I started with the artichoke hearts as a foundation. I looked for other items on the shelf that would add some complimentary Mediterranean flavors. Also in the pantry I found jarred sun dried tomatoes and roasted peppers. In the refrigerator I found a container of olives, a previously opened jar of capers and some fresh parsley. I was set to put together an improvised combination that would work well as a topping for the chicken breasts I planned on cooking that evening. I was calling it a “salsa” though Joe pointed out there was nothing sauce-like about it.
To make this dish I started with the marinated artichoke quarters, draining and reserving the marinade in case I needed to add some to the finished dish. The sun dried tomatoes were next, and even though I drained some of the oil off, they retained enough to give the right balance. Capers add a salty element to the dish so I made sure to rinse them well before adding them to the dish. I used Kalamata olives and Castelvetrano, an olive with a mild buttery flavor and one of my favorites. The red and yellow roasted peppers, just needed to be drained and chopped. Combining all of the ingredients in a medium bowl I tasted for seasoning and in this case, a little bit of lemon juice and a splash of balsamic vinegar was the right addition.
So what should I call this? It’s not quite a sauce, but is a versatile topping for fish, chicken, pasta, it could also be used as an omelet filling or even as a topping for a flatbread pizza. The ingredients are interchangable as well. Petite diced canned tomatoes could be substituted for the sun dried tomatoes, mushrooms for the artichoke hearts, a little pesto would be a good addition, you can see what I mean. It’s just important to taste as you go to achieve the right balance of flavors.
This would have been great over the poached chicken breasts I made from the last post but I decided to learn another method. In this recipe, also from Cooks Illustrated, boneless chicken breasts are lightly salted, then parcooked in a covered casserole in the oven. The chicken is then pan seared in a moderately hot skillet and kept moist with a slurry of flour, butter and cornstarch that is brushed on at the end. It gives a nice coating to the chicken and helps it stay moist. As with all meat, poultry and fish recipes, an instant read thermometer takes away the guesswork and is essential for the best results.
Mediterranean Topping
Makes about 4 cups
Ingredients
Directions
Pan Seared Chicken Breasts
From Cooks Illustrated March 2010
Serves 4
Ingredients
Directions