May 6, 2016 Cauliflower Pizza Crust

DSC_6789aConsider the amazing versatility of cauliflower. Tossed with olive oil, salt and freshly ground black pepper and roasted until it is golden brown, it’s addictive as popcorn. It’s a delicious gluten-free substitute for mashed potatoes and couscous and the secret ingredient in a healthier version of Alfredo sauce.

In this recipe, the vegetable master of disguise is the basis for a pizza crust. I began my research by reading through about 20 recipes for cauliflower pizza I found online. They were written by cookbook authors, celebrity chefs and food bloggers. No two recipes were exactly the same and some were quite vague in their instructions. I used these recipes to construct my own version of a crust that works every time.

Line a pizza pan or a baking sheet with parchment paper. I used a nonstick spray on the corners to make sure it stayed in place. Preheat your oven to 425°F.

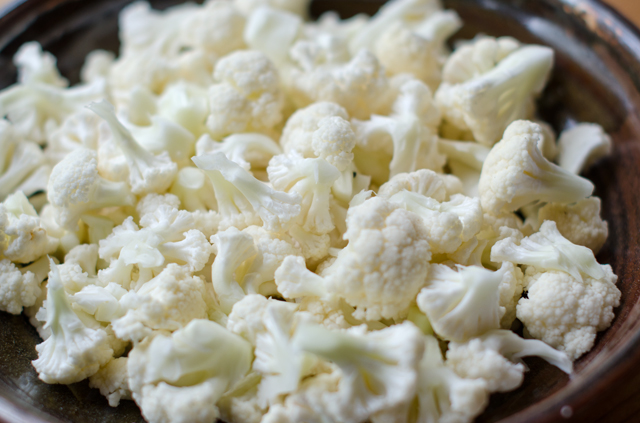
Start with a head of cauliflower, chop it into four cups of smaller florets, you want uniform pieces that won’t overwhelm your food processor.
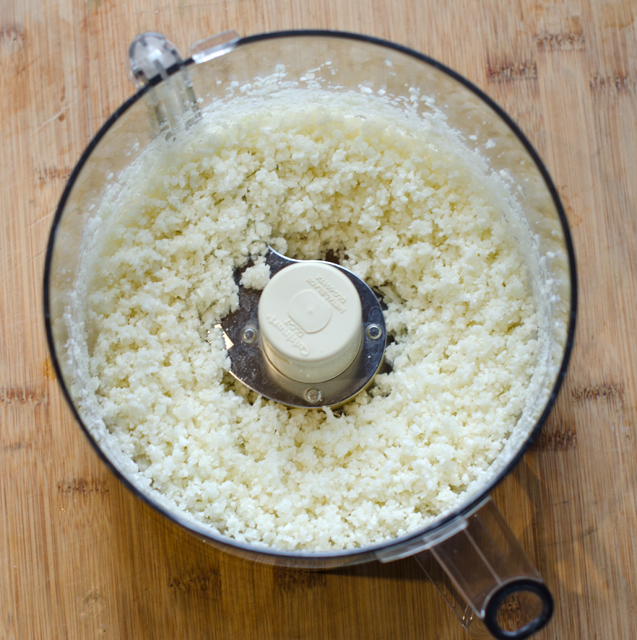
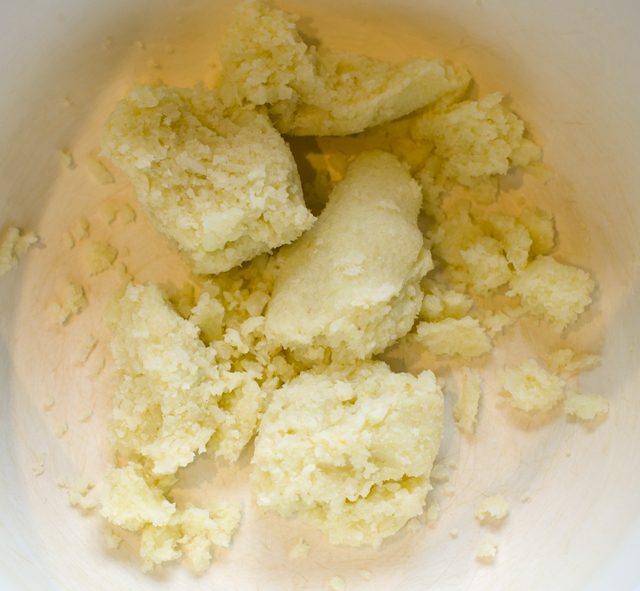
If you are using a hand grater leave the pieces larger and the stem attached so you don’t scrape your fingers. Save the stems for cauliflower mashed potatoes. Pulse the florets with the metal blade in the food processor until the cauliflower is the consistency of small grains of rice or couscous. Some writers referred to this as cauliflower “snow”. 4 cups of cauliflower florets yielded two and three-quarter cups of finely chopped cauliflower.

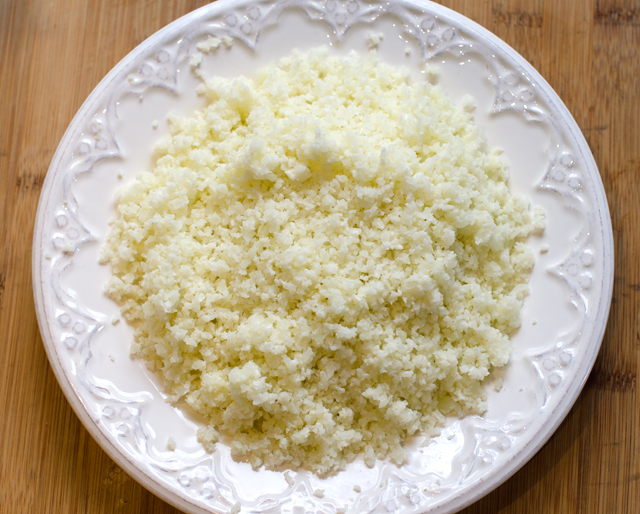
Cauliflower needs to be cooked to get rid of excess moisture. Some of the recipes I read called for sautéing the cauliflower on the stove top, others chose steaming and a few didn’t cook it at all. I am not a big fan of the microwave, but I feel it’s the easiest way to cook the cauliflower for this recipe and there is no need for additional water to be added. Place the cauliflower in a microwave safe container and cover with plastic. I cooked mine on the “fresh vegetable” setting for about six minutes. Let the cauliflower cool thoroughly before proceeding with the next step, if you don’t you could easily burn your fingers.

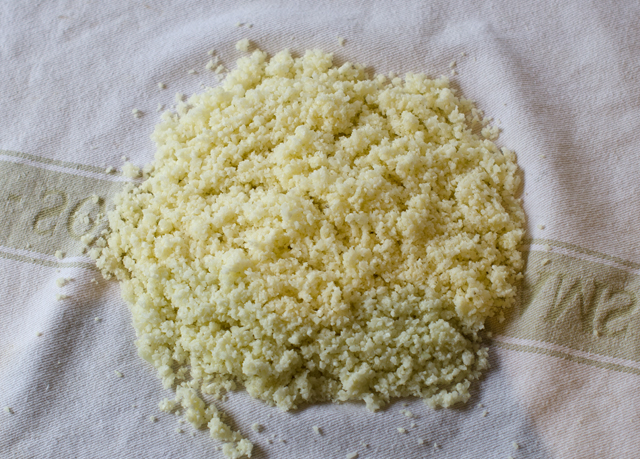
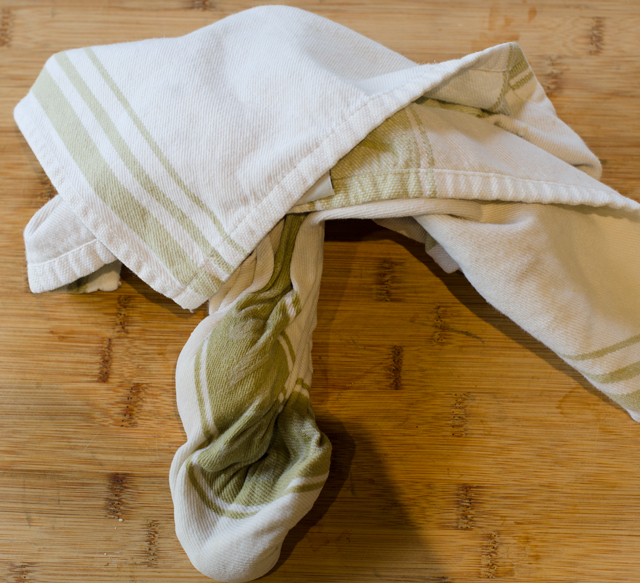
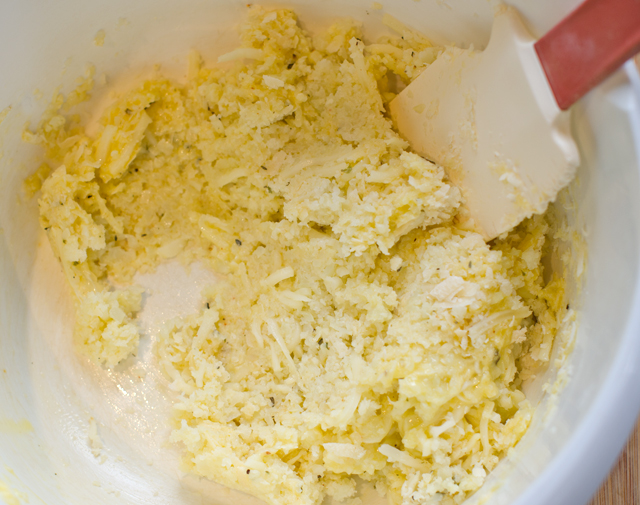
The next step is crucial to the success of this recipe. Dump the cauliflower into the center of a clean, cloth dish towel. Gather up the four corners and twist. Squeeze the bottom to extract as much liquid from the cauliflower as possible. When you think you’ve squeezed enough, squeeze one more time. Transfer the cauliflower pulp to a bowl, you should have about a scant cup. Add to this one lightly beaten large egg, a pinch of salt, three quarters of a cup of shredded mozzarella, half cup of shredded Parmesan cheese. Although not necessary you can add a half teaspoon each of dried oregano and basil. Mix first with a spatula to incorporate the ingredients, then mix with your hands for best results.

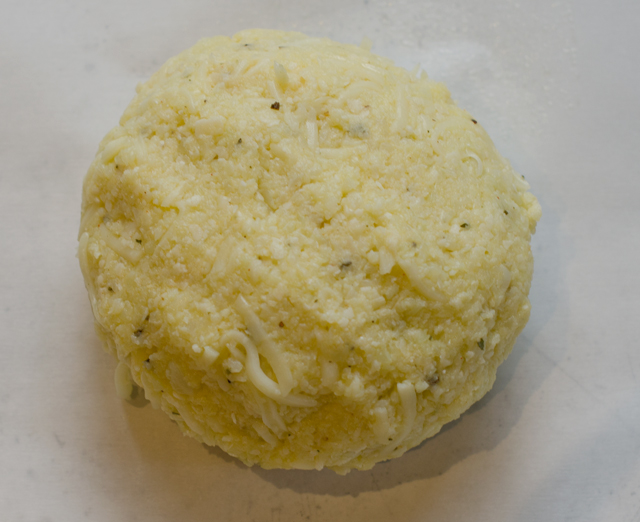
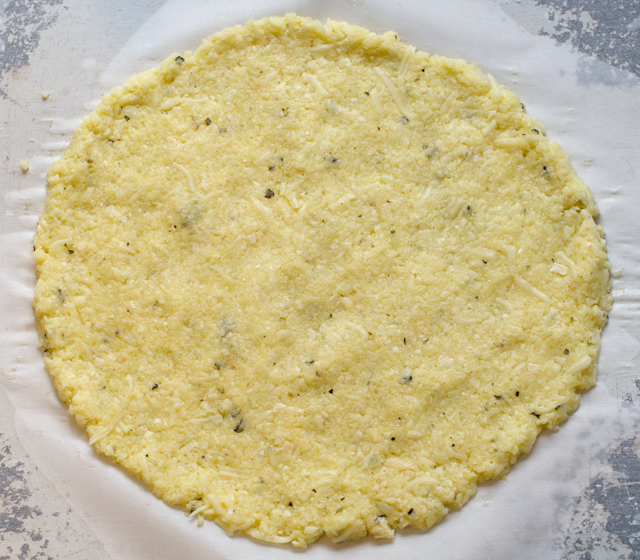
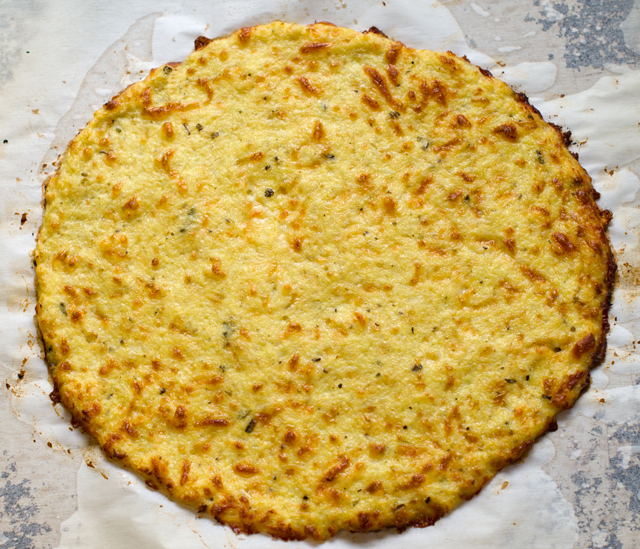
Form into a disk and place on the prepared baking sheet. Press out from the center evenly to make a 10 inch circle. Be sure that the crust is evenly pressed out, with no thin or thick spots. Some sources said to spray the surface of the parchment paper with nonstick spray but I didn’t and my results were fine. Place the baking sheet on the middle rack of your preheated oven. Bake until spotty brown, it took about 12 minutes in the convection oven, it may take you a little longer for a conventional oven.

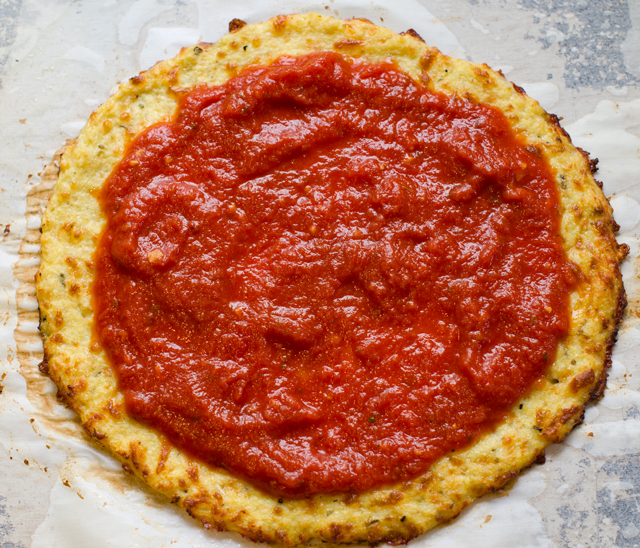
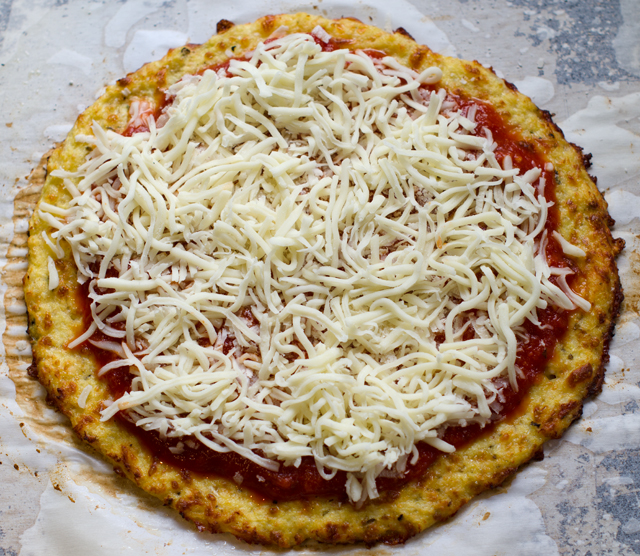
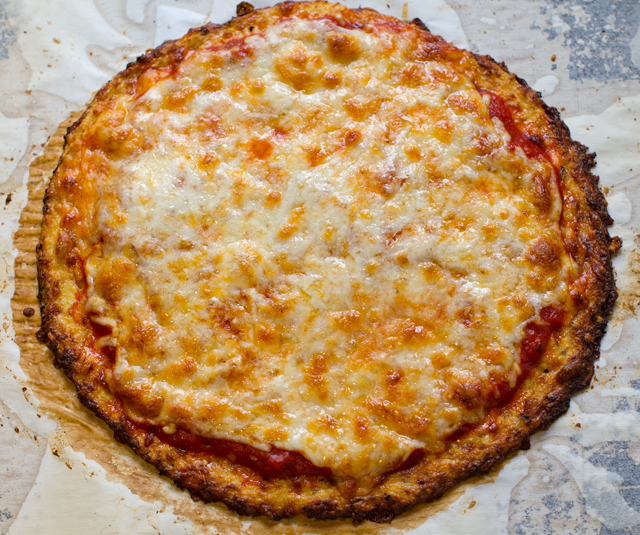
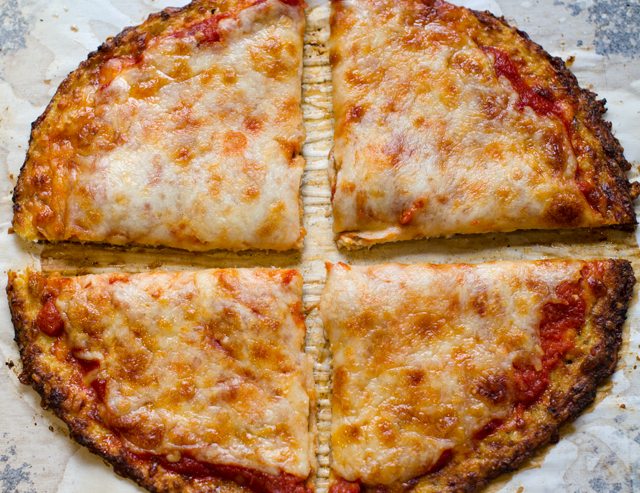
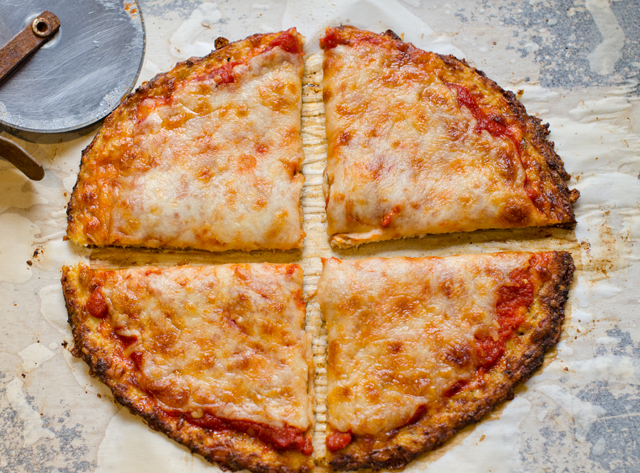
Remove baking sheet from the oven and add your favorite toppings. I made a basic tomato sauce and mozzarella cheese pizza. I baked it in the oven for another 10 minutes, until the cheese was melted and bubbly. I was able to cut the pizza with a wheel and the slices held together nicely.  The possibilities for toppings are endless. In about a month or so I will be topping this crust with basil pesto and thinly sliced zucchini.
DSC_6762a
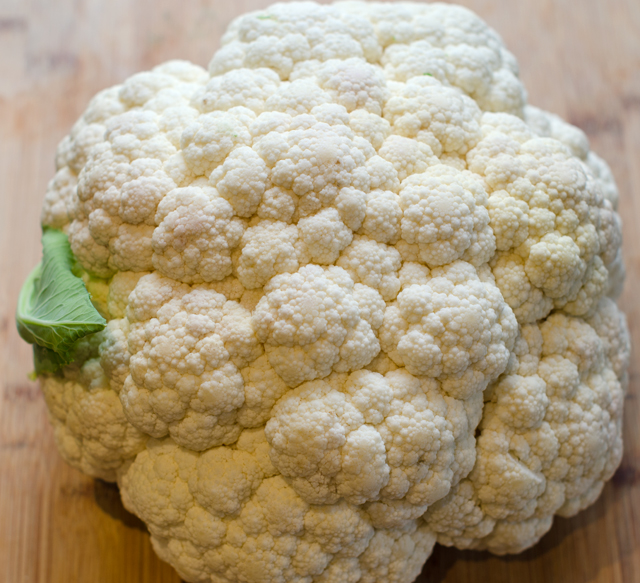
Start with a large head of cauliflower, you won’t need it all.
DSC_6792a
Separate into smaller florets.
DSC_6766a
Add to the food processor with metal blade attached.
DSC_6767a
Process finely until you get rice or couscous like granules.
DSC_6771a
Now it is ready for the microwave.
DSC_6799a
Place the cooked cauliflower in the middle of a cotton dishtowel.
DSC_6801a
Squeeze to extract all the excess liquid.
DSC_6773a
You will be left with cauliflower “pulp”.
DSC_6774a
Mix in beaten egg, cheeses, salt and dried herbs.
DSC_6776a
Form it into a ball.
DSC_6778a
Flatten into a 10 inch round.
DSC_6779a
Bake at 425 F for ten to fifteen minutes, until starting to brown in spots.
DSC_6782a
Top with sauce.
DSC_6783a
And mozzarella cheese.
DSC_6785a
Bake for 10 minutes, until the cheese is bubbly.
DSC_6787a
Delicious!

Makes one 10″ round

Ingredients

  • 4 cups of cauliflower florets
  • 1 large egg, lightly beaten
  • ¾ c shredded low fat mozzarella cheese
  • ½ freshly grated Parmesan cheese
  • ½ t dried oregano
  • ½ t dried basil

Directions

  1. Line a rimmed baking sheet or pizza pan with parchment paper and preheat oven to 425°F.
  2. Chop cauliflower into 4 cups of smaller florets. Transfer to a food processor and pulse until the cauliflower is the consistency of rice or couscous, my finished product measured 2 ¾ cups. Alternately grate larger pieces on a box grater until you have 2 ¾ cups of finely grated cauliflower.
  3. Place in a large bowl and microwave on high for 6 minutes. Remove from oven and let cool.
  4. Dump the cauliflower into the center of a cotton dish towel, flour sack types are best. Draw up the corners and twist tightly. Squeeze the cauliflower in the dish towel to extract as much liquid as possible.
  5. Transfer the cauliflower “pulp” to a bowl. Next, add the beaten egg, cheeses and herbs. Combine with a rubber spatula and for best results, finish the mixing with your hands.
  6. Form into a disk and place on the prepared baking sheet or pan. Press out from the center to make an even 10″ round.
  7. Place baking sheet on the lower middle rack of the preheated oven. Bake until spotty brown, mine took about 12 minutes, the crust may be ready anywhere from 10 to 15 minutes.
  8. Remove crust from the oven and top with your favorite pizza combinations. Bake until cheese is melted and bubbly, another 10 minutes.


March 4, 2014 “Masterpizzas”

DSC_4678a

Picasso, Renoir, Monet, artists with different styles but all started their paintings with the same thing, a blank canvas.  A pizza dough can serve the same role.  It becomes the canvas for the toppings you “paint” on your dough. An article in the March issue of Martha Stewart Living, “Modern Masterpizzas” featured pies that were inspired by artists from Picasso to Pollack. These unique brightly colored canvases were the inspiration for the pizza course that became part of the Valentine’s Day menu.  Martha’s pizzas were abstract looking rectangular creations topped with everything from brussels sprouts and delicata squash to a slightly more conventional prosciutto and mozzarella pie.

Joe has always been quite the pizza master. His first job as a teenager was at the most popular pizza shop in the area where he worked his way up from dishwasher to pizza maker. One of his more surprising talents is spinning and throwing pizza dough. So I was certain he would be up to a pizza challenge. He has liked the dough that I have made for several years but decided to use the dough in Martha’s recipe. My dough uses unbleached all purpose flour, Martha’s dough uses bread flour and three times the amount of yeast in the recipe I use. I prefer instant dry yeast in all my pizza and bread recipes. Instant dry yeast does not need to be dissolved in warm water like active dry yeast and can be added with the other dry ingredients. Joe found the dough made with the bread flour tore easily. It definitely rose much more than the pizza dough I make. As Joe put it, dough made with bread flour is not a “spinning dough”. So he worked the dough into the pan, baked it a short time until he could remove the pan and allow the bottom of the crust to brown.

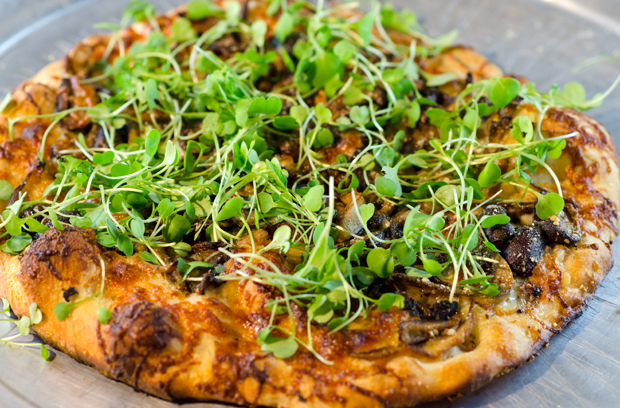
He made two different types of pizza for this occasion. One was topped with an assortment of mushrooms, cremini aka “baby bellas”, shiitake and oyster that were sauteed in butter, olive oil and garlic. After the pizza was removed from the oven, he scattered baby arugula leaves on top. The best of both worlds, pizza and salad.

The other pizza was topped with four Italian cheeses and pancetta.  Like bacon, pancetta originates from pork belly. Bacon is cured by both brining and smoking. Pancetta is cured with salt and pepper but not smoked. Pancetta is readily available these days, even in the “big box” stores. I rewrap it from the original packaging and store it in the freezer for moments like this. Bacon or prosciutto could be substituted for a slightly different flavor profile.

When that pie came out of the oven, he drizzled a little honey over the warm pizza. The saltiness of the pancetta was the perfect contrast with the honey. Honestly, I think I could have eaten  the whole pizza  but used a little restraint, knowing I needed to save my appetite for the many courses yet to come.

DSC_4674a
Mushroom and four cheese pizza on the peel ready to slide back into the oven after a short prebake.
DSC_4677a
The warm mushroom and cheese pizza is topped with baby arugula. Can’t wait for spring and our own greens!


Martha’s Pizza Dough

Makes enough for three 12″ round pies

Ingredients

  • 4c unbleached bread flour, plus more for dusting
  • 1 1/2 t instant dry yeast, I use Fermipan 2 in 1
  • 1 3/4c water at room temperature
  • 2 1/4t coarse salt
  • 1T extra virgin olive oil, plus more for brushing and bowl

Directions

  1. In a large bowl, whisk together the flour and yeast. Slowly add water, mixing with a wooden spoon until incorporated. Stir in salt and oil. The dough will be lumpy and raggedy. Brush with oil. Cover bowl with a dry kitchen towel and let rest 1 hour.
  2. Turn out dough onto a floured surface and pat with flour. Continue to flour your hands as you work. Holding two opposite sides, pull dough until about a foot long, then fold back onto itself and pinch ends together. Repeat 4 more times, rotating dough each time to stretch alternate sides, until it feels smooth.
  3. Place dough in a well-oiled large bowl; brush with oil. Cover with plastic wrap and let rise in refrigerator until doubled in bulk, at least 24 hours and up to 48 hours.
  4. Turn out dough onto floured surface. Cut into 3 equal parts; form into balls. Brush with oil; cover. Let rest 1 hour.
  5. Place dough on fists and use knuckles to begin stretching dough from middle, rotating it slightly as you work. Set on surface and continue to stretch from all sides to form a rough 10-by-14-inch rectangle. Dough may tear at this point, just pinch it back together if that occurs.
  6. Transfer dough to a lightly oiled 12 round or 9-by-13 inch rimmed baking sheet. Pull edges to fill pan.

Wild Mushroom and Four Cheese Pizza  topped with Arugula

Ingredients

  • 2 cloves garlic, finely chopped
  • 1T olive oil
  • 2T unsalted butter
  • 8oz assorted mushrooms, about 3 cupes (Joe used porcini, oyster and shiitake)
  • 1 1/2c shredded four cheese Italian blend.
  • Baby arugula or other micro green
  • One pizza crust from the preceding recipe

Directions

  1. Place pizza stone on the bottom rack of the oven if using. Preheat oven to 500°F.
  2. Over medium high heat melt butter and olive oil in a sauté pan. Add mushrooms and cook until softened, 7-9 minutes.
  3. Brush pizza crust with a thin coating of olive oil. Evenly sprinkle cheese over the crust. Top with the sautéed mushrooms.
  4. Bake until cooked through, the crust should be golden on the edges and the cheese should be golden brown in spots, about 15 minutes. Joe bakes his pizza on the sheet for about 5 minutes, uses a pizza peel to remove the pan and bakes the pie directly on the pizza stone until it is done. This allows the bottom of the crust to brown nicely.
  5. Sprinkle arugula or micro greens over the warm pizza. Slice into 6 pieces and serve.

Honey Drizzled Pancetta and Cheese Pizza

Ingredients

  • 1 1/2c shredded four cheese blend or mozzarella
  • Thinly sliced pancetta to cover the pizza
  • Honey

Directions

  1. Place pizza stone on bottom rack of oven if using. Preheat oven to 500°F.
  2. Sprinkle cheese evenly over the crust. Bake for about five minutes or until it is easy to remove crust from the pan with a pizza peel. Return pizza to oven and continue to bake for another five minutes.
  3. Layer pancetta over the cheese and bake for another 5-7 minutes, until crust is golden around the edges.
  4. Remove pizza from oven with a pizza peel and slide pizza onto a cutting board. Lightly drizzle honey over the pancetta. Slice into 6 pieces and serve.