Fall is a season of transition. We still grill outside but our chilly evenings have moved our dining permanently indoors. It’s time to return to the comfort foods of fall. Since lobsters were on sale this week at a local supermarket I wanted to incorporate them into our Sunday dinner. After browsing through some recipes on the Fine Cooking website, I thought the recipe for Lobster Mac and Cheese seemed like a great choice. Who doesn’t love creamy macaroni and cheese and the addition of lobster would take it over the top.
Lobster is a splurge even when it’s on sale. It’s hard to believe that lobsters were considered peasant food and the fare of slaves and prisoners in the nineteenth century. If you are squeamish about cooking your own lobster, I have found that most markets will steam the lobsters for you at no additional charge. Joe steamed the lobsters for me. He cooked them for a minute less than if we were eating the lobsters on their own, just steamed. The lobster will cook a little more when the mac and cheese bakes and overcooked lobster would defeat the purpose of adding it to the dish in the first place.
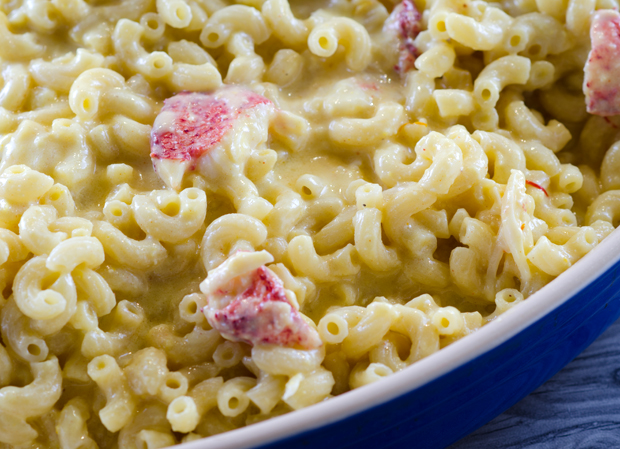
I removed the lobster meat from the tails and the claws with assistance from my lobster cracker, trusty Cutco scissors and seafood pick. I kept the pieces on the large side, about 2 inches so that everyone would get good chunks of lobster. The shells went into freezer bags for a future lobster stock.
The sauce for the mac and cheese begins with a roux. A roux is made with equal parts flour and fat, in this case, unsalted butter. Melt the butter over medium heat, when the butter is melted and starts to bubble, add the flour and start whisking. The roux will eventually liquefy in about 3-4 minutes, continue to cook the roux over low heat to eliminate any floury taste. Still whisking, now slowly add the milk to the roux until it comes to a simmer. Now is the time to add the cheeses, nutty Gruyere, Emmenthaler and a sharp Cheddar, spices and salt and freshly ground pepper to taste. I chose smoky Spanish paprika, dry mustard and just a pinch of saffron to compliment the lobster.
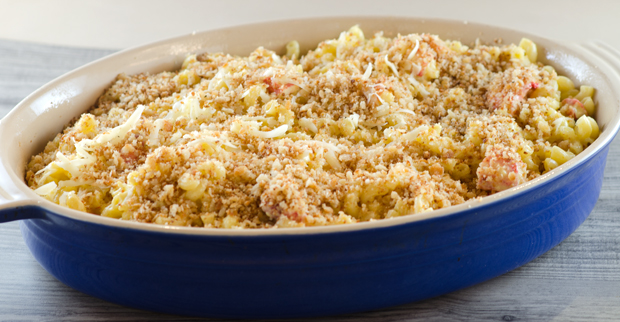
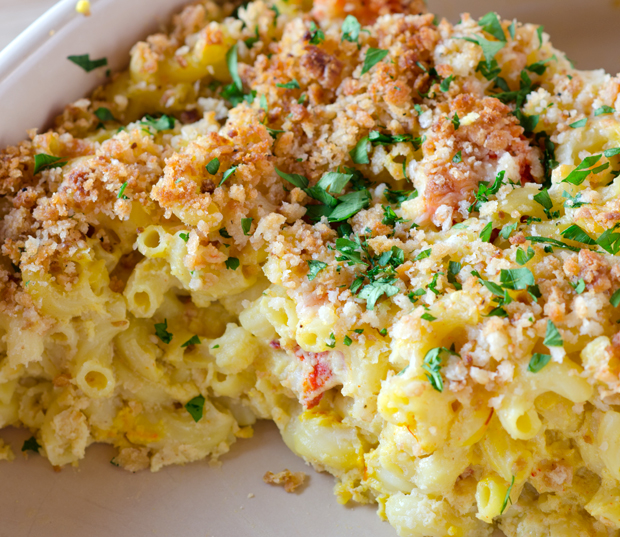
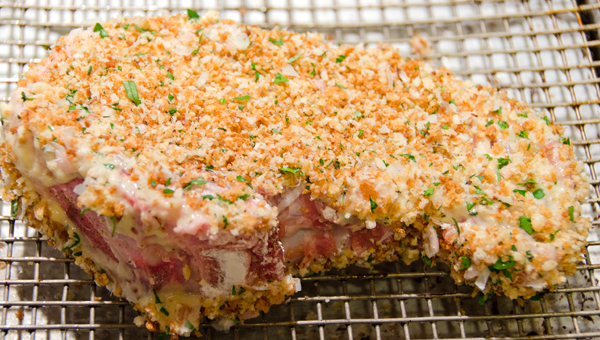
My pasta of choice was the traditional elbow macaroni but any small shape that has a lot of nooks and crannies would work well. I made my dish in one large casserole but individual gratin dishes would also be an excellent choice. A crunchy breadcrumb topping gives a nice contrast to the creamy filling underneath. If you have leftovers, the good news is, as with any good mac and cheese dish, it’s even better the next day.
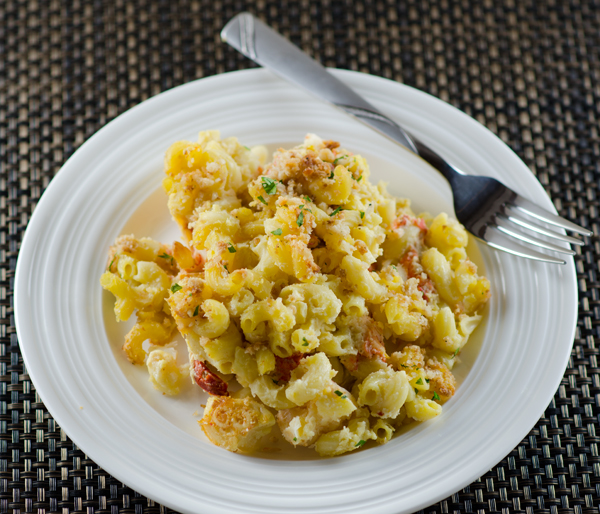
Lobster Mac and Cheese
Adapted from Fine Cooking
Ingredients
- 7T unsalted butter, a little more for the baking dish
- 1c breadcrumbs, or 2 slices stale white bread
- Kosher salt and fresh ground pepper
- 1/3c all purpose flour
- 4c whole milk
- 1 1/2c each Gruyere, Emmenthaler and Cheddar cheese
- 1t dry mustard
- 1/4 to 1/2t saffron threads
- 1t Spanish smoked paprika
- 1lb pasta-I used elbow, choose something small to medium with lots of nooks and crannies
- 4-1 1/4lb lobsters, steamed, shelled, meat cut into 2-inch pieces
- 2t finely chopped flat leaf parsley, for garnish
Directions
- Heat the oven to 425°F. Lightly butter a 3-quart ovenproof dish and set aside.
- If using bread, tear it into 1-inch pieces and pulse them in a food processor until smooth. Melt 2T of the butter in a skillet over medium heat, add the breadcrumbs and swirl to coat with butter. Cook the breadcrumbs until browned, about 2-3 minutes. Season with salt and pepper. Set the crumbs aside.
- In a large saucepan, melt the remaining 5T butter over medium heat. When the butter begins to bubble, whisk in the flour and cook, until the mixture begins to liquefy, 3 to 4 minutes. Continue to cook the roux over low heat until it has a toasty smell. Whisk in the milk in a slow steady stream, whisking constantly for 3 minutes. When the sauce comes to a simmer, stir in the cheeses, saffron, dry mustard and smoked paprika; season with salt and pepper to taste. Remove from the heat and cover.
- Boil a large pot of water, season with salt, and cook pasta according to package directions. Drain the pasta well and pour it into a very large bowl.
- Add the cheese sauce and lobster chunks to the pasta; mix well. Transfer to the prepared dish. Sprinkle the breadcrumb topping evenly over the macaroni mix. Bake uncovered for 20 to 30 minutes, or until golden brown. Let cool for 5 minutes before serving. Garnish with parsley and serve.