When given a choice between ice cream and sorbet, nine times out of ten I am going to opt for ice cream. But when the frozen treat is made with rich dense chocolate and cool refreshing mint I will be the first to make my choice sorbet.
Sorbet, by definition is a frozen dessert that contains no dairy or eggs. Most of the time it is made with a fruit base, but in this recipe, chocolate, in the form of semi or bittersweet chunks and cocoa powder bring an unexpected creamy smoothness to the frozen treat.
Making sorbet is relatively easy. It starts with a syrup that combines the simplest of ingredients, granulated sugar and water. The typical one to one ratio of many simple syrups is increased in this recipe to more than three to one (water to chocolate) because of the addition of sweetened chocolate to the syrup. If you chose to use unsweetened chocolate the syrup should be sweeter. The two are brought to a boil, taken off the heat and infused with sprigs of mint.
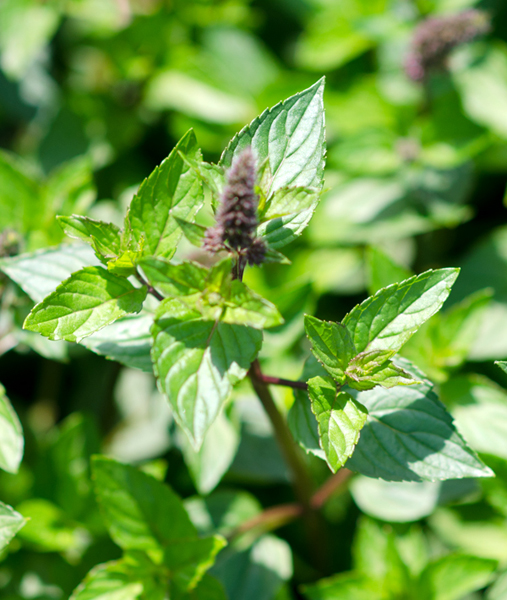
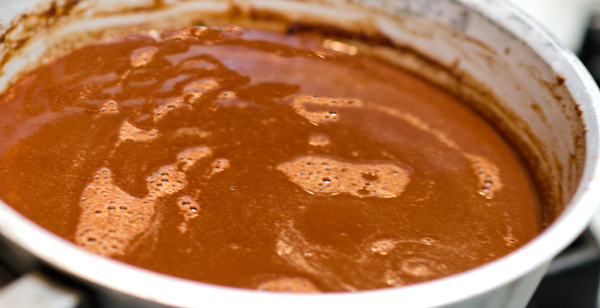
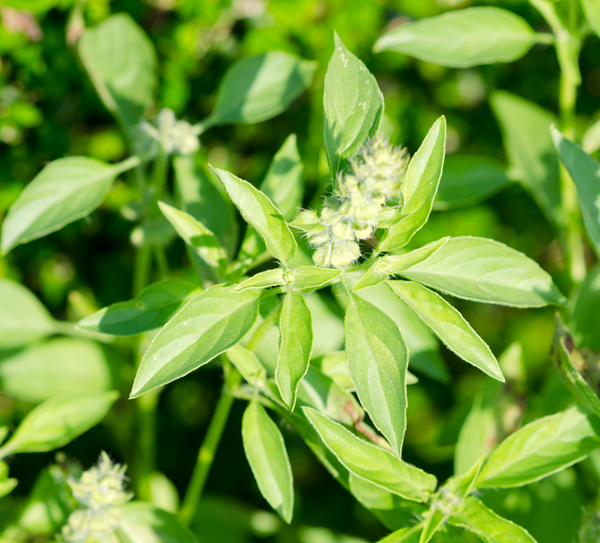
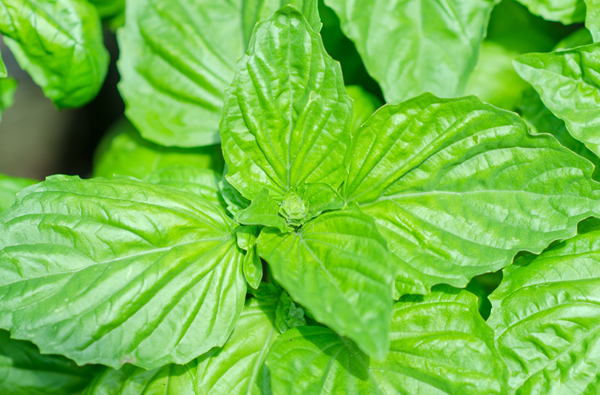
Mint is one of the easiest herbs to grow and we have many varieties in our garden. It is a perennial (meaning it will come up every year) and can quickly become invasive. Either choose an area in the garden where you don’t mind if it spreads or plant mint in containers. I chose spearmint for my sorbet, it has a milder, sweeter flavor than the more robust flavor of peppermint. Mint can be quite intense so taste your syrup after it has steeped a bit. A half hour is usually my stopping point. The mint should bring a refreshing flavor and never overwhelm the mixture. Strain the simple syrup, I like to do this several times to ensure no particles of mint are left behind. Return the syrup to a simmer add the chopped chocolate and cocoa powder and whisk until smooth. Choose a good quality chocolate for your sorbet since it will be the star of the dish. In a 2008 taste test with a large selection of brands, Cooks Illustrated recommended both Callebaut and Ghirardelli, the later having a wider distribution in many supermarkets.
Whisk the mixture until smooth. Refrigerate until thoroughly chilled, overnight works best. Be sure to stir the mixture before adding it to the ice cream maker. If you don’t own an ice cream maker you can still make this dessert. Place the mixture in a shallow wide stainless steel pan and place in the freezer for several hours until set. Remove the pan from the freezer and puree the almost frozen mixture in a food processor. Return this mixture to the pan, cover and freeze several hours before serving. The texture will be more grainy, like a granita, but just as delicious. Let the sorbet stand at room temperature for about ten minutes to soften before scooping. So when you crave something cold and minty with some satisfying richness, try this delicious treat.
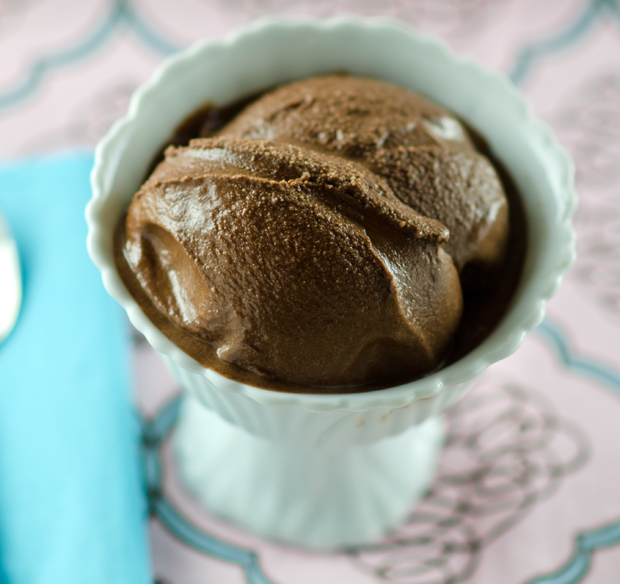
Chocolate Mint Sorbet
Makes 5 cups
Ingredients
- 3/4c granulated sugar
- 3c water
- 6 4-inch sprigs of peppermint, spearmint or chocolate mint
- 6 oz premium bittersweet or semisweet chocolate, chopped
- 1/2c unsweetened cocoa powder
Directions
- Bring the sugar and water to a boil in a medium saucepan. Add the mint, cover, and remove from the heat and steep for 30 minutes. Strain and return the syrup to the saucepan.
- Return the syrup to a simmer. Add the chocolate and cocoa, remove the pan from the heat and whisk until smooth. Refrigerate until thoroughly chilled. Freeze in an ice cream maker according to manufacturer’s directions.