March 7, 2017 Pad Thai, a light version

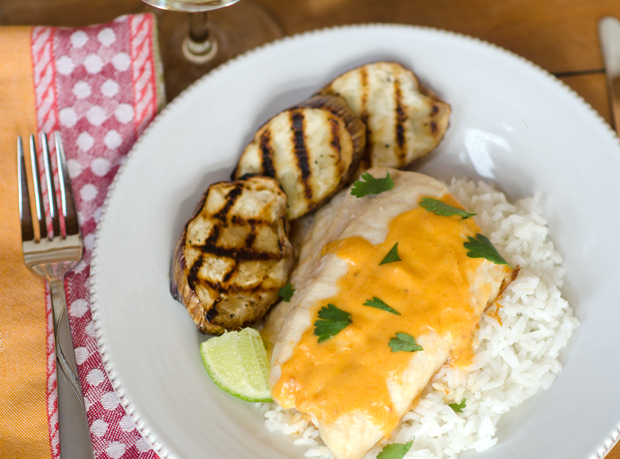
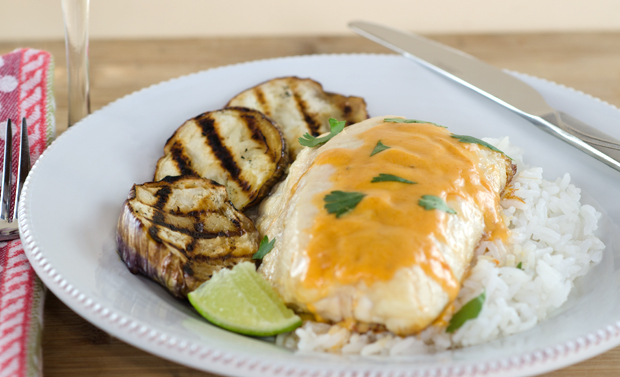
Since Joe has already lost ten pounds on a South Beach phase 1 diet, I am looking for ways to adapt recipes we already like to fit the plan. My latest “rework” is Pad Thai. Pad Thai is a stir fried noodle dish, typical food cart fare in Thailand that over the last thirty years has gained popularity worldwide.

Most of the Thai cookbooks I own are over thirty years old and I was surprised to see that I rarely found a listing for Pad Thai in the index. What I did find were recipes for “Noodles, stir fried Thai style”. I learned that Pad Thai was made popular in the 1930’s and ’40s as part of an attempt to modernize and revitalize the economy of the country. The full name of the dish is  Kway teow phat Thai. Kway teow means rice noodles in a Chinese dialect and phat Thai means Thai-style, hinting at the possible Chinese origins of the dish.

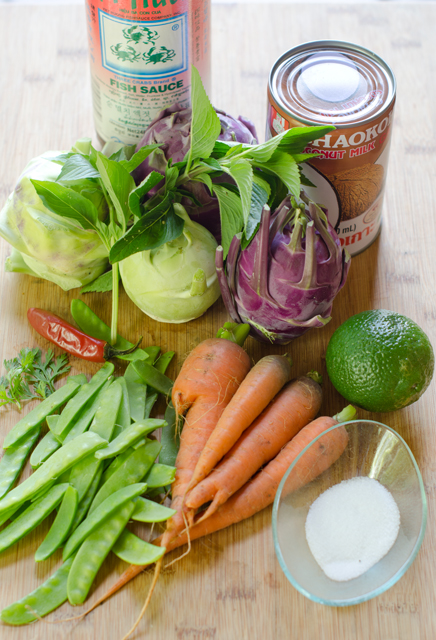
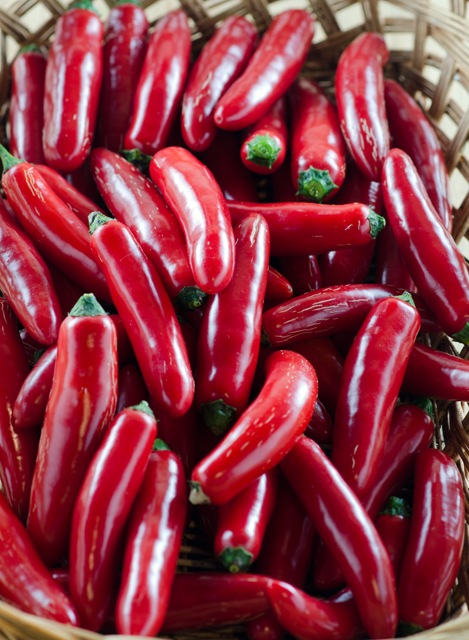
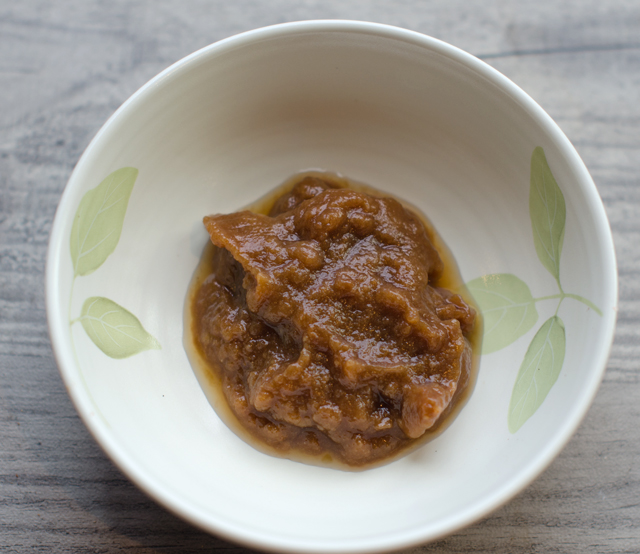
The dish is a harmonic combination of flavors, umami (fish sauce), sour (lime or tamarind paste), salty (soy sauce or tamari) and sweet (palm sugar). Fish sauce used to require a special trip to the Asian grocer, now it can be found in most large supermarkets. I prefer tamari in recipes over soy. A by product of miso production, it is thicker and less salty than soy sauce. Palm sugar is a sweetener made from the sap of the flowers of the coconut palm tree. The taste is similar to brown sugar with caramel and butterscotch notes. Tamarind comes from the pods of a large tropical tree and adds a pleasant sweet tart note to dishes. . If you look at the list of ingredients on a Worcestershire sauce bottle, tamarind extract is one of the ingredients. Lime juice is usually substituted when tamarind isn’t available. Another recipe I found in my research called for apricot or prune puree if a substitute for tamarind was needed. One well known cookbook author recommended ketchup as a substitute for tamarind, texture yes, taste, not like any ketchup I’ve tried.

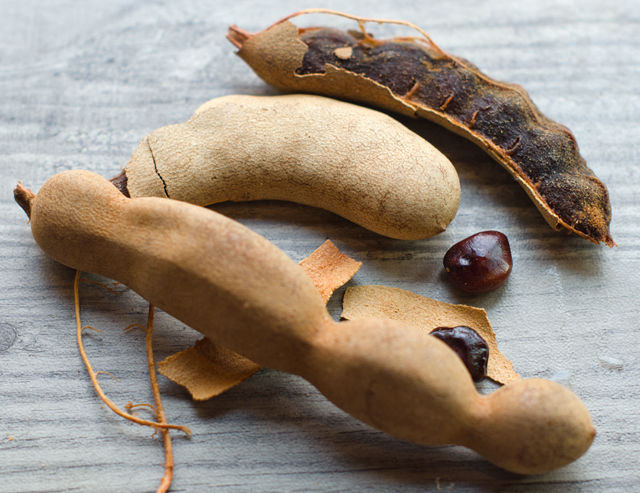
Several months ago I bought a container of tamarind pods with no specific reason other than to possibly use them some day. This recipe presented my opportunity, but I really had no idea how to extract the pulp from the pods. My first step was to remove the dried outer pods. Don’t expect them to come off neatly, they will break off in pieces. When the dried brown pods are removed, the sticky pulp is exposed along with strings that run the length of the pods, remove as many of the strings as possible. In the middle of the pulp are the smooth shiny seeds that almost look like they have been polished. After reading several articles I came up with the approach that worked for me. I put the pulp that still contained the seeds in a bowl. I covered the pulp with warm water for about twenty minutes. Then I put the softened pulp in a sieve and pressed on the solids with a pestle to extract as much pulp as possible. I got a decent amount of pulp and some tamarind water too. Next time I think I will take the easy route and order tamarind paste on line.

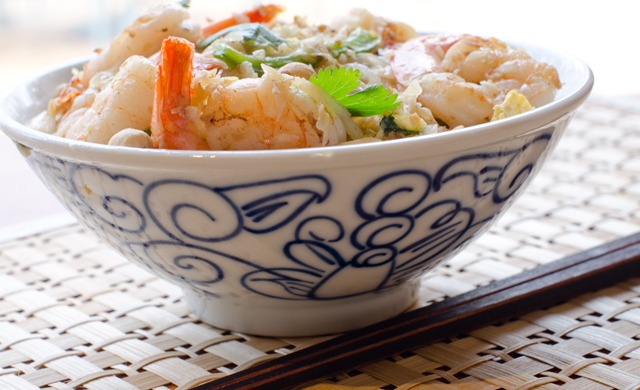
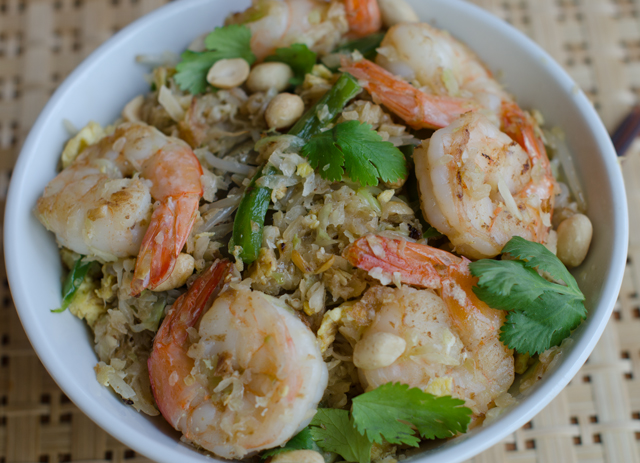
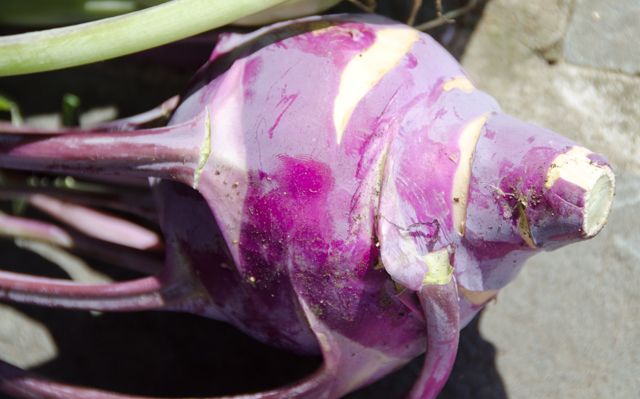
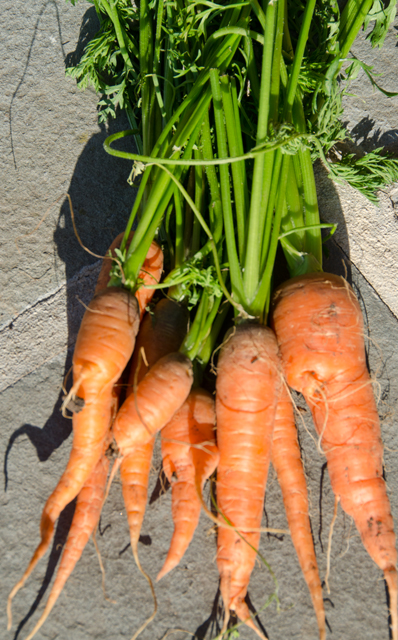
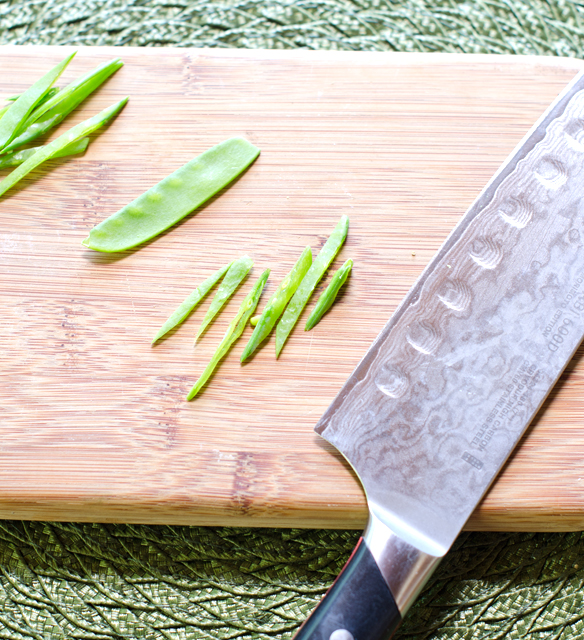
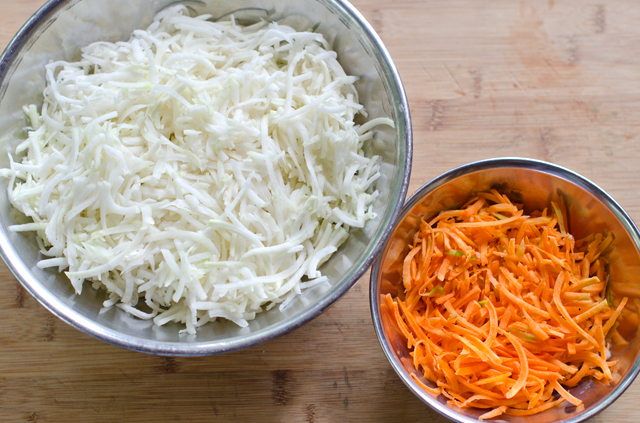
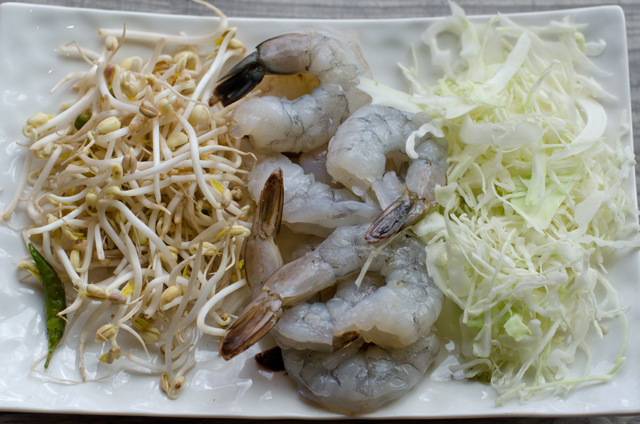
My version substitutes shredded cabbage for the traditional rice noodles since they aren’t part of phase one of the diet. Cabbage provides a good base for the dish and adds sweetness too. Noodles made from zucchini or daikon radish would work here too. I used shrimp as the protein in this dish, but chicken and either of those combined with tofu works as well. The secret to making any stir fry dish is to have all your components ready before you start cooking. It comes together in less than a half hour and I must say we enjoyed it very much.

Tamarind pods
Tamarind puree

Pad Thai

Serves 3-4

Ingredients

  • 6-8 cups finely shredded green cabbage
  • 5 T peanut or neutral oil like grapeseed (divided)
  • 2 eggs, lightly beaten
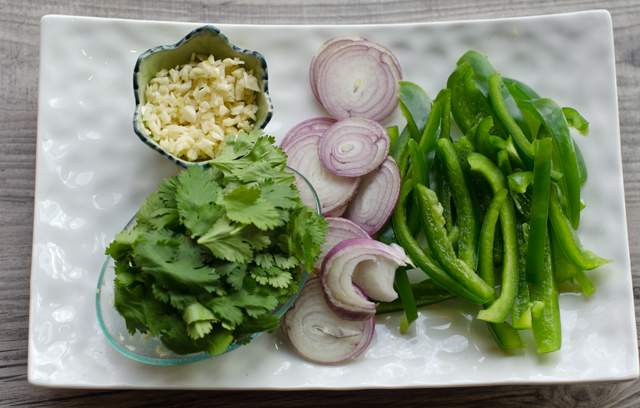
  • 4 garlic cloves, finely minced
  • 12 oz to 1 lb shrimp, peeled and deveined
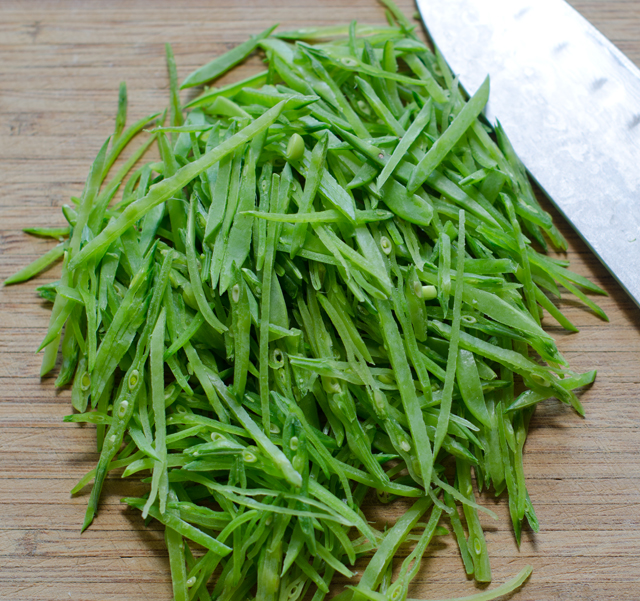
  • 1 green pepper, stemmed, seeded and finely sliced
  • 1 large shallot, finely sliced
  • 1 cup of mung bean sprouts, rinsed and trimmed
  • 2 t or more of nam pla (Thai fish sauce)
  • 2 t tamarind paste or lime juice
  • 1 T tamari or  soy sauce
  • ¼ c chopped peanuts
  • ¼ c cilantro leaves
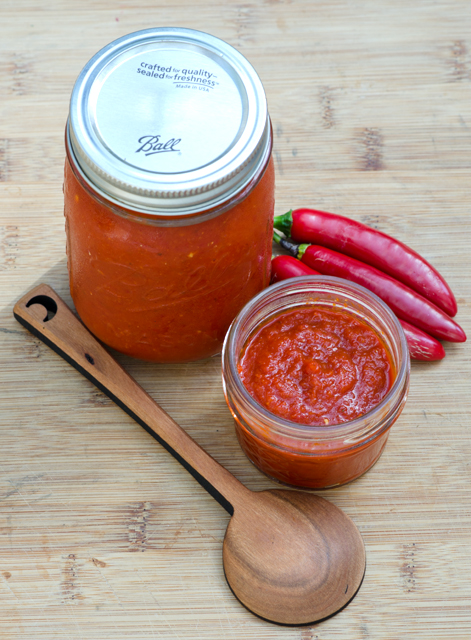
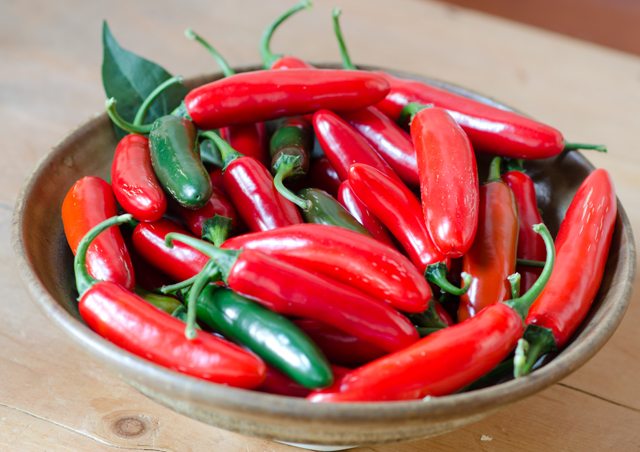
  • 1-2 Thai chiles (optional)
  • 1 lime cut into wedges

Directions

  1.  Heat 2 teaspoons cooking oil in a large wok over medium high heat. Swirl the oil around to coat the entire pan, then add the cabbage. Season with some fresh ground pepper and stir fry until barely crisp tender, 3-4 minutes. Remove to a  bowl.
  2. Add a little more oil to the wok and add the eggs, and scramble quickly with a fork. Cook until set and remove to a cutting board and cut into thin strips.
  3. Add oil as necessary and add the garlic and the shrimp and cook, stirring occasionally, until the shrimp lose their grey color, 2-3 minutes. Remove from the pan with a slotted spoon to a plate.
  4. Add the shallot and green pepper to the wok. Season with salt and pepper and stir fry and stir fry until crisp tender, 4-5 minutes.
  5. Raise the heat to high and add a tablespoon or more of oil as needed Add the cabbage, eggs, shrimp and sprouts to the wok. Season to taste with the nam pla, tamari and tamarind or lime juice. Cook until all the ingredients are heated through.
  6. Add the chopped peanuts, cilantro leaves and optional pepper. Toss once or twice and transfer the contents of the pan to a serving platter. Serve with lime wedges.

July 6, 2016 Thai Coleslaw

DSC_7484aHe’s back, Christopher Kimball that is. The bespectacled and bow tied co founder of America’s Test Kitchen and editor in chief of Cooks Illustrated, Kimball left both posts last November over a contract disagreement.

Accepting no advertising, Cooks Illustrated has been the authority for developing well tested, (sometimes over 100 times!) absolute best recipes for everything imaginable for almost 25 years. I have been a huge fan of Cooks Illustrated from day one and have saved every issue. Although I use recipes from many sources I always return to CI for its foolproof results. Fortunately for his devoted followers, Mr Kimball is back on the culinary scene with his new project, Milk Street Kitchen. Named for the street in Boston where the company is located, Milk Street will house offices for a new magazine and other media content, a retail cooking school and a studio where a new PBS show will be filmed.

I received the first email newsletter from Milk Street Kitchen this past week. This recipe from the newsletter, Thai Coleslaw, looked like a perfect fit for what I have been harvesting from the garden this week. I made some changes to the slaw ingredients. I substituted kohlrabi for the napa cabbage, carrots for the radishes and since our first crop of cilantro has died off, lime basil. The last of the snow peas make an appearance in this slaw as well.

What gives the slaw a Thai flair is the dressing. It combines lime juice, sugar, a serrano chili and coconut milk. To get the most juice from a fresh lime, microwave it for a few seconds to get the juices flowing. After I cut the fruit in half I score the sections to further loosen things up a bit. One average sized lime gave me a little more than the 3 tablespoons I needed.

Coconut milk has been a staple in my pantry since we discovered our love for Thai food over thirty years ago. Look for canned coconut milk found in the Asian section of your supermarket. This is not to be confused with the dairy-free milk substitute or cream of coconut, an ingredient in piña coladas. There are many brands on the market these days, my favorite is still Chaokoh. With all canned coconut milk, shake the can well before opening since the fat and the liquid separate. Fish sauce is another ingredient that gives this dish a southeast Asian touch. It is extracted from the fermentation of fish, usually anchovies, that are salted. The amber colored liquid give a unique depth of flavor to many dishes, including this slaw. A serrano pepper, seeded and minced, gives the right amount of heat to the dressing.

Kohlrabi gets it’s name from a German word, kohl-cabbage (as in coleslaw) and rabe-turnip. It has a milder flavor than either of those vegetables, the best description I read was that it tastes like broccoli stems. Kohlrabi is not a root vegetable since the bulbous part grows above the ground and is studded and topped with leaves that resemble those on a broccoli plant. The vegetable “minion” was a good substitute for the crisp and crunchy napa cabbage. Shredded carrots and julienned snow peas (last of the season) added more color and crunch. The radishes originally called for in the salad won’t be back until the fall garden.

With the exception of the coconut milk, combine the dressing ingredients in a liquid measuring cup, let sit for ten minutes. The fresh serrano is cooked in the lime juice and mellows out it’s flavor. Stir in the coconut milk. Combine the kohlrabi, carrots, snow peas and herbs in a large bowl. Pour the dressing over and toss until well combined. Stir in the cashews and serve. It’s a delicious alternative with pork barbecue.

DSC_7458a
We grow both green and purple kohlrabi.

DSC_7449a

Maybe not the prettiest, but I love fresh carrots from the garden.
Ready to go!
Ready to go!
Snow peas are julienned on the diagonal.
Finished product.
Finished product.
Shredding the kohlrabi and carrots is easy in the food processor.
Combining the dressing ingredients.

DSC_7478a

Thai Coleslaw

Serves 4-6

Ingredients

  • 3 tablespoons lime juice
  • 4 teaspoons sugar
  • 1 tablespoon fish sauce
  • 1 medium serrano chili, seeded and minced
  • 5 tablespoons coconut milk
  • 8 cups shredded kohlrabi or napa cabbage
  • 2 cups shredded carrots
  • 4 ounces sugar snap peas, strings removed and thinly sliced
  • ½ cup chopped basil (I used lime) or cilantro
  • ¼ cup coarsely chopped fresh mint
  • ½ cup roasted, salted cashews, coarsely chopped

Directions

  1. In a liquid measuring cup, combine the lime juice, sugar, fish sauce and chili. Let sit for 10 minutes. Whisk in the coconut milk until combined.
  2.  In a large bowl, combine the kohlrabi, carrots, peas, basil or cilantro and mint. Add the dressing and toss until evenly coated. Stir in the cashews and serve.

DSC_7486a


October 8, 2015 Homemade Sriracha Sauce

DSC_4847aOver the years I have made my share of homemade condiments.  Joe’s ability to produce an abundant harvest from our garden often has me looking for ways to preserve some of that bounty for the fall and winter months.  I have made my own ketchup, chili sauce and tomato paste from the tomatoes in our garden. Not to mention homemade mustard, jams, chutneys and  preserved lemons. In fact the first cookbook that Joe ever bought me, even before we were married was Better Than Store Bought, a classic to this day for the DIY cook.

The latest to be added to my homemade list is sriracha. As long time fans of Thai cuisine, sriracha has been on our food radar since the early eighties. We love the spicy, garlicky, slightly sweet sauce that was a table condiment at our local Thai restaurant. Back then I would have to travel to local Asian markets to find the thick red sauce that came in a squeeze bottle with a green cap and a rooster on the label. We, and obviously many others, were definitely on to something, over the years the popularity of sriracha has grown by leaps and bounds. Now it can be found in supermarkets everywhere and sriracha flavors products as diverse as popcorn, potato chips, beer and lip balm.

It was first produced in the United States by a Vietnamese immigrant, David Tran, who was unable to find a hot sauce he liked.  He developed and named his sauce after one that he tasted in the Thai southern coastal city of Si Racha, where it was made for dishes served at local seafood restaurants. The success of Mr. Tran’s company Huy Fong Foods, named for the boat that brought him to the United States, is legend. Since 1980 sales of sriracha have increased by 20% a year without paid advertising. Unlike other hot sauces, sriracha is made with fresh chilies, Tran says this is what separates sriracha from the competition. So with a large crop of hot peppers in many varieties, I set out to make my own version of sriracha. I looked at quite a few recipes, some promising sriracha in twenty minutes, that might be fine for some, but I knew that fermentation is one of the steps that makes sriracha unique and since I had the time and an abundant supply of peppers, why take any shortcuts? I chose a recipe from Serious Eats, a blog that is dedicated to “definitive recipes, hard core food science, trailblazing techniques and innovative guides to essential food and drink anywhere and everywhere.” Sounds good to me.

My first consideration was the variety of pepper to use. The Serious Eats recipe used red jalapenos but in one of the reader comments I learned that serranos were the original peppers Huy Fong used to make sriracha until the late nineties. The change to jalapenos was due to production costs. Since I had more than enough serranos, I chose them for my recipe. Since the serrano pepper is hotter than the jalapeno you may want to adjust your recipe accordingly, I didn’t. The peppers are left whole with the stems are snipped with the crown remaining. This brings a floral component to the finished product. As with all hot pepper recipes, take the usual precautions, wear rubber gloves when making the recipe, don’t rub your eyes, and so on. The recipe is very simple with very little handling of the product, peppers, peeled garlic cloves, brown sugar and salt are pulsed to a fine texture in a blender or food processor.

The mixture is transferred to a clean jar, covered and sits at room temperature.  I checked the mixture daily to check for little bubbles forming at the bottom of the jar, indicating fermentation. The recipe indicated that the fermentation would begin in 3-5 days, my peppers only began to ferment after 7 days. I will attribute that to the freshness of my peppers. Since my peppers were picked the day I tried the recipe, they were days fresher than any hot pepper purchased in a grocery store.  My fermentation was complete in 10 days. I carefully transfered the chopped chili mixture to the bowl of a food processor, my blender is too small, added the distilled white vinegar and pureed it until smooth. The recipe suggests transferring the mixture to a mesh strainer over a medium saucepan and using a rubber spatula to push the pulp through. I wasn’t getting a thick enough consistency  so I transferred the peppers to the food mill with a medium disc which gave me a product that resembled sriracha, though a bit more chunky.  The mixture is placed in a saucepan, brought to a boil, then simmered until the sauce clings to the back of a spoon, 5 to 10 minutes. Transfer sauce to clean jars and store in the refrigerator for up to six months.

I am very pleased with the consistency of my sriracha, the food mill made that part of the process much easier than the strainer. Since we have other varieties of hot peppers I may try the same recipe with different peppers.

Just picked serrano peppers for my sriracha sauce.


Sriracha Sauce

Recipe slightly adapted from Serious Eats

Ingredients

  • 1 1/2 lbs red jalapeños (or serranos), stems snipped off, leaving green tops intact
  • 6 cloves garlic, peeled
  • 4 tablespoons light brown sugar
  • 1 tablespoon Kosher salt
  • 1/2 cup distilled white vinegar

Directions

  1. Place peppers, garlic, sugar, and salt in bowl of a food processor fitting with steel blade. Pulse until chilies are very finely chopped, stopping to scrap sides of bowl as necessary. Transfer mixture to a clean jar, cover, and let sit at room temperature.
  2. Check jar each day for fermentation, when little bubbles start forming at bottom of jar, about 3-5 days. Stir contents each day, continuing to let ferment until chilies are no longer rising in volume, an additional 2-3 days.
  3. Transfer chilies to jar of a blender or food processor, add in white vinegar, and puree until completely smooth, 1-3 minutes. Transfer to a mesh strainer set atop of a medium saucepan. Strain mixture into saucepan, using a rubber spatula to push trough as much pulp as possible, only seeded and larger pieces of chilies should remain in strainer. I found that a food mill with the medium disc made this easier.
  4. Bring mixture to a boil, reduce heat, and simmer until sauce thickens and clings to a spoon, 5 or 10 minutes. Transfer to an airtight container and store in refrigerator for up to 6 months.
Pureed peppers, garlic, brown sugar and kosher salt ready to be fermented.
The food mill gave me the consistency that I was looking for.
My finished product was thick even before cooking.

DSC_9193a


March 12, 2014 Red Snapper with Red Curry Sauce

DSC_6318a


Times certainly have changed. Ten years ago, shopping for the ingredients for red curry carrot sauce would have required a trip to the local Asian market. Now, most large well stocked supermarkets have curry pastes, coconut milk and fish sauce needed to make this recipe. Here’s a little background information on the special ingredients.

The base of a red chili paste is dried red chilies. The chilies are combined with dry (cumin seeds, coriander seeds) and wet (lemon grass, ginger, garlic) ingredients to make a paste. Taste a little of the curry paste to get a feel for it’s heat before using. Curry pastes that you would purchase in an Asian market are considerably hotter than their counterparts aimed at American palates. There are many varieties of curry paste, in this case you are first looking for a Thai curry paste, the most popular are red and green, with green being the hotter of the two.

The coconut milk used in this recipe is not the kind that you might have on hand for a Pina Colada. That type has sugar and stabilizers added.  Also coconut milk is not the liquid inside the coconut, that is coconut water. Coconut milk is a liquid made by pureeing coconut meat and water.  Shake the can well before using to mix the cream that rises to the top with the milk. There are also many recipes on line for making your own coconut milk.

Fish sauce is known as nam pla in Thailand and nuoc mam in Vietnam. Amber in color, it is the liquid extracted from fish, usually anchovies, and  fermented with sea salt. This pungent condiment becomes subtle when combined with other ingredients.

The sweetness of the carrots and the creaminess of the coconut milk are balanced with the heat of the curry and the unami of fish sauce. We served red curry sauce with vermillion snapper, a variety that is slightly smaller than red, caught in the south Atlantic and Gulf of Mexico. It is listed as a “good alternative” by the Monterey Bay Aquarium Sea Watch.  The sauce would compliment any moderately firm delicate flavored fish. Remember to look for any pinbones and remove with tweezers before cooking your fish. As always, we use the Canadian fisheries method to determine the cooking time of the fillets.  Serve with jasmine rice to soak up the delicious sauce.

DSC_6281a
Ingredients to make the sauce.

Red Snapper with Red Curry Sauce

Adapted from a recipe in Food and Wine Magazine

Ingredients

  • 3/4lb carrots, peeled and trimmed, cut into 1/4″ pieces
  • 1 clove garlic smashed
  • 1 11/2c low sodium chicken broth or chicken stock
  • 1 can coconut milk (about 13.5 oz)
  • 2T fish sauce nam pla or nuoc mam
  • 2t brown sugar
  • 1 1/2t red curry paste (more or less to taste)
  • 1T canola oil
  • 1lb vermilion or red snapper fillets
  • Cilantro leaves and lime wedges for serving
  • Cooked jasmine or other long grain rice

Directions

  1. In a medium saucepan, bring the carrots, garlic and broth to a boil. Cook, covered, over moderately low heat until the carrots are tender, about 15 minute. Check for doneness with the tip of a knife.
  2. Puree the carrots, garlic, and broth in a blender and pour back into the pan. Add coconut milk, fish sauce, curry paste,, brown sugar and 1/2t salt and bring to a simmer, stirring occasionally.
  3. Preheat your oven to 450°F.
  4. Measure the fillets at their thickest point. Season fish with salt and pepper and place on a baking sheet.
  5. Bake fish for 10 minutes for every inch of thickness. The original instructions say to turn the fish over at the halfway point, you can, we don’t. If you check internal temperatures, it should be about 145°F.
  6. Mound the rice on plates and top with fish and sauce. Sprinkle with cilantro and serve with lime wedges.

DSC_6306a