 When I am looking for a snack, hummus is a healthy choice I feel good about adding to my shopping cart. But the truth is, it’s takes just minutes to make my own, and it’s healthier (no additives), tastier and cheaper too. The word hummus in Arabic means chickpea so strictly speaking, hummus is the term for a chickpea dip. Hummus bi tahini means chickpeas with tahini, a paste of ground sesame seeds. Whether you add tahini or not, a basic hummus includes garlic, lemon juice, olive oil and salt.
One of my favorite food memories is a chickpea soup Joe made for me one Valentine’s Day. I absolutely love the sweet nutty flavor of freshly cooked chickpeas and in a perfect world I would always use them when I make hummus. However, dried chickpeas need to be soaked overnight, drained the next day and cooked for 1-3 hours, depending on freshness. I don’t always have time for that and the delayed gratification it requires.
However if you have the time, substitute one half the quantity of dried beans for the canned. The standard 15 ounce can of chickpeas drained is about 9 ounces or 1 ½ cups of beans. This translates into 4.5 ounces of dried beans or ¾ cup. Many cooks add a pinch of baking soda to tenderize dried beans to both the soaking and cooking water. The United States dried bean council (of course there’s one!) points out that it destroys part of the thiamine (aka vitamin B 1), making the amino acids less digestible and negatively affects the nutritional value. I’ll leave that heavy decision up to you.
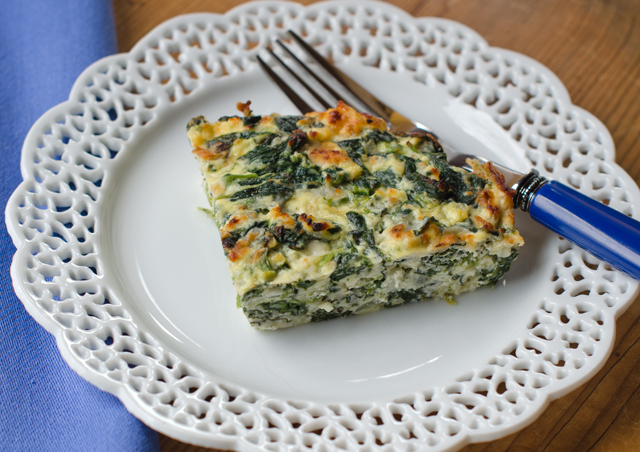
A basic hummus recipe is easy and delicious and just the jumping off point for countless variations. I have previously shared a beet hummus recipe, this time I added fresh spinach and roasted garlic to the recipe.
If you are not already roasting garlic cloves, you should. It takes more time to get your oven up to temperature than in does to get this kitchen staple together. The first time I roasted garlic I winged it but I am pleased to say my uninformed guess was pretty much on target. This is the basic recipe; cut about the top quarter off each head of garlic with a sharp knife to expose all the cloves. Slowly pour olive oil over each head, letting it soak into and around the cloves. Wrap the prepared heads of garlic in foil and bake in a 425°F oven. Start checking the garlic at the 45 minute mark. The finished cloves should be soft, golden and slightly protruding from the skins. I always roast more than what I need, it will keep in the fridge for about a week, that is if it lasts that long. You can also freeze roasted garlic for several months.
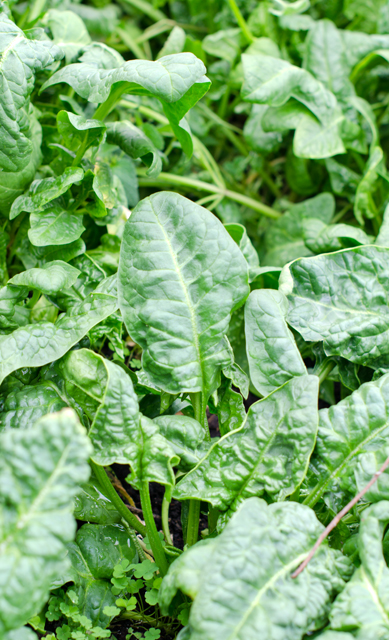
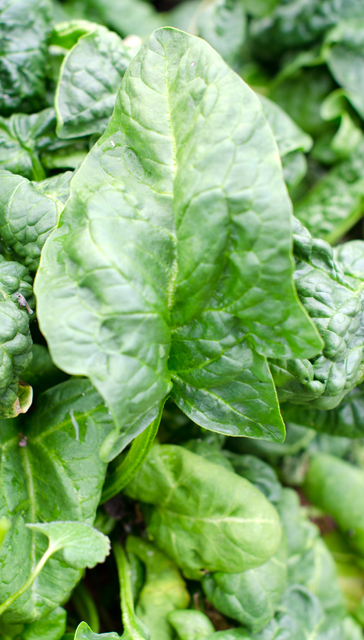
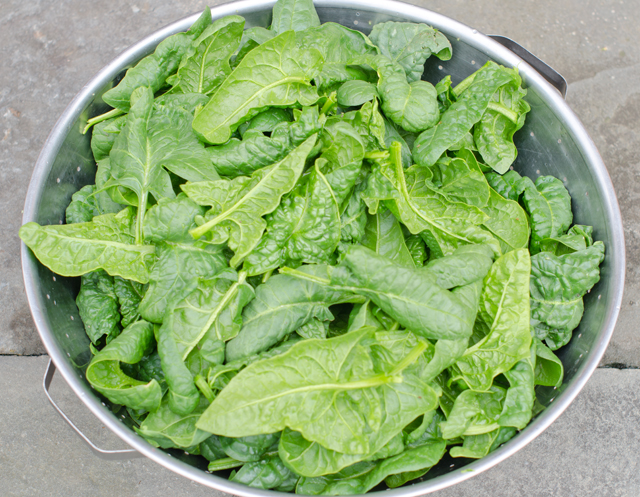
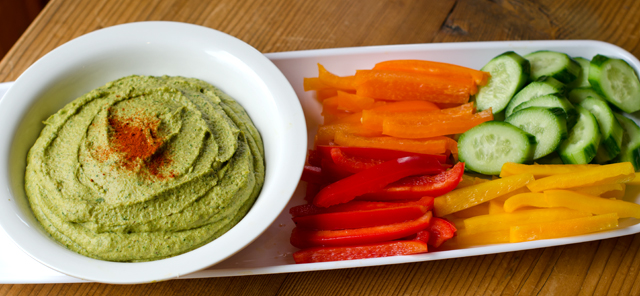
Everything goes into the food processor or blender, except the reserved chickpea liquid. I added three cloves of roasted garlic to my basic hummus recipe, along with three loosely packed cups of spinach leaves. I added a half teaspoon each of some appropriate dried herbs, cumin, for it’s smoky flavor, smoked paprika also brings smokiness and a little heat. Sumac is the herb you may not be familiar with, it has a fruity astringent taste, milder than a lemon. I shared more background on it in this post. It is readily available from several of the herb and spice mail order sights.
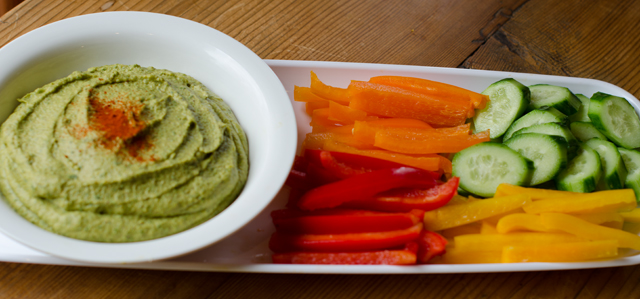
Add the additional bean liquid to get it completely smooth and holds it’s shape. Taste and add more salt if needed. Transfer mixture into a serving dish. Garnish with a dash of olive oil and a sprinkle of smoked paprika. Serve at room temperature.

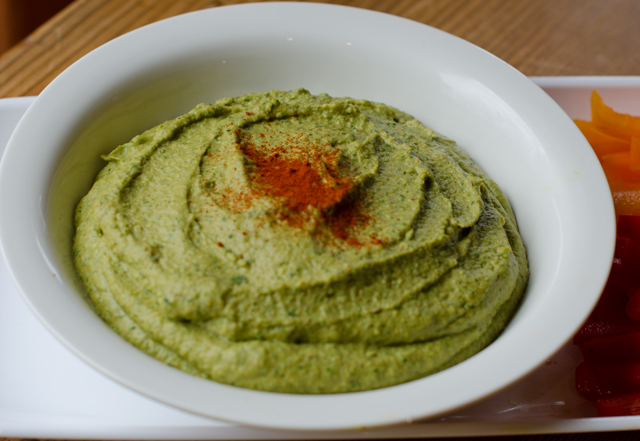
Spinach and Roasted Garlic Hummus
Makes about 2 cups
Ingredients
- 1-15 ounce can garbanzo beans (chickpeas) drained and liquid reserved
- 3-4 c spinach leaves, large stems removed
- 1/3 c tahini
- 3 T fresh squeezed lemon juice
- 3-4 cloves roasted garlic, or to your taste
- ½ t salt, and more to taste
- 1 t each cumin, sumac and smoked paprika
- 1-2 T extra virgin olive oil
- A dusting of smoked paprika for the topping
 Directions
- Add all the ingredients to your food processor or blender. Pulse, adding additional bean liquid as needed to get the hummus completely smooth.
- Taste and add salt if desired.
- Scoop into a serving bowl and sprinkle top with smoked paprika and a little olive oil if desired.
- Serve with the dippers of your choice.