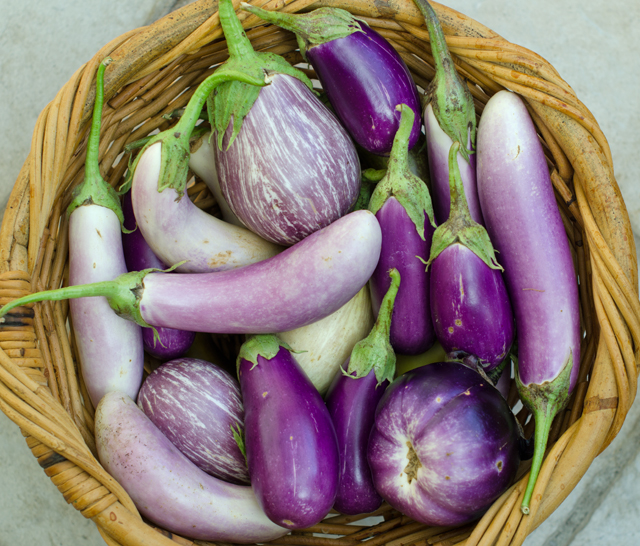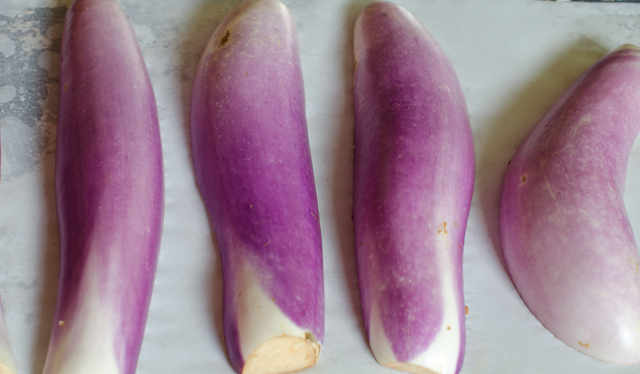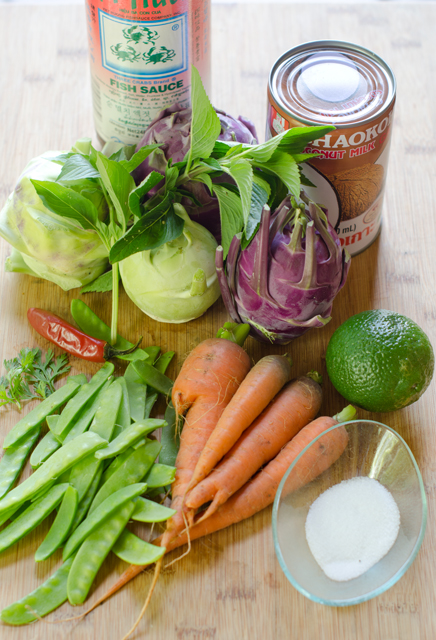
It’s a great time of year to try out some new eggplant recipes. Whether from the farmers market, your local CSA or your own garden, freshly harvested eggplants are at their best. Our garden has produced an amazing array of colorful eggplants this summer. Bright fuchsia Asian Bride, slender dark violet Farmer’s Long, pure white Charming, beautifully variegated Listada de Gandia, all the varieties we have harvested this year have thin skin and minimal seeds.
During the eggplant season I have time to revisit the classics, eggplant Parmesan, caponata, moussaka and to look for new ways to serve this versatile vegetable that’s actually a fruit, but I digress. Stir fry recipes are quick and relatively easy, so why not shrimp and eggplant? Cook’s Illustrated magazine tests recipes countless times to understand how they work and in turn, offer the best version. So I knew I could try their recipe for stir fried shrimp with garlic, eggplant and cashews with confidence.
In perfecting this recipe they discovered several things that make this recipe stand out.
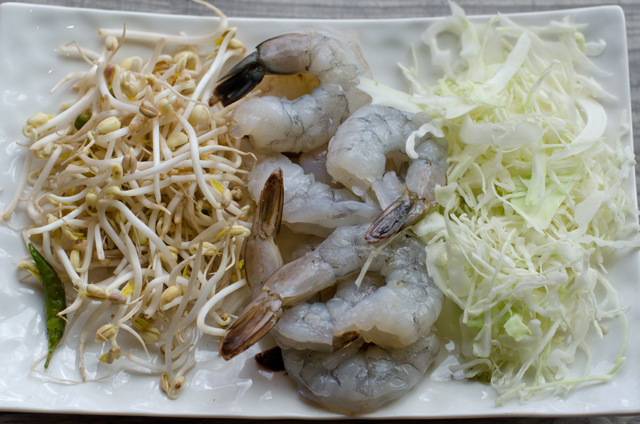
Soaking the shrimp for 30 minutes in salt, oil and aromatics yields a deeply flavored and tender finished product. The salt enters the flesh, allowing the shrimp to stay juicy. The oil picks up the flavor of the aromatics, in this case garlic, and distributes it over the shrimp. They also address the issue of the typical home stove that lacks the high heat of restaurant burners. This problem is solved by cooking the components of the dish in batches and trading in the wok for a skillet to ensure maximum surface area for even cooking.
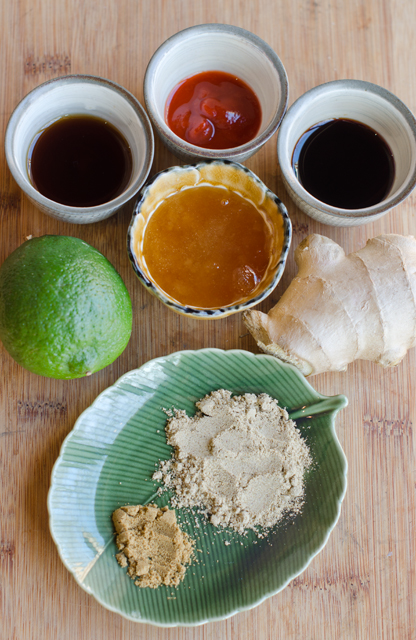
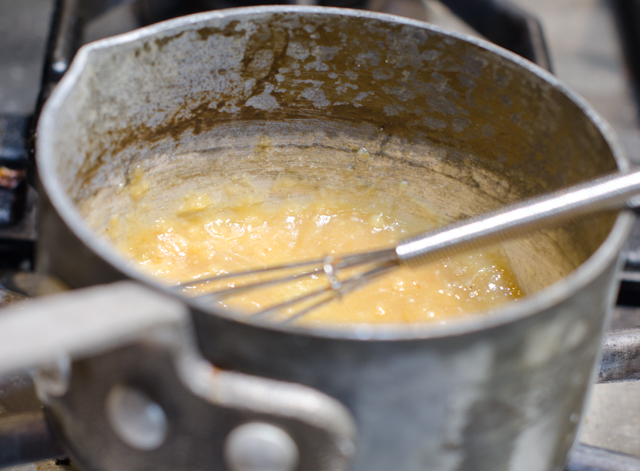
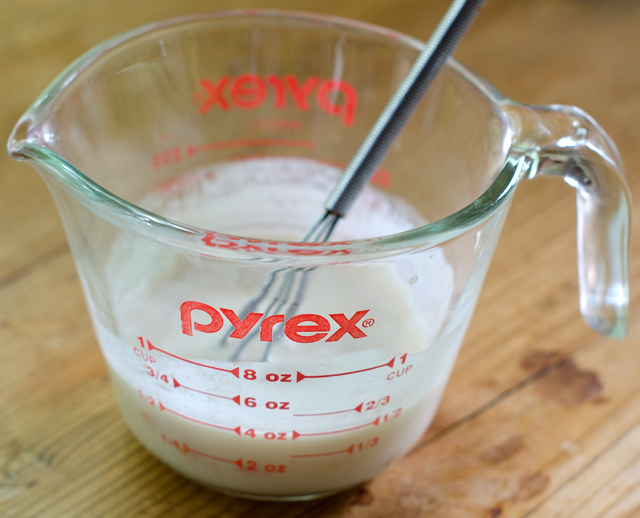
As with all stir fry dishes, everything should be ready and portioned out when you start the recipe. Soak the shrimp in the seasoned brine. Whisk the sauce together next. My personal trick here is when you are making a sauce with both wet and dry ingredients I measure out the dry ingredients first since they will not stick to the measuring spoon, like soy sauce does.
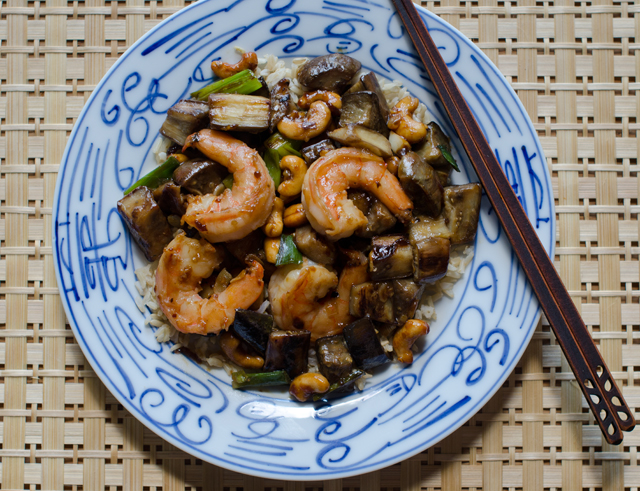
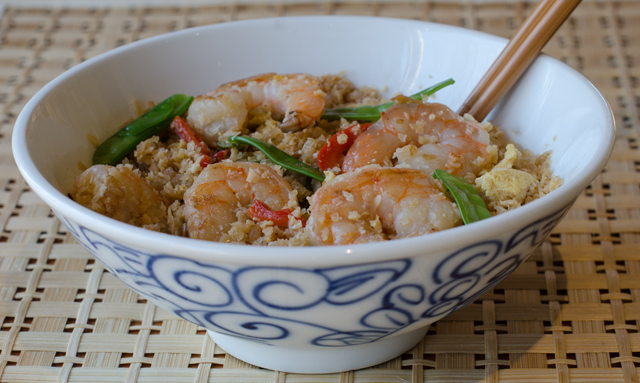
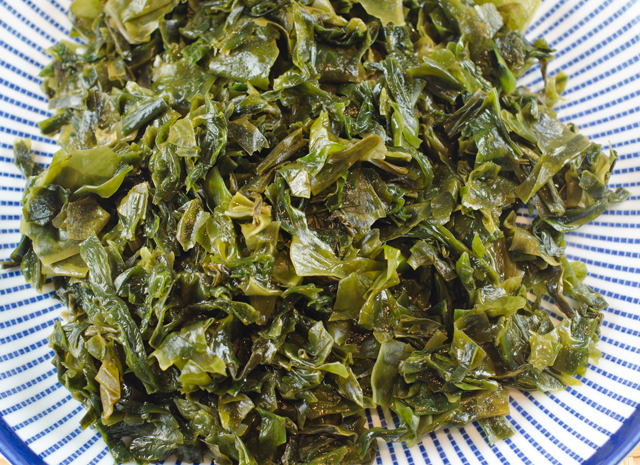
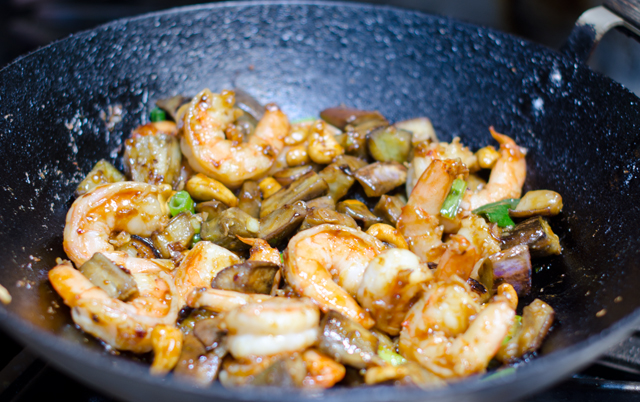
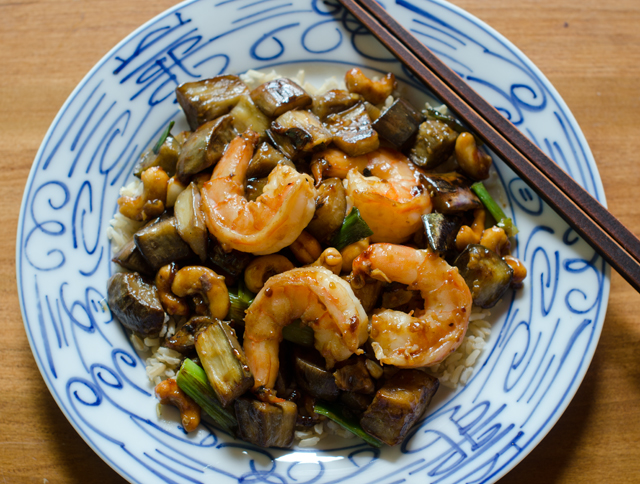
The components of the dish are cooked in batches. First, the eggplant and scallion greens are cooked until lightly browned and transferred to a bowl. Next in are the aromatics, thinly sliced garlic and scallions. Cook until browned, don’t burn that garlic! To the aromatics, add in the shrimp. The shrimp are cooked to a light pink on both sides, then the sauce is added to the pan. Raise the heat to high to thicken the sauce and finish cooking the shrimp. The eggplant is returned to the skillet and tossed, ready to absorb the flavors of the sauce.
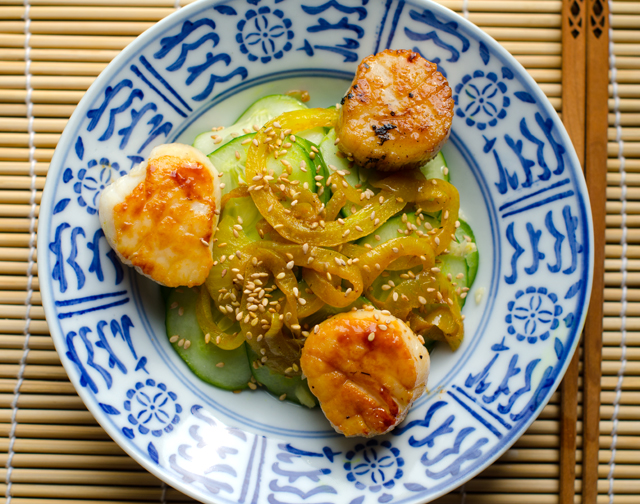
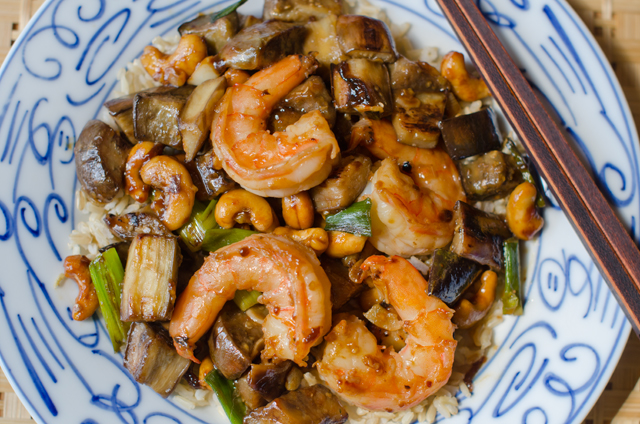
I made some changes to the original recipe. I used one tablespoon of sugar instead of two in the sauce, the oyster sauce adds its own sweetness. I also used more eggplant than called for since it cooks down considerably. Serve with white or brown rice, this is a dish that is quick to execute and quite delicious.

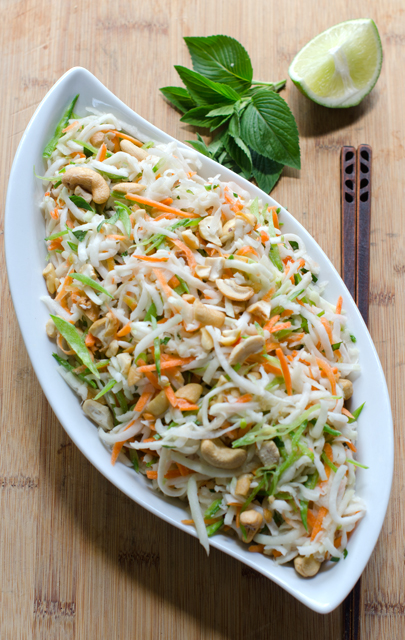
Stir Fried Shrimp with Eggplant and Cashews
adapted from Cooks Illustrated
Serves 4
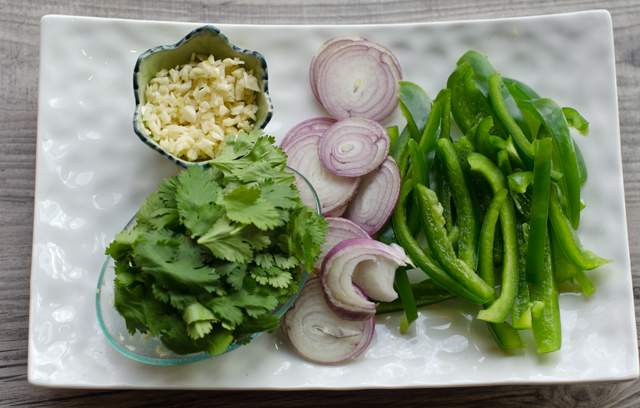
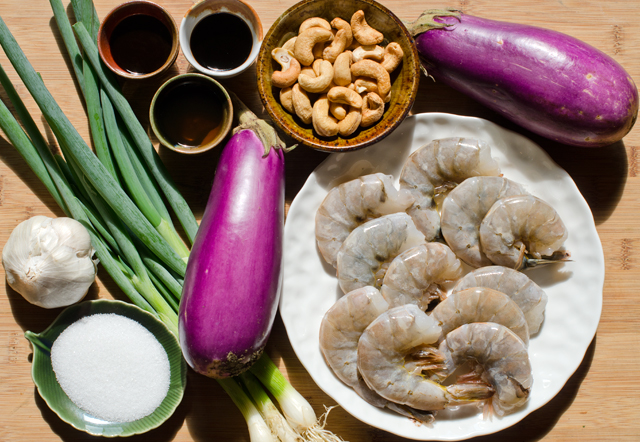
- 6 medium garlic cloves, 1 minced or pressed through garlic press, 5 thinly sliced
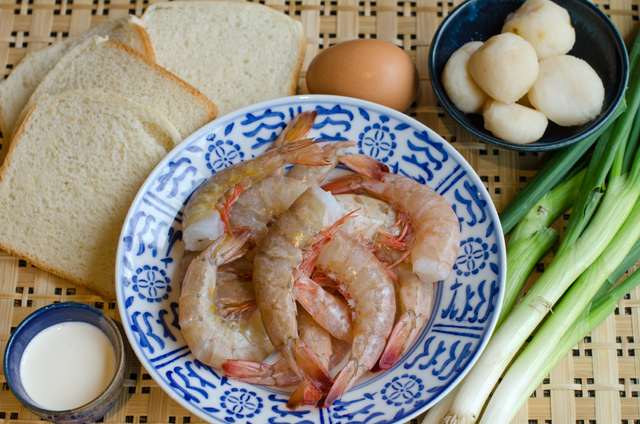
- 1 pound extra-large (21-25) shrimp, peeled, deveined, and tails removed
- 3 T vegetable oil
- ½ t table salt
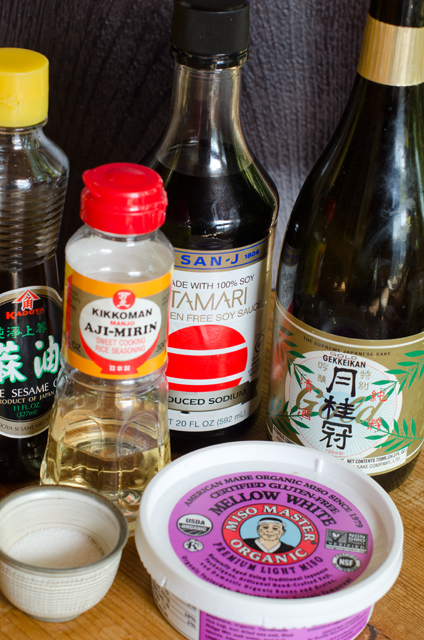
- 2 T soy sauce (I use low-sodium Tamari)
- 2 T oyster sauce
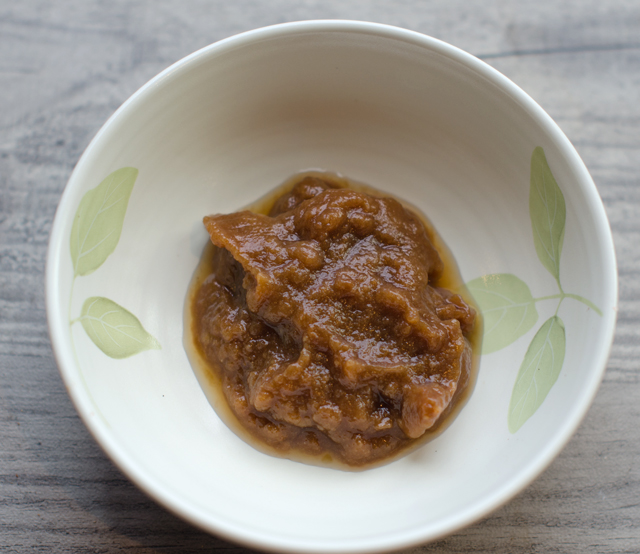
- 2 T dry sherry or Shaoxing wine
- 1 T sugar
- 1 T toasted sesame oil
- 1 T white vinegar (I use rice vinegar)
- 1/8 t red pepper flakes
- 2 t cornstarch
- 6 large scallions, greens cut into 1-inch pieces and whites sliced thin
- ½ c cashews, unsalted
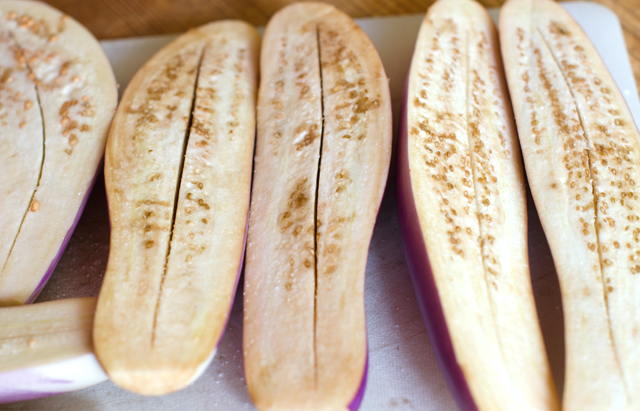
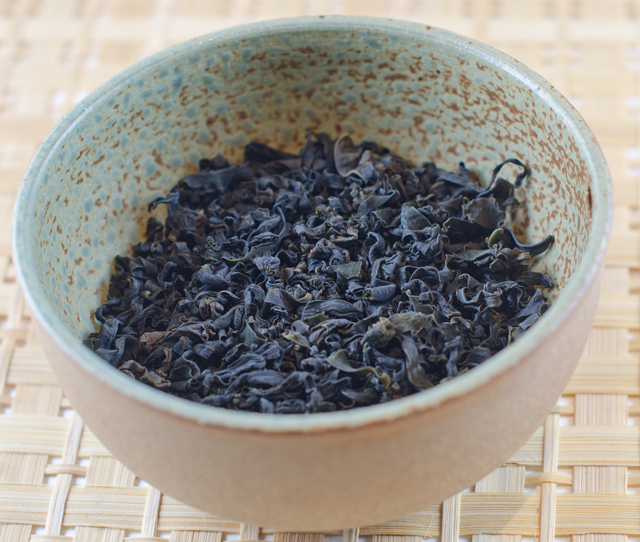
- 1 medium eggplant (about 3/4 pound), cut into 3/4-inch dice
Directions
- Combine minced garlic with shrimp, 1 tablespoon vegetable oil, and salt in a medium bowl. Let shrimp marinate at room temperature 30 minutes. Depending on your particular brown rice (regular, instant, etc.) start your rice as appropriate.
- Meanwhile, whisk soy sauce, oyster sauce, sherry, sugar, sesame oil, vinegar, red pepper flakes, and cornstarch in small bowl. Combine sliced garlic with scallion whites and cashews in another small bowl. Heat 1 tablespoon oil in 12-inch nonstick skillet or a wok over high heat until just smoking. Add eggplant and cook, stirring frequently, until lightly browned, 3 to 6 minutes. Add scallion greens and continue to cook until scallion greens begin to brown and eggplant is fully tender, 1 to 2 minutes longer. Transfer vegetables to medium bowl.
- Heat remaining tablespoon oil to now-empty skillet/wok. Add cashew mixture and cook, stirring frequently, until just beginning to brown, about 30 seconds. Add shrimp, reduce heat to medium-low, and cook, stirring frequently, until shrimp are light pink on both sides, 1 to 1½ minutes. Whisk soy sauce mixture to recombine and add to skillet/wok. Return to high heat and cook, stirring constantly, until sauce is thickened and shrimp are cooked through, 1 to 2 minutes. Return vegetables to skillet, toss to combine, and serve.