Nothing fancy here, just an easy satisfying soup for a cold winter night. It’s hearty and healthy as well. You can swap out ingredients to suit your own taste. Spicy sausage for the chicken, spinach for kale, cannelini beans for the chickpeas etc. I added the red lentils because they cook quickly and give body to the soup.Make this a day ahead because we all know soups like this taste better the second day. Shred a little Parmesan on top and pair with an arugula and radicchio salad, some crusty bread for a quick satisfying meal.
Sausage, Kale and Chickpea Soup
Serves 4-6
Ingredients
2 T olive oil
1 medium onion, finely chopped
3-4 cloves of garlic, minced
½ t smoked paprika
1 t ground cumin
½ t ground coriander
¼ t sumac
4 c low sodium chicken or vegetable broth
1 (14.5-ounce) can of fire roasted diced tomatoes
1/3 c red lentils
½ t dried thyme
2 bay leaves
Kosher salt and freshly ground pepper to taste
1 (14.5-ounce) can chickpeas, drained and rinsed
8 ounces of fully cooked chicken sausage, cut into 1-inch pieces
4-5 cups chopped kale
Directions
In a Dutch oven, heat olive oil over medium high heat. Add the onions and cook, stirring occasionally until soft, about 5 minutes. Add the garlic and spices and cook, stirring occasionally so the garlic doesn’t get brown, about 2 minutes more.
Add broth, diced tomatoes, lentils, thyme, salt and pepper and bring to a boil. Cover the pot and simmer for 15 minutes. Add the chickpeas and cook for 10 more minutes.
Remove the bay leaves and pour 2-3 cups of the soup, depending how thick you want it, into a bowl and purée with a hand blender until smooth. Return the puréed soup to the pot and stir.
Add sausage and kale and simmer until the kale is wilted and the soup is hot.
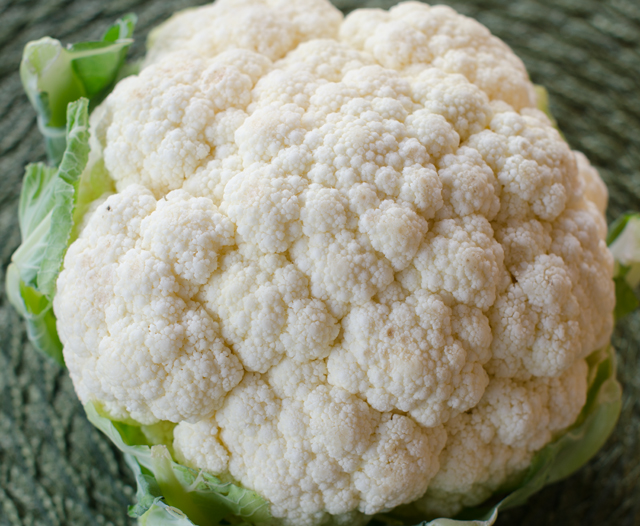
Does any vegetable come close to having the versatility of cauliflower? It has a nutty sweetness when roasted and a creamy sumptuous quality when steamed and puréed. It’s a low carb, paleo, gluten-free option that substitutes for rice, couscous and even pizza crust. Let’s not neglect to mention the nutritional benefits as well. Cauliflower is an excellent source of vitamin C. vitamin K, folate, pantothenic acid (vitamin B5) and dietary fiber and an entire head of cauliflower is only 156 calories!
Here’s a recipe to help keep you on track for a new year of healthy eating and a creative addition to your cooking repertoire, cauliflower tortillas. They have a texture similar to the real thing and a mildly nutty flavor.
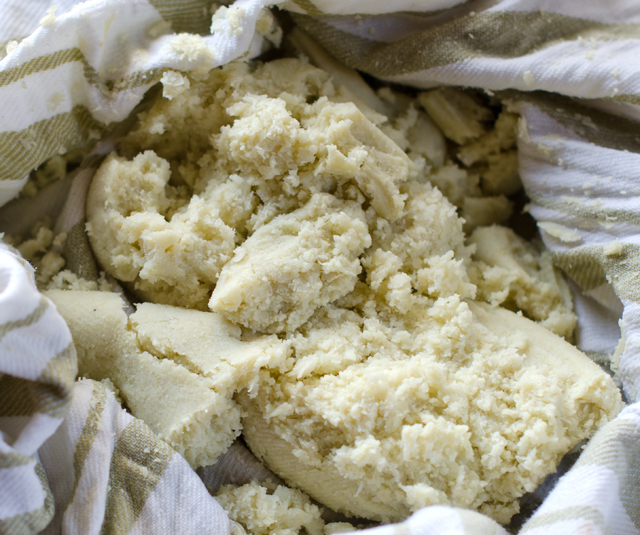
Preheat your oven to 375°F and line two baking sheets with parchment paper, a Silpat liner works too. I use a little nonstick spray on the edges to keep the parchment from curling up. Start with a medium cauliflower, the one I used was 2 lbs, including the greens. Cut the cauliflower in quarters, remove the greens and most of the core. In a food processor, pulse the cauliflower into granules finer than rice, but don’t get to the point of liquefying it. I do this in batches so no chunks are left behind. If you don’t have a food processor you can go low tech and do this step with a hand-held box grater. The cauliflower needs to be cooked to remove as much liquid as possible. You can do this in either a microwave or a steamer. The next step is crucial to get the right consistency for the cauliflower “dough”. Gather the steamed cauliflower granules in a clean cloth dish towel (a thin one works best) and wring out all the excess liquid. Use rubber gloves or an extra towel to protect your hands, the cauliflower will be very hot. If you have the time, you can wait until it cools down a bit. When you think you have squeezed out all the liquid you possibly can, squeeze some more. The end result reminds me of masa dough, the ingredient corn tortillas are made from.
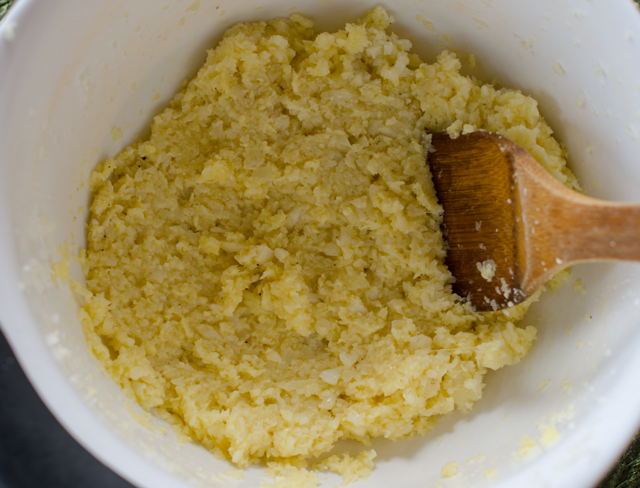
Place the well-drained cauliflower in a medium bowl and mix in two well beaten eggs and salt and pepper to taste. Many of the recipes I read add additional herbs and spices at this point and you are welcome to do so if you choose. I prefer to keep mine plain like a regular corn tortilla to showcase the flavors of what I fill it with.
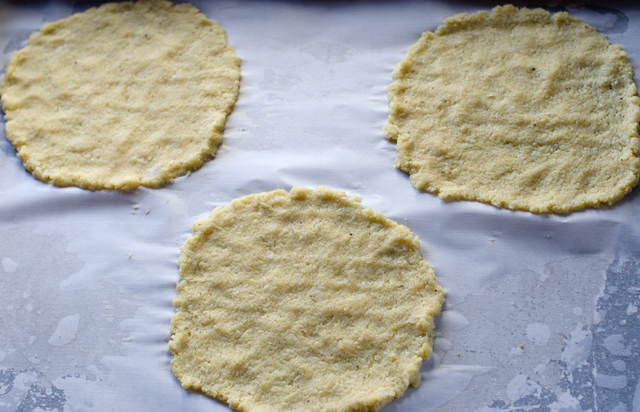
Divide the cauliflower mixture into six portions and use your hands to press them evenly into six small circles, about five to six inches in diameter. Bake in the preheated oven for ten minutes, take them out of the oven and flip them to the other side and bake for an additional 5-7 minutes. I used convection heat and that helped them brown in the oven. You can also brown the tortillas in a pan to give them a crispy edge and a more nutty flavor.
The resulting tortillas are soft and pliable like the real thing and they hold up well to a variety of fillings. On my first attempt I filled them with taco seasoned ground turkey, guacamole and salsa. They would be great for quesadillas or enchiladas too. You don’t have to limit your choices to just Mexican, they would make a great breakfast wrap or with some smoked turkey, avocado slices, lettuce and tomato for a low carb lunch. Joe gave them two very enthusiastic thumbs up. Today we made breakfast tacos with scrambled eggs, cheese and chicken sausage topped with guacamole and salsa, delicious! Next to try, chicken enchiladas.
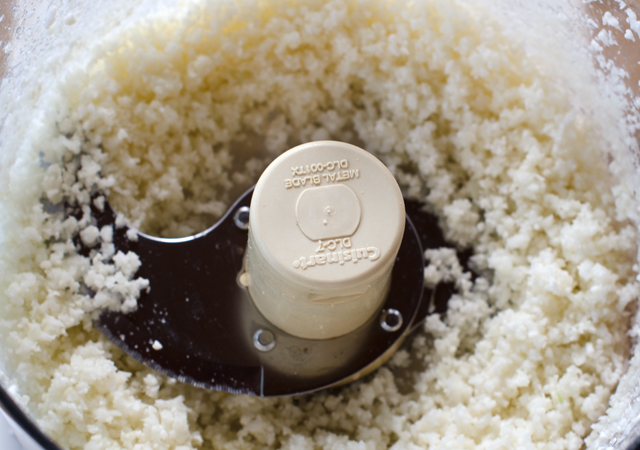
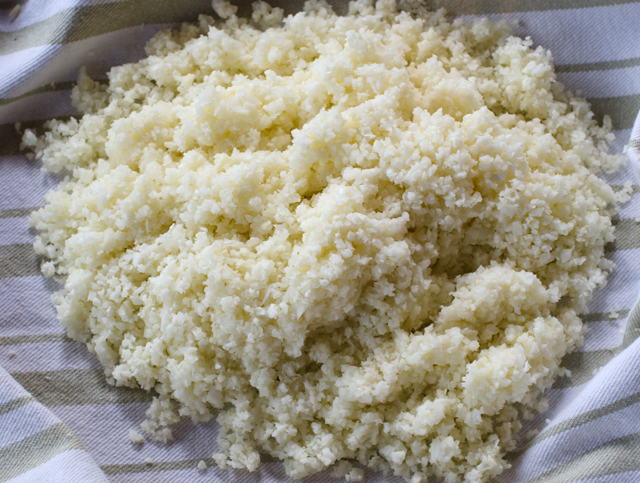
The cauliflower head, also known as the curd.Pulse the cauliflower into fine granules.Gather the cooked cauliflower into a dish towel, cheesecloth works here too.After several minutes of squeezing the liquid out of the cauliflower, the finished product looks like this.The resulting cup and a half of liquid that was squeezed out.Mix the dried cauliflower with eggs and salt and pepper to taste.Divide the mixture into six portions and form into circles on parchment lined baking sheets.Cauliflower tortillas hot out of the oven.
Cauliflower Tortillas
Makes 6
Ingredients
1 medium cauliflower (about 2 lbs total including the greens)
2 large eggs
Kosher salt and freshly ground pepper to taste
Directions
Preheat oven to 375°F (I used convection heat) with racks in the upper and lower shelves of the oven. Line two large baking sheets with parchment. I use a little non stick spray on the corners to keep them from rolling up.
Cut the cauliflower in quarters, remove the leaves and cut out most of the core. In a food processor pulse the cauliflower into granules, smaller than rice. I ended up with 6 cups lightly packed cauliflower.
Place the riced cauliflower in a bowl and microwave on high for two minutes, stir well, microwave two minutes, stir and microwave again for two minutes.Alternately you can cook the cauliflower in a steamer.
Dump the cooked cauliflower in the center of a cloth dish towel or a doubled layer of cheesecloth. Gather up the ends, careful, it will be extremely hot and squeeze out any excess liquid. You may want to protect your hands with an additional towel or rubber gloves. When you think you have removed all the water, give it one more squeeze.
Return the cauliflower to a bowl, add two beaten eggs, salt and pepper to taste and mix well until combined.
Scoop out the cauliflower into 6 fairly equal portions on the baking sheets and form into circles.
Bake with trays in the upper and lower half of the oven for five minutes then reverse the upper and lower positions and bake for another five minutes. Remove both trays from the oven and peel the tortillas off the baking sheets, flip them over and return to the oven for another 5-6 minutes.
Transfer cooked tortillas to a wire rack to cool.
Heat a medium-sized non stick pan over medium heat and brown the tortillas on both sides to crisp the edges.
Store in well sealed freezer bags. To use, reheat tortillas over medium heat in a small non stick pan.
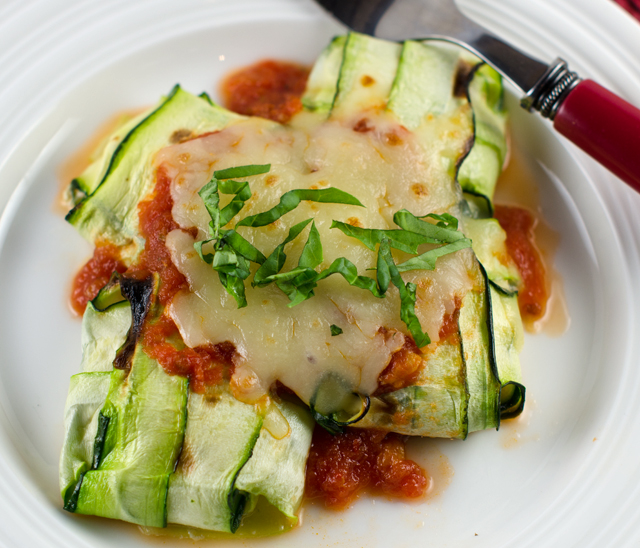
Normally I wouldn’t share a recipe for zucchini in the middle of January, but this time I had to make an exception. I am always looking for new ways to prepare for the buckets of zucchini that our garden produces every summer, so I had to try out this recipe I saw on The Chew, “Herby” Ricotta Zucchini Ravioli. In this recipe, very thinly shaved zucchini slices take the place of pasta and are filled with a herbed ricotta filling.
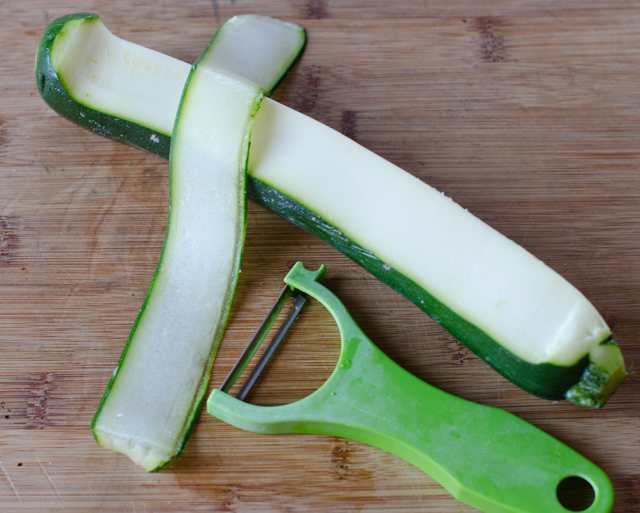
The zucchini could be sliced on a mandoline, but to simplify things, a Y peeler works just as well. Remove the first strip of skin, then a few more slices until you have a flat surface. Make slices down the length of the zucchini until you reach the seedy core. Look for medium length zucchini. I found that strips 5-6 inches long and 1½ inches wide were the right size to accommodate a generous tablespoon of the filling. Place the slices on baking trays lined with paper towels and lightly salt to draw out any excess liquid.
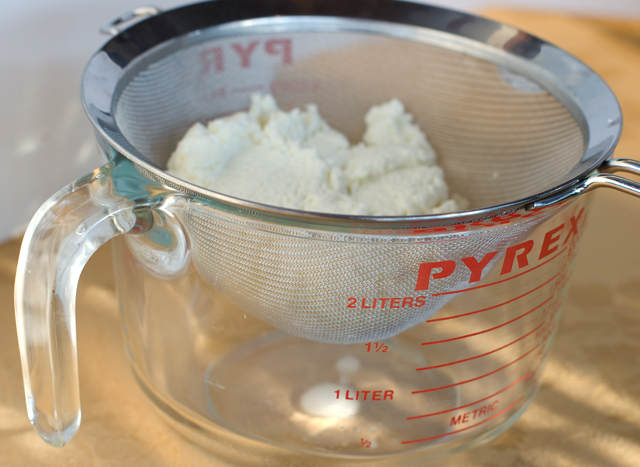
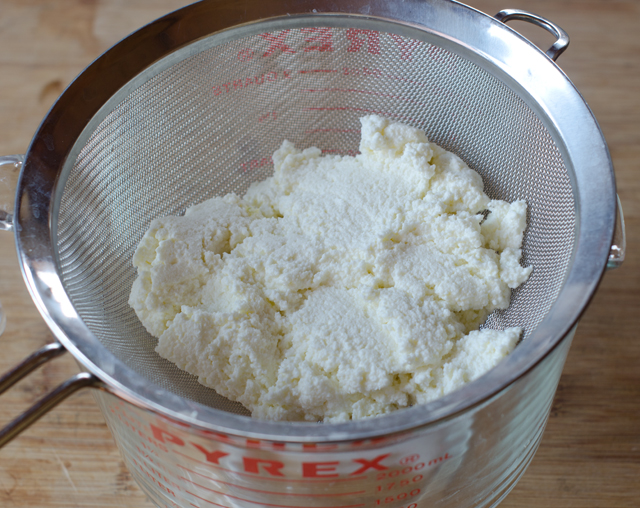
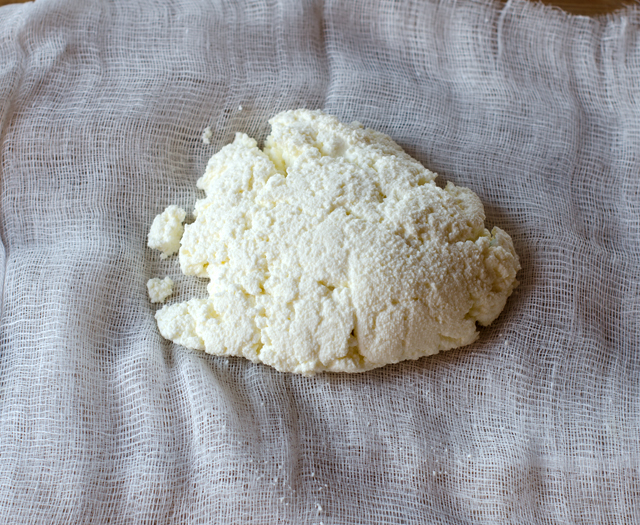
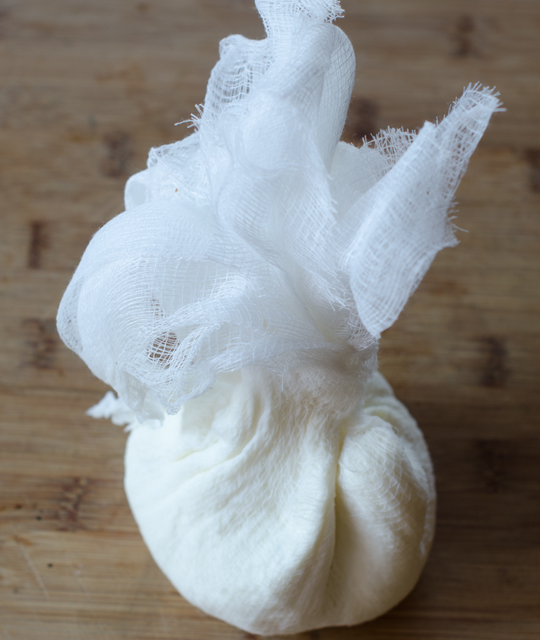
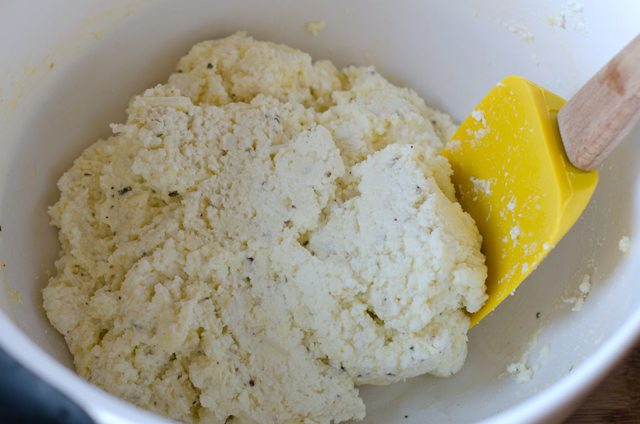
The filling is very simple, ricotta cheese with an egg, grated Parmesan and seasonal herbs. Fresh ricotta is always best but one without preservatives is a good second choice. Drain the ricotta in a fine strainer to draw out excess liquid then squeeze it out in cheesecloth to make it as dry as possible. There aren’t any fresh herbs in the garden on this very cold January day, but Joe has brought some into the conservatory. For this recipe I used parsley, thyme and a little dried oregano. Let the ricotta herb mixture sit for 10 to 15 minutes to allow the flavors to blend.
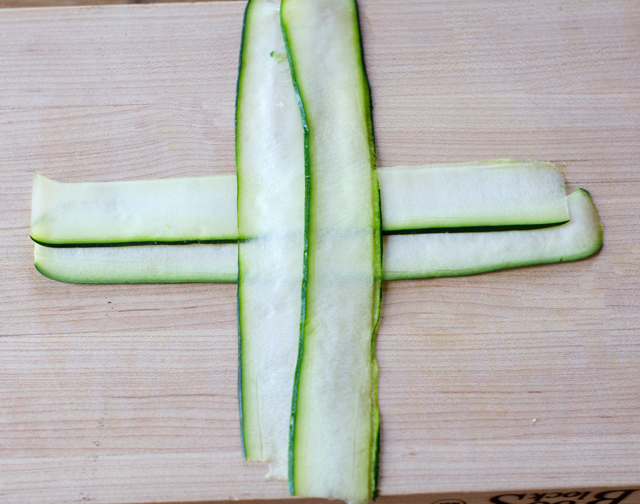
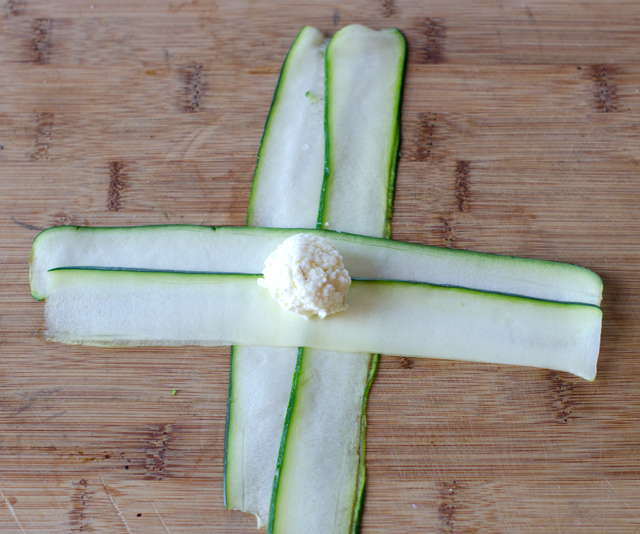
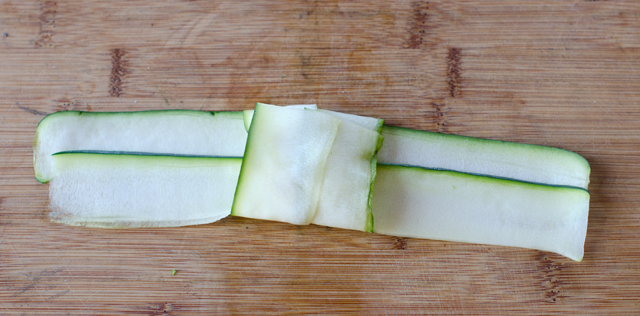
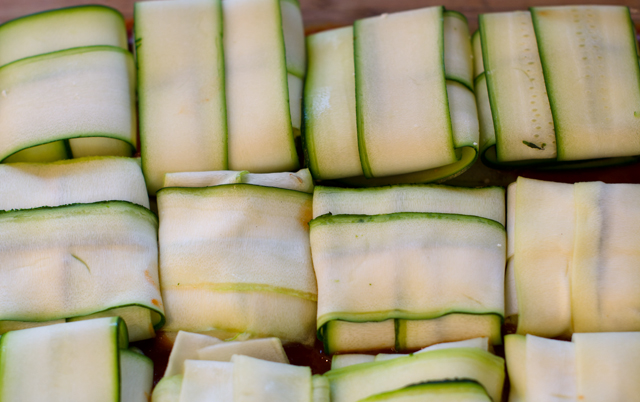
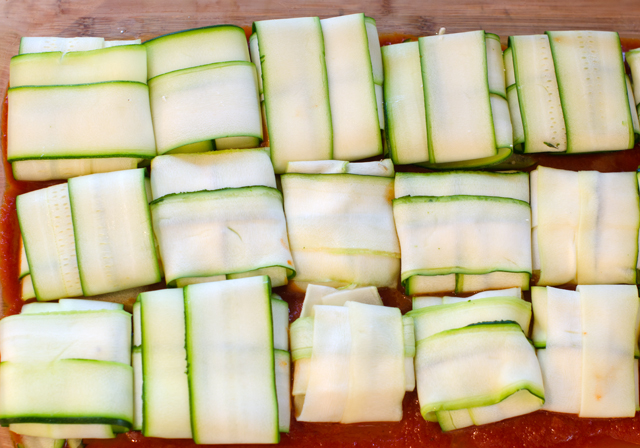
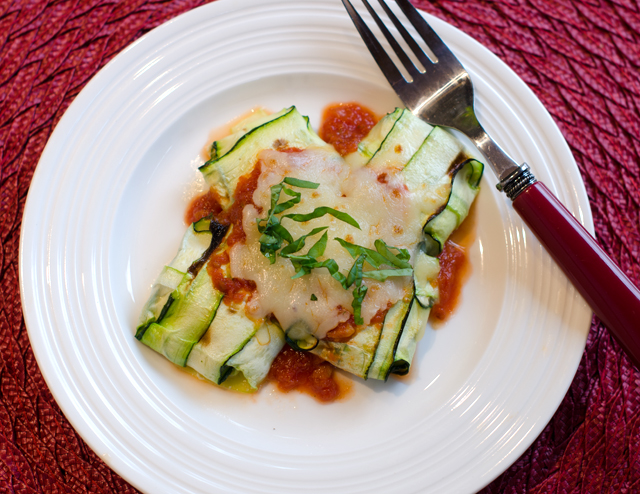
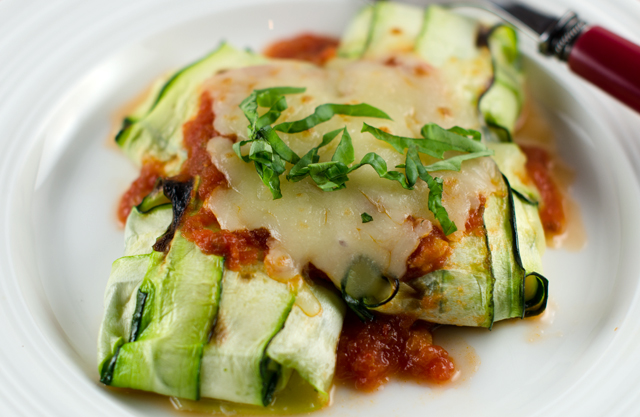
Now it’s time to make the bundles. Put enough tomato sauce on the bottom of your prepared pan to lightly coat it. Blot any excess liquid from the zucchini. On a clean work surface, lay two strips of zucchini so that they slightly overlap lengthwise. Lay two more noodles on top perpendicular to the first two strips, it should look like a plus sign. Place a generous tablespoon at the intersection where the strips meet. Starting with the bottom strips, fold them over the center, repeat with the second set of strips. Place the ravioli seam side down in the prepared baking dish and repeat with remaining zucchini strips until you fill the baking dish. Top with sauce and sprinkle with shredded mozzarella cheese. Bake for about 25 minutes, take out of the oven and sprinkle on the remaining Parmesan.
The verdict? Joe and I both thought they were delicious and didn’t feel cheated with the zucchini wrapper. As Chew co host Clinton Kelly said,” this is an amazing alternative to pasta.” The calorie savings are pretty amazing too with regular ravioli coming in at 785 calories while the zucchini ravioli is 260 calories! The portion size wasn’t mentioned though. This is not the best dish for the freezer. Zucchini is 95% water so I think this dish would best be served fresh. This is a great meatless dish whether for lunch, dinner or as a side. Pesto would be a good addition to the ricotta filling and a cheesy Alfredo sauce could take the place of the tomato sauce. Can’t wait until summer to try these with zucchini from the garden and my own variations.
Drain the ricotta in a fine mesh sieve for a half hour.
Wrap the ricotta in cheesecloth and squeeze out any excess moisture.
Using a Y peeler, slice the zucchini into long thin strips.Combine the ricotta, beaten egg, herbs, spices and cheese.Slightly overlap 2 strips of zucchini and overlap two more strips, forming a plus sign.Place a generous tablespoon of filling where the strips intersect.Fold the bottom strips over the filling.Fold in the other 2 strips to the center to completely enclose the filling.
Add the ravioli, seam side down to a baking dish lightly coated with tomato sauce.Top with additional sauce.Top with mozzarella cheese and bake .
Herby Ricotta Zucchini Ravioli
Serves 4
Ingredients
Olive oil for greasing the baking dish
2 c ricotta – whole milk or part skim
4-5 medium zucchini
1/3 c plus 2 T grated Parmesan (divided)
1 large egg
¼ c fresh herbs, finely chopped (parsley, thyme, chives etc.)
¼ t freshly grated nutmeg
2 cloves garlic, peeled and finely minced
2 ½ c tomato sauce-homemade or your favorite store brand
1 c shredded mozzarella
Basil chiffonade for garnish
Kosher salt and freshly ground pepper to taste
Cheesecloth – that will be used with the ricotta
Directions
Preheat the oven to 375°F. Lightly grease a 8×12 baking dish with olive oil.
Place a fine mesh sieve over a medium bowl and add the ricotta. Set aside and allow to sit for 30 minutes.
Using a Y vegetable peeler, slice the zucchini lengthwise into thin strips, avoiding the seedy core. Place strips on a paper towel lined baking sheet, lightly sprinkle with salt and set aside.
In a medium bowl, add ricotta, 1/3 c Parmesan, egg, chopped herbs, nutmeg and garlic. Season with salt and pepper and stir until fully combined. Set aside for 10 minutes to let the flavors combine.
Blot excess moisture off zucchini slices. On a work space, overlap 2 strips of zucchini and then overlap 2 additional strips on top and across the first 2 strips, forming a cross shape.
Using a spoon or cookie scoop, place a generous tablespoon of the ricotta mixture into the center of the zucchini formation.
Fold the bottom layer of the zucchini strips over the filling and into the center so that they are overlapping. Fold in the other two strips to the center so that the filling is completely enclosed. Repeat process with remaining filling and zucchini.
In prepared baking dish, spread ½ cup sauce evenly over the bottom. Place zucchini seam-side down. Pour remaining sauce over zucchini. Top with remaining Parmesan and mozzarella. Transfer to oven and bake for 20 to 25 minutes, until zucchini is al dente.
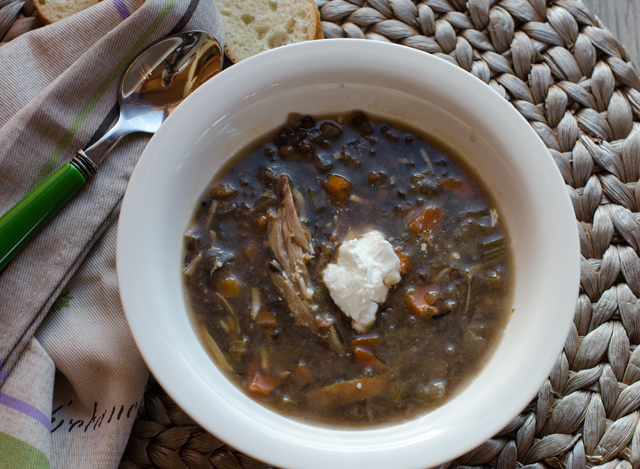
Smoked turkey has been a favorite of ours for many years. The original recipe we found came from the first cookbook Joe ever gave me, Better Than Store Bought. The book, a classic for the DIY cook features “authoritative recipes for the foods that most people never knew they could make at home”. One of the many recipes that interested us was for smoked turkey. We invested in a water smoker and different varieties of wood chips, learned about brining and went to work. The results were delicious. The turkey was tender, succulent meat with a pleasing hint of smoke. It soon became a regular favorite on my catering menu, whether it was on a carving station or used in an hors d’oeuvre recipe. We still smoke turkey for parties, especially around the holidays. Inevitably there are leftovers and since the temperatures are going to plunge into the minus zero territory I thought a hearty smoked turkey lentil soup would be perfect to keep us warm.
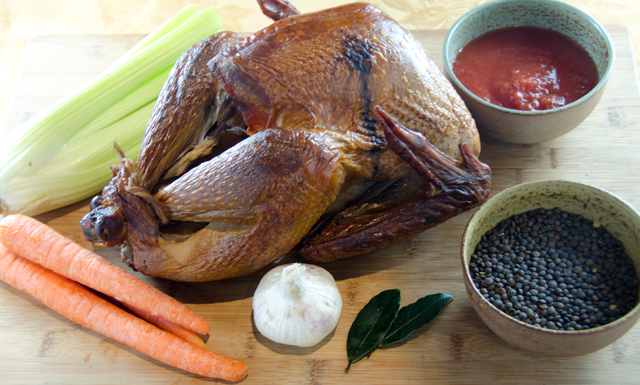
This soup is rich in flavor in spite of its very simple ingredients. The turkey infuses the soup with deep rich smokiness. If you don’t own a smoker, smoked turkey legs are available in many supermarkets. If you can’t find smoked turkey legs, you can use smoked turkey sausage instead. You could even do this recipe with roasted turkey wings and legs.
If you are not already saving Parmesan rinds you should. Store them in your freezer where they will keep indefinitely. Add one to your soup pot to infuse it with a subtle depth of flavor. It may totally dissolve in the soup, if not fish it out at the end of cooking along with the bay leaf.
Lentils are the perfect companion to the smoked turkey and they are very nutritious. A great source of antioxidants, vitamins A, D, E and K , the mineral selenium, lentils also contain high levels of soluble fiber and have zero cholesterol. Unlike other dried beans, lentils can be prepared the day of serving since a presoak isn’t necessary. Spread lentils on a light-colored plate to check for stones or debris. Then place the lentils in a fine strainer under cool running water. Purchase lentils in a store where you know there is high product turnover to ensure freshness. If they are more than a year or two old, they will often stay crunchy in the center no matter how long you cook them. I used the Puy variety, they are mottled green-brown in color and have a robust peppery flavor.
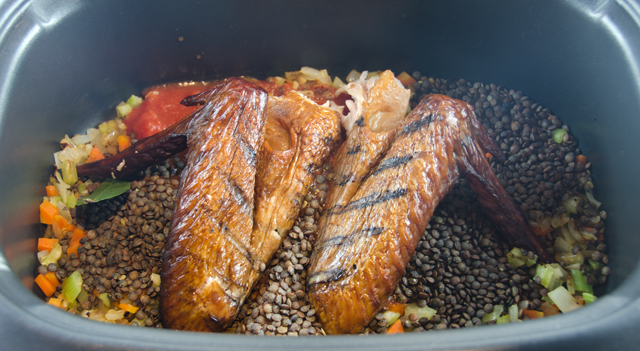
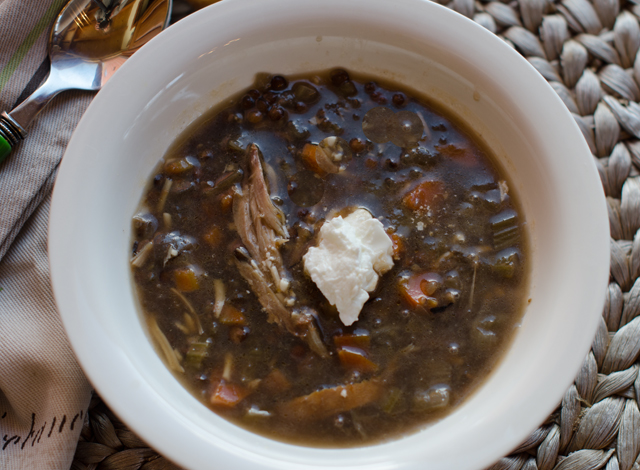
I adapted this recipe for the slow cooker but it could be done just as easily on the stovetop. In a dutch oven, cook vegetables until softened, add remaining ingredients and simmer partially covered for an hour. To serve, remove bay leaf, cheese rind, turkey wings and drumsticks. Remove the turkey meat from the bones and stir back into the soup pot. Ladle soup into bowls and top with a dollop of sour cream or yogurt.
Smoked Turkey Lentil Soup
Serves 4-6
Ingredients
1 T extra-virgin olive oil
3 garlic cloves, peeled and chopped
2 celery ribs, finely chopped
2 carrots, peeled and finely chopped
1 medium onion, finely chopped
1 c crushed tomatoes
1 fresh bay leaf
1 cup lentils, green or brown
2 smoked turkey wings
2 smoked turkey legs
1 Parmesan rind (optional)
8 c chicken or turkey stock
Kosher salt and freshly ground black pepper
Yogurt or Parmesan cheese to top the soup
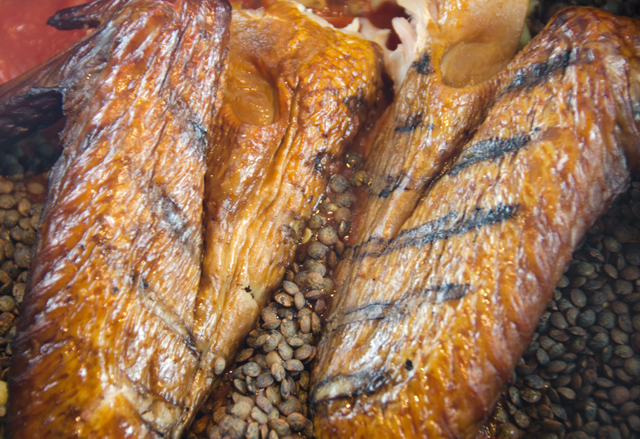
Golden brown smoked turkey wings.
Directions
In a large pot, heat the oil. Add the garlic, celery, carrots and onion and cook over moderate heat until softened, 6-7 minutes.
Transfer vegetables to a large capacity 6 qt slow cooker.
Add the tomatoes, bay leaf, smoked turkey and stock optional Parmesan rind and simmer on the low setting for 5-6 hours.
Before serving, remove bones and large pieces of turkey from the pot; allow to cool slightly on a platter. Once cool enough to handle, separate meat from the bones and any unappealing connective tissue. Return meat to the pot and discard bones.
Ladle soup into bowls and garnish with sour cream or yogurt.