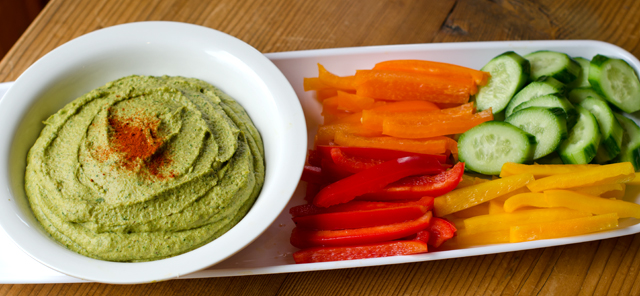
March 24, 2016 Spinach and Roasted Garlic Hummus

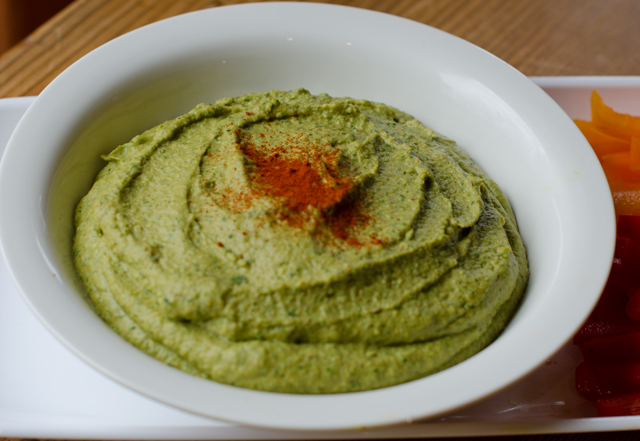
DSC_6542aWhen I am looking for a snack, hummus is a healthy choice I feel good about adding to my shopping cart. But the truth is, it’s takes just minutes to make my own, and it’s healthier (no additives), tastier and cheaper too. The word hummus in Arabic means chickpea so strictly speaking, hummus is the term for a chickpea dip. Hummus bi tahini means chickpeas with tahini, a paste of ground sesame seeds.  Whether you add tahini or not, a basic hummus includes garlic, lemon juice, olive oil and salt.

One of my favorite food memories is a chickpea soup Joe made for me one Valentine’s Day. I absolutely love the sweet nutty flavor of freshly cooked chickpeas and in a perfect world I would always use them when I make hummus. However, dried chickpeas need to be soaked overnight, drained the next day and cooked for 1-3 hours, depending on freshness. I don’t always have time for that and the delayed gratification it requires.

However if you have the time, substitute one half the quantity of dried beans for the canned. The standard 15 ounce can of chickpeas drained is about 9 ounces or 1 ½ cups of beans. This translates into 4.5 ounces of dried beans or ¾ cup. Many cooks add a pinch of baking soda to tenderize dried beans to both the soaking and cooking water. The United States dried bean council (of course there’s one!) points out that it destroys part of the thiamine (aka vitamin B 1), making the amino acids less digestible and negatively affects the nutritional value. I’ll leave that heavy decision up to you.

A basic hummus recipe is easy and delicious and just the jumping off point for countless variations. I have previously shared a beet hummus recipe, this time I added fresh spinach and roasted garlic to the recipe.

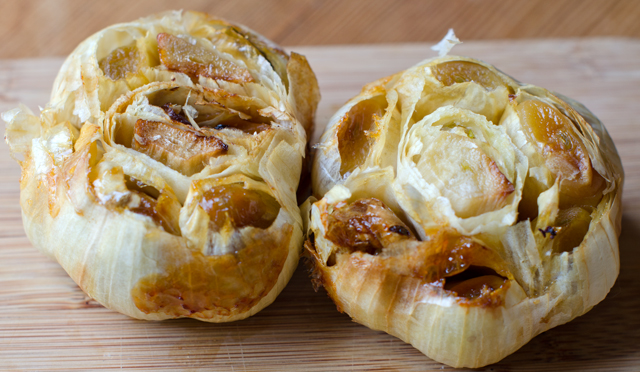
If you are not already roasting garlic cloves, you should. It takes more time to get your oven up to temperature than in does to get this kitchen staple together. The first time I roasted garlic I winged it but I am pleased to say my uninformed guess was pretty much on target. This is the basic recipe; cut about the top quarter off each head of garlic with a sharp knife to expose all the cloves. Slowly pour olive oil over each head, letting it soak into and around the cloves. Wrap the prepared heads of garlic in foil and bake in a 425°F oven. Start checking the garlic at the 45 minute mark. The finished cloves should be soft, golden and slightly protruding from the skins. I always roast more than what I need, it will keep in the fridge for about a week, that is if it lasts that long. You can also freeze roasted garlic for several months.

Everything goes into the food processor or blender, except the reserved chickpea liquid. I added three cloves of roasted garlic to my basic hummus recipe, along with three loosely packed cups of spinach leaves. I added a half teaspoon each of some appropriate dried herbs, cumin, for it’s smoky flavor, smoked paprika also brings smokiness and a little heat. Sumac is the herb you may not be familiar with, it has a fruity astringent taste, milder than a lemon. I shared more background on it in this post. It is readily available from several of the herb and spice mail order sights.

Add the additional bean liquid to get it completely smooth and holds it’s shape. Taste and add more salt if needed. Transfer mixture into a serving dish. Garnish with a dash of olive oil and a sprinkle of smoked paprika. Serve at room temperature.

DSC_6534a

DSC_6538a

Spinach and Roasted Garlic Hummus

Makes about 2 cups

Ingredients

  • 1-15 ounce can garbanzo beans (chickpeas) drained and liquid reserved
  • 3-4 c spinach leaves, large stems removed
  • 1/3 c tahini
  • 3 T fresh squeezed lemon juice
  • 3-4 cloves roasted garlic, or to your taste
  • ½ t salt, and more to taste
  • 1 t each cumin, sumac and smoked paprika
  • 1-2 T extra virgin olive oil
  • A dusting of smoked paprika for the topping

DSC_6536aDirections

  1. Add all the ingredients to your food processor or blender. Pulse, adding additional bean liquid as needed to get the hummus completely smooth.
  2. Taste and add salt if desired.
  3. Scoop into a serving bowl and sprinkle top with smoked paprika and a little olive oil if desired.
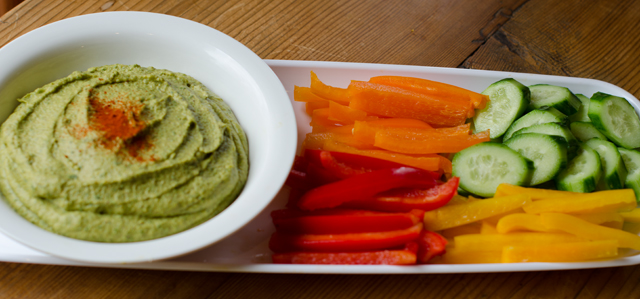
  4. Serve with the dippers of your choice.
March 17, 2016 Spinach Pie

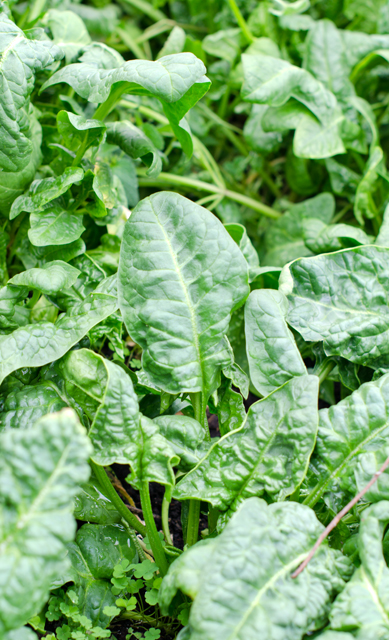
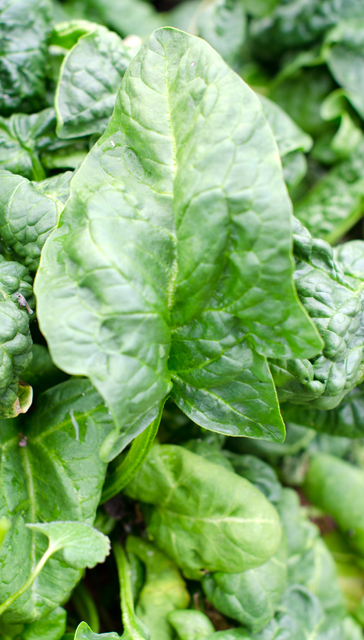
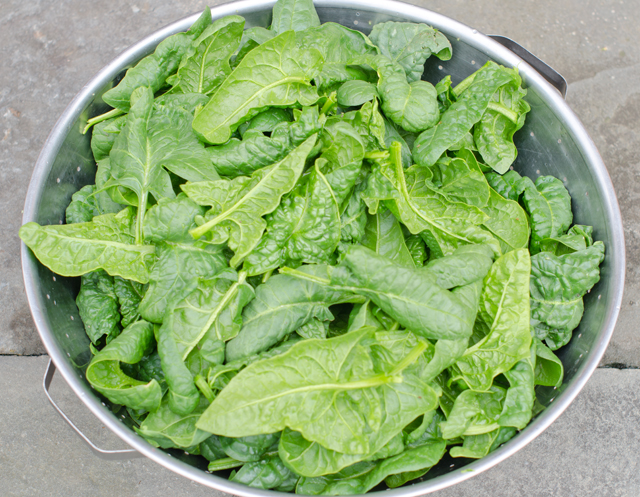
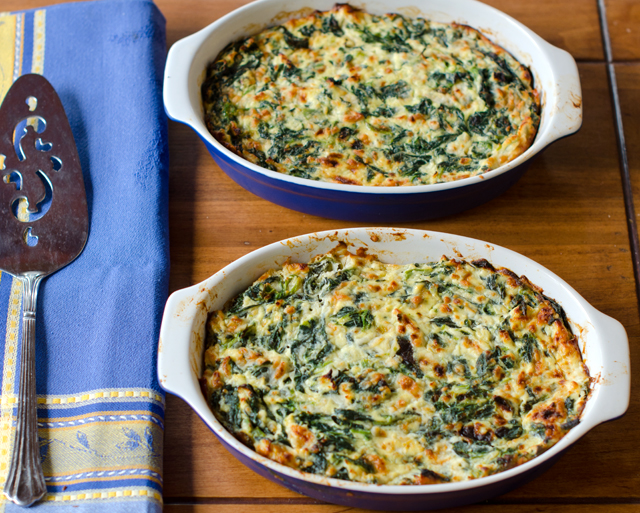
DSC_6530aFor once it looks like the groundhog was right, winter is over. Last week’s tease of highs in the 80’s has now settled back into a mostly rainy week with temperatures in the 50’s and 60’s. Spring arrives this weekend and it’s time to head back to the garden. Our garden’s first offering is spinach. Planted as a fall crop, it wintered over nicely in the greenhouse . It’s not the delicate baby spinach that you would want in a salad, but larger, very crinkly spinach, perfect for cooked dishes. I will attest that is still sweet and flavorful, after nibbling on some stems when I picked a large colander full today.

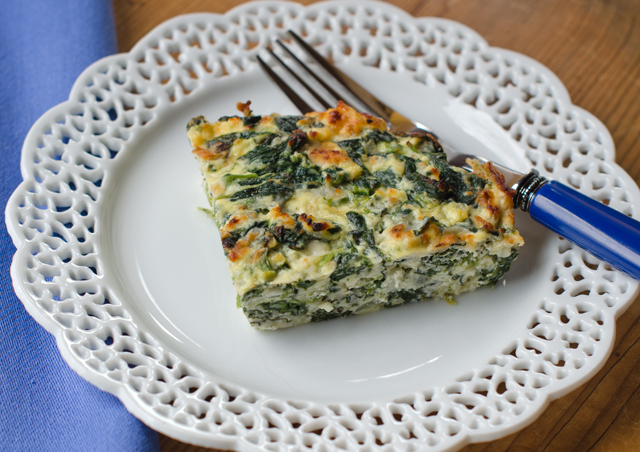
I found this recipe for Spinach Pie on the Epicurious website from a book called Irish Country Cooking, quite appropriate since St. Patrick’s Day is today. My choice was further confirmed when I read the author’s comment that three generations of her family have enjoyed this dish and this recipe was often made to use up her father’s seasonal harvest of spinach.

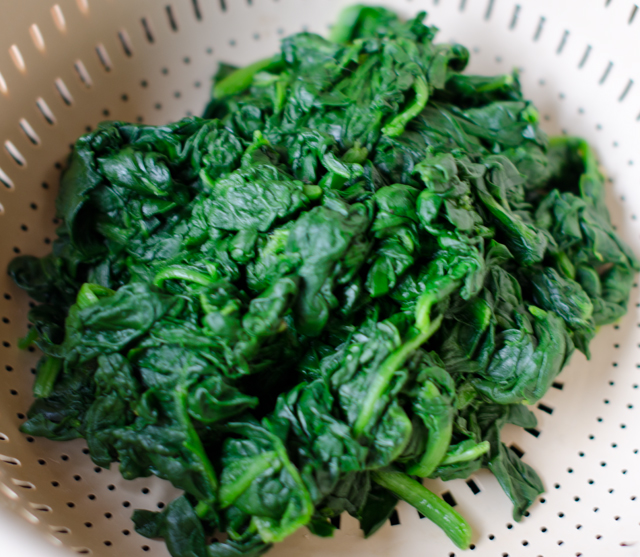
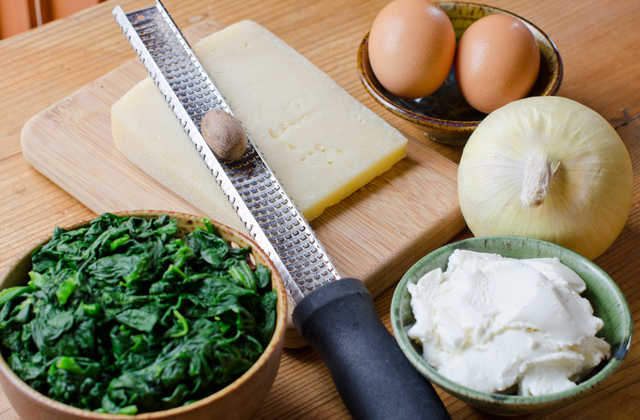
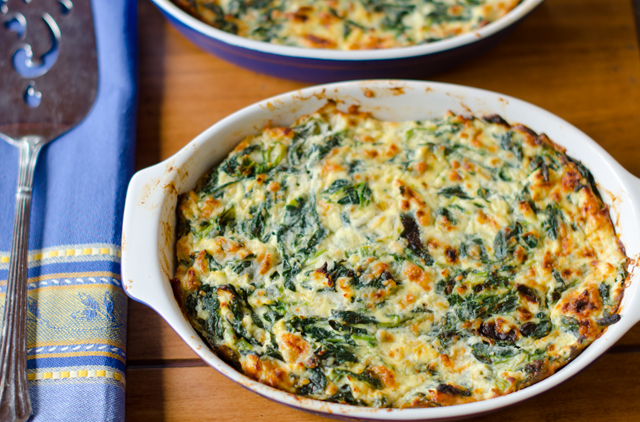
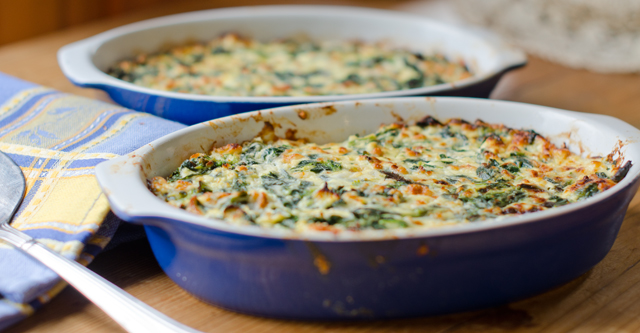
It takes a lot of spinach to make a pound, twelve cups to be exact. When that spinach is cooked down it will yield about a cup. Wash spinach in a large sink in several exchanges of cold water, those crinkles can hide a lot of dirt and debris. Remove any large stems and trim away any discolored leaves. The recipe called for steaming the spinach, I chose to cook it down in batches in a non stick skillet, which was just as easy. Drain spinach in a colander or better yet squeeze in your hands to remove excess moisture. Roughly chop spinach and in a large bowl combine with onion, beaten eggs and the cheeses. Mix well to be certain the spinach is mixed thoroughly with the other ingredients. Transfer this mixture to a quiche dish or individual dishes. If you like it could even be made in a crust. Different cheeses could be substituted as long as they have the same texture, cheddar for the mozzarella, I substituted ricotta for the cottage cheese. The addition of some chopped smoked salmon or a little crumbled sausage would be nice too.  A 10 ounce container of frozen spinach, thawed and well drained can be substituted for the fresh spinach.

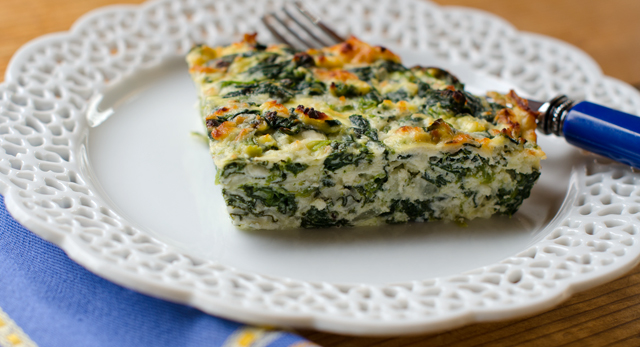
Spinach pie is appropriate at any meal, breakfast, a light luncheon entree, a side at dinner. You could also bake this in a rectangular baking dish and cut it into small squares as an hors d’oeuvre. I barely made a dent into the spinach that’s in the greenhouse so it looks like I will be making this again in the weeks to come.

DSC_6460a

DSC_6462a

DSC_6485a

DSC_6490a

Spinach Pie

Ingredients

  • 1 lb 4 oz spinach, washed or a 10 ounce container of frozen chopped spinach, thawed and well drained of excess liquid
  • 1 medium onion, finely chopped
  • 2 eggs, beaten
  • 10 oz ricotta or cottage cheese (regular or low fat)
  • 10 oz freshly grated Parmesan cheese
  • Kosher salt and freshly ground pepper to taste
  • ¼ t freshly ground nutmeg

DSC_6515a

Directions

  1. Preheat oven to 350°F, 325°F if using convection heat
  2. Wilt the spinach in a large non stick saute pan with the water that is still clinging to the leaves, drain well and roughly chop.
  3. In a large bowl, mix the cooked spinach with the onion, beaten eggs and cheeses. Be sure that the spinach is thoroughly combined with the other ingredients. Season the mixture with salt, pepper and nutmeg.
  4. Transfer mixture to one or several smaller baking dishes that have been coated with non stick spray. Bake in preheated oven for 25 to 30 minutes.

DSC_6520a

DSC_6523a

DSC_6526a

DSC_6533a

March 13, 2016 Salmon “Bulgogi” with Bok Choy and Mushrooms

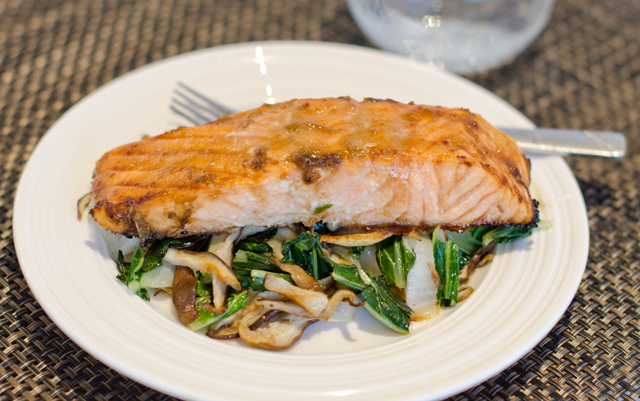
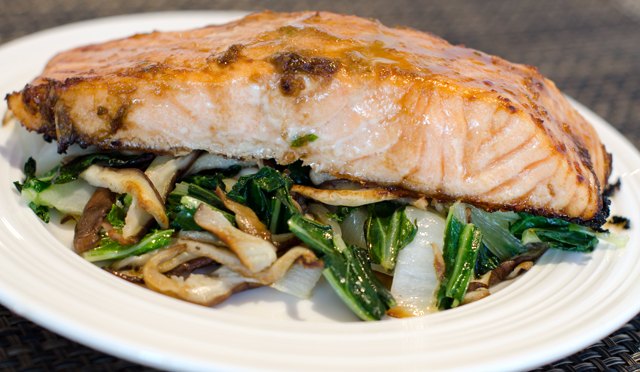
DSC_6398aI am always on the look out for new and interesting recipes. I have a large collection of notebooks containing them, with recipes I have tried or hope to try in the future. Some recipes I try once, others, a couple of times and there are the ones that become regulars in the dinner rotation. Salmon bulgogi is a recipe I found many years ago in Bon Appetit, and one I make quite often. A very flavorful combination of spicy, salty and sweet, it delivers maximum flavor and requires minimal effort.

Bul means fire and gogi means meat in Korean and refers to cooking marinated meat over an open flame, typically thinly sliced beef. In this recipe, heart healthy salmon replaces the beef.

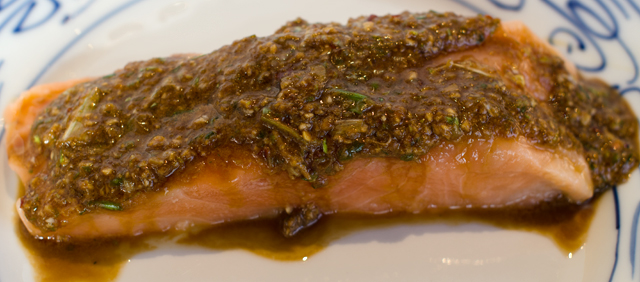
Since we have an extensive Asian pantry I usually have most of the marinade components on hand. The eight ingredients, garlic, green onions, soy sauce, rice vinegar, fresh ginger, sugar, sesame oil and chili garlic sauce are blended in a mini processor and spooned over the salmon. The original marinade was too salty for my taste so I cut the amount of soy sauce in half. Look for dark sesame oil when making this recipe. Pressed from deeply toasted seeds, it has a very concentrated flavor and a little goes a long way. A common ingredient in the bulgogi marinade, Asian pear, is used to tenderize the beef but not necessary for the salmon.

Don’t confuse chili garlic sauce with sriracha. Chili garlic sauce is chunky, not smooth and has a more pronounced garlicky flavor. Sambal oelek, a common table condiment in Asian restaurants, looks the same as chili garlic sauce. Sambal oelek is made from chilis preserved with vinegar and salt and does not contain garlic. Now that it is more widely available, it might be interesting to substitute gochujang, the Korean hot sauce made from chile peppers, glutinous rice, fermented soybeans and salt.

Marinade the fish for five minutes, I have left it on for up to a half hour. The original recipe calls for skinless fillets, we prefer to leave the skin on. Leaving the skin on makes for an easy transfer from pan to plate, plus Joe likes the crispy salmon skin. Scrape off as much of the marinade as you can and transfer the fish to a baking dish. In a small saucepan, bring the marinade to a boil and set aside. It’s not so much a glaze, it’s a bit chunky which is fine, unless you prefer to strain it and discard the solids. While the fish is roasting, stir fry the bok choy and mushrooms. The original recipe just adds a little pressed garlic to the mix, this time Joe added a little of my homemade sriracha sauce and a dash of yuzu juice to brighten the flavors. In season we will use baby bok choy or another Asian green from the garden. Divide the vegetables between the plates and top with salmon. Spoon the marinade over the fish and serve.

Salmon Bulgogi with Bok Choy and Mushrooms

Serves four

Ingredients

  • Two large garlic cloves, peeled and divided
  • 1/3 c chopped green onions
  • 2-3 T low sodium soy sauce
  • 1 T Chinese rice wine or dry Sherry
  • 1 ¾-inch cube peeled ginger
  • 2 t sugar
  • 1 t Asian sesame oil
  • 1 t chili garlic sauce
  • 4 6 oz center cut salmon fillets
  • 1 T peanut oil
  • 1 large bok choy, cut crosswise into ½ inch wide strips (about 7 cups)
  • 4 oz fresh shiitake mushrooms, stemmed and caps sliced
The marinade ingredients, minus the soy sauce.
A mini processor makes it easy to combine the marinade ingredients.
DSC_6369a
Five minutes is all it takes to marinade the fish.

Directions

  1. In a mini processor, blend one clove of garlic with the next 7 ingredients. Arrange salmon in a baking dish and spoon marinade over the fish. Let marinade for 5 minute and up to one half hour.
  2. Preheat oven to 450°F. Arrange the fish with some of the marinade still clinging in a shallow baking dish. Transfer the marinade from the first dish to a small saucepan. Roast fish according to the Canadian fisheries method, which equates about one inch of the thickest part of the fish to 10 minutes of cooking time.
  3. Bring marinade to a boil; set aside and reserve for glaze.
  4. Heat oil in a large non-stick skillet over high heat. Add bok choy and mushrooms, using a garlic press, press in one garlic clove. Stir fry until mushrooms are tender and the bok choy is wilted, about 4-5 minutes, season with salt and pepper.
  5. Divide vegetables among the plates. Top with salmon and brush with glaze.

DSC_6388a

March 6, 2016 Crunchy Winter Slaw

DSC_6250a

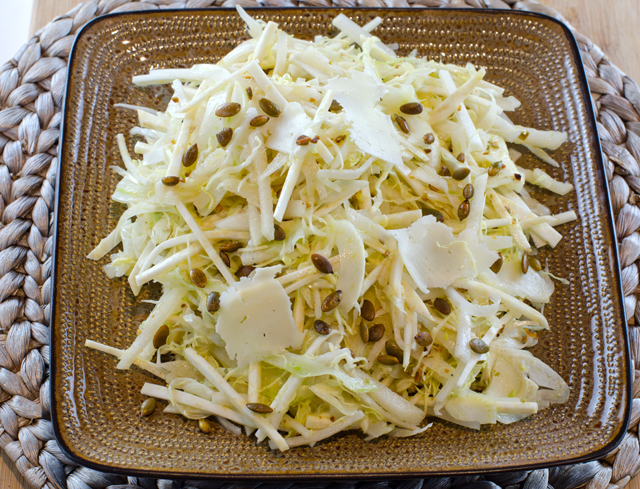
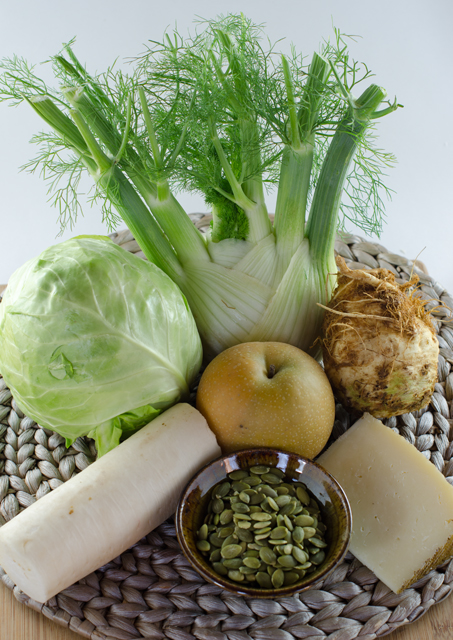
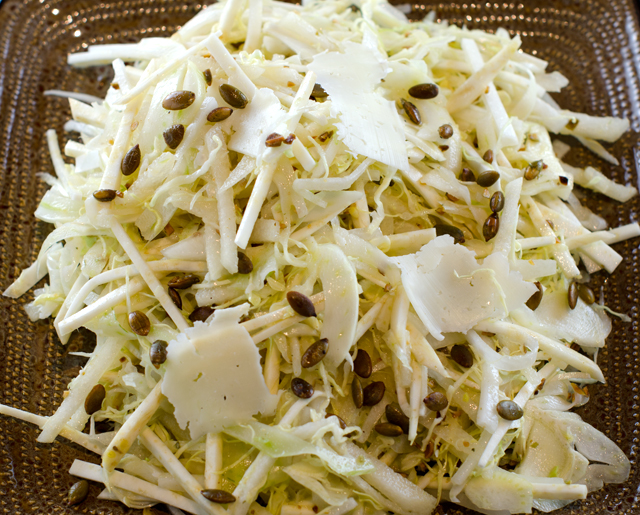
Slaws aren’t just for summer picnics anymore. A crisp winter slaw is the perfect compliment for hearty stews, soups and braises. This one from the latest edition of Bon Appetit combines green cabbage or fennel, daikon radish, celery root with juicy sweet Asian pear. Not fond of celery root? Use celery instead. No Asian pears in your market, use a tart apple. A dressing of lemon juice, maple syrup, Dijon mustard and olive oil brings the flavors together. Topped with some toasted pumpkin seeds and some shreds of Manchego cheese, this slaw is crunchy, fresh and light. and one I’m sure to be making again throughout the season.

Crunchy Winter Slaw

Serves 4

Ingredients

  • 1/3 c raw pumpkin seeds
  • 1 t plus ¼c olive oil
  • Kosher salt and freshly ground pepper
  • 3 T fresh lemon juice
  • 1 T Dijon mustard
  • 2 t pure maple syrup
  • 4 c very thinly sliced green cabbage and/or fennel
  • 1½ c matchsticks Asian pear
  • 1½c peeled celery root or celery
  • 1½c matchsticks peeled daikon radish
  • 3 oz Manchego cheese, divided

DSC_6215a

Directions

  1. Preheat oven to 350°F. Add 1 t olive oil to a  bowl then add the seeds and toss to coat them thoroughly.  Season the seeds with salt and pepper and spread evenly on a baking sheet. Bake until golden brown and puffed, rotating the baking sheet and tossing the pan halfway though baking time, about 5 minutes.
  2. Let them cool and finely chop 2 t  pumpkin seeds.
  3. Whisk together chopped seeds, lemon juice, mustard, maple syrup and remaining oil in a small bowl, season with salt and pepper.
  4. Combine the cabbage, fennel, Asian pear, celery root, daikon, most of the Manchego and remaining toasted pumpkin seeds in a large bowl. Drizzle dressing on top and toss to combine.
  5. Season with salt and pepper and top with remaining Manchego.

DSC_6246a


March 3, 2016 Lemon-Ginger Poached Grouper with Leeks and Spinach

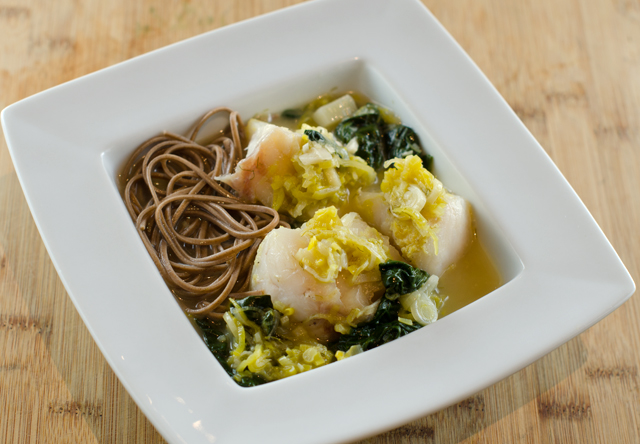
DSC_5982aFish is on the menu three to four nights a week at our house and I am always looking for new and healthy ways to prepare it. This Asian influenced light main course from Fine Cooking is both easy to prepare and delicious enough for company.

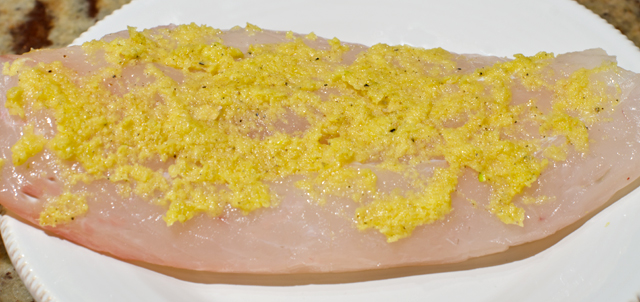
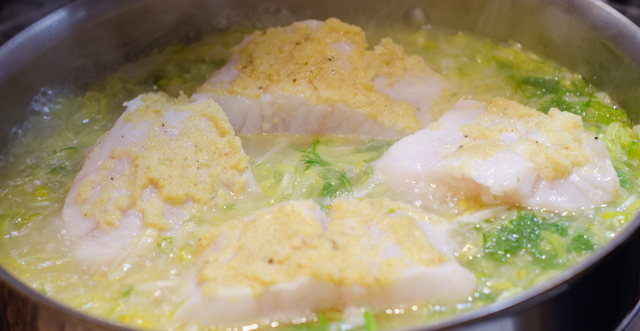
Originally the recipe called for halibut, but since it can be quite expensive (over thirty dollars a pound) any mild tasting firm fleshed fish will work. Our choice was grouper but sea bass or cod would also be a good substitute. The recipe begins with a simple but flavorful rub of ginger, garlic, and lemon. A microplane makes it easy to grate all three. Lightly pat this mixture on one side of the fish. The fish is added to a simmering broth that is enhanced with sauteed leeks and lemon juice. Add any additional stock needed to almost cover the fillets. Poaching ensures a moist flavorful fish. Transfer the cooked fish to shallow bowls and keep warm. The spinach, mint and scallions are quickly wilted in the broth. I confess I didn’t use the mint, Joe is not a big fan and I would only use some of the milder mint that we grow.

While the fish is cooking, you will have time to cook the soba noodles. Soba is both the Japanese word for buckwheat and the noodle made with buckwheat flour. They have a delicate texture and a nutty flavor. Soba can also be flavored with everything from green tea to wild yam. Years ago when I was first experimenting with Japanese recipes it took a special trip to the Asian market to find soba, now they are available in most grocery stores.  Soba noodles are usually eaten cold, but in this recipe they are great warm for sopping up the broth.
.

Lemon-Ginger Poached Halibut with Leeks and Spinach

Serves four

Ingredients

  • 2 t finely grated fresh ginger
  • 1 t finely grated garlic
  • Finely grated zest and the juice of one lemon
  • 2 T plus 1 t extra-virgin olive oil
  • Kosher salt and freshly ground black pepper
  • Four 1-inch thick skinless fillets of a firm fleshed white fish (halibut, grouper, sea bass etc.)
  • 2 medium leeks, white and light green parts only, halved lengthwise, rinsed well and thinly sliced
  • 3 c lower salt chicken broth or vegetable broth; more as needed
  • Water- to cook the soba noodles
  • Soba noodles, a handful or a wrapped portion per per person
  • 4 c lightly packed spinach leaves, rinsed
  • ¼ c roughly chopped fresh mint
  • ¼ c thinly sliced scallions

Directions

  1. In a small bowl, mix the ginger, garlic, lemon zest, 1 tsp of the olive oil, 1 tsp salt and ½ tsp pepper. Pat the mixture evenly over one side of the fish. Put a large pot of water on to cook the noodles, do not add salt to the water. Bring water to a boil.
  2. In a 10-inch straight sided saute pan, heat the remaining 2 Tbs. oil over medium heat. Add the leeks and saute, stirring constantly, until softened, about 5 minutes.
  3. Add the broth and 1 Tbs. of the lemon juice. Cover and bring to a simmer over high heat.
  4. Arrange the fish lemon-ginger side up in a single layer on top of the leeks. If necessary add more broth until the fillets are almost but not completely submerged. Cover and turn the heat to low. Gently simmer until the fish is cooked through, 8 to 10 minutes.
  5. While the fish is  cooking, add the soba noodles to the boiling water and give them a quick stir so they all go underwater. Cook the noodles uncovered for 6-8 minutes, they should be slightly al dente. Drain the noodles into a colander and rinse with cold water to remove excess starch.
  6. With a slotted spatula, transfer the fish to shallow bowls and keep warm.
  7. Add the spinach, mint and scallions to the broth and stir until slightly wilted, about 1 minute.
  8. Season to taste with more lemon juice, salt and pepper. Ladle the vegetables and broth around the fish, add the noodles to the bowl and serve.
DSC_5971a
A rub of ginger, garlic, lemon and olive oil is patted on one side of the fish.
DSC_5976a
Poaching the fish in a chicken broth that is enhanced with leeks and lemon juice.

February 21, 2016 Carrot Cake Sandwich Cookies

DSC_5967aCarrot cake is hands down my favorite dessert. Not just any carrot cake, the legendary creation made popular by a Philadelphia restaurant of the late seventies and early eighties, Frog/Commissary. Frog was the more formal dining restaurant (we ate their once) and the Commissary was a cafeteria style establishment.  The Frog Commissary cookbook was one of the first I owned and I am on my second copy, the first fell apart from constant use. I used many of the recipes over the years for parties and in my catering business. Though I don’t use it very much now (I should..), the recipes still feel as contemporary as they did over thirty years ago.

What can you say about a cake that uses a pound (4 cups) of carrots? Does that count as your vegetable for the day? The cake is cut into three layers and filled with a rich pecan cream concoction made with lots of butter, heavy cream and sugar. There’s always enough filling leftover for later to warm up a little to  pour over ice cream.  The tangy cream cheese and confectioner’s sugar frosting covers the cake and it is gilded with toasted coconut on the sides. I have never claimed to be a pastry chef, but I learned how to make icing “carrots” to embellish the carrot cakes I made. It was the first thing Joe ever made for me on my birthday, long before we were married. I must say I was more than a little impressed. Years later as a caterer I was asked to make this cake countless times, appearing as everything from the wedding cake itself to miniature carrot cake cupcakes on dessert buffets.

Coincidentally it is also the favorite cake of my brother. My brother and sister in law joined us for dinner to celebrate his birthday. My sister in law makes the cake for his birthday every year (a true gift of love!) Not wanting to duplicate her efforts, after all it can easily serve 12 people, I was looking for an alternative. Not just a reworking of the original recipe but something just a little different. Carrot cake bars? Too similar. Carrot cake ice cream? Interesting but that would need more time for experimentation.

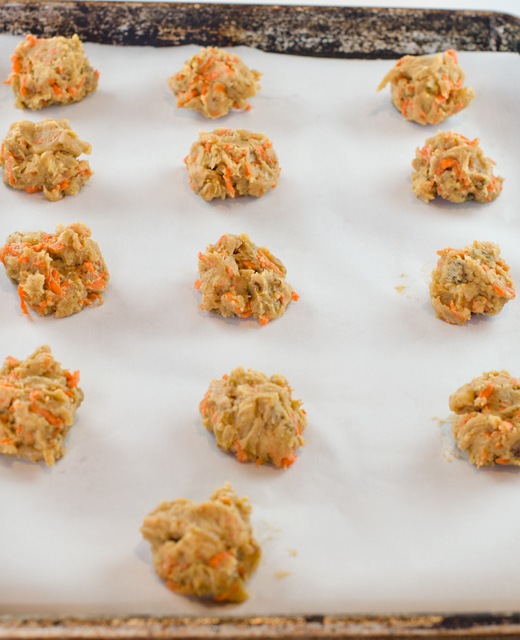
I decided on a recipe for carrot cake sandwich cookies I found on the Epicurious website, originally published in the April 2004 issue of Gourmet magazine. It was a much reviewed (241 to be exact) recipe with most of the comments on the positive side. After reading some of the comments I did make a few simple changes to the recipe. First was to line the baking sheets with parchment rather than butter them, I thought it would solve the spreading problem many reviewers encountered and make it easier to transfer the cookies. I also refrigerated the cookies on the baking sheets for a half hour before baking, also because so many reviewers felt the cookies spread too much.  The not overly sweet cream cheese and honey filling was perfect for the cookie. I just increased the honey to my taste, one-third cup. Unless all of your cookies are the same in size, one last suggestion would be to match up the base of the cookies size wise before filling them.

DSC_5964a

Carrot Cake Sandwich Cookies

Adapted from  Epicurious

Makes about 2 dozen sandwich cookies

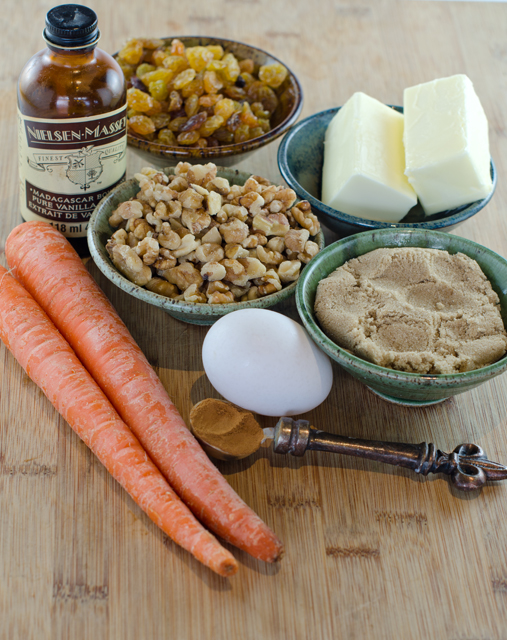
Ingredients for the cookies

  • 1 1/8 c all purpose flour
  • 1 t cinnamon
  • ½ t baking soda
  • ½ t salt
  •  ½ c unsalted butter (1 stick)
  • 1/3 c plus 2 T packed light brown sugar
  • 1/3 c plus 2 T granulated sugar
  • 1 large egg
  • ½ t vanilla
  • 1 c coarsely grated carrots (about 2 medium)
  • 1 c walnuts, chopped
  • 1/2 c golden raisins

DSC_5941a

Ingredients for the filling

  • 1 8 ounce package cream cheese
  • 1/3 c honey

Directions

  1. Put oven racks in upper and lower thirds of oven and preheat oven to 375°F Line two large baking sheets with parchment paper.
  2. Whisk flour, cinnamon, baking soda and salt together in a bowl.
  3. Beat butter, sugars, egg and vanilla together in a bowl with an electric mixer at medium speed until pale and fluffy, about 2 minutes. Mix in carrots, nuts and raisin in with a wooden spoon or a mixer at low speed. Then add flour mixture and beat with mixer until just combined.
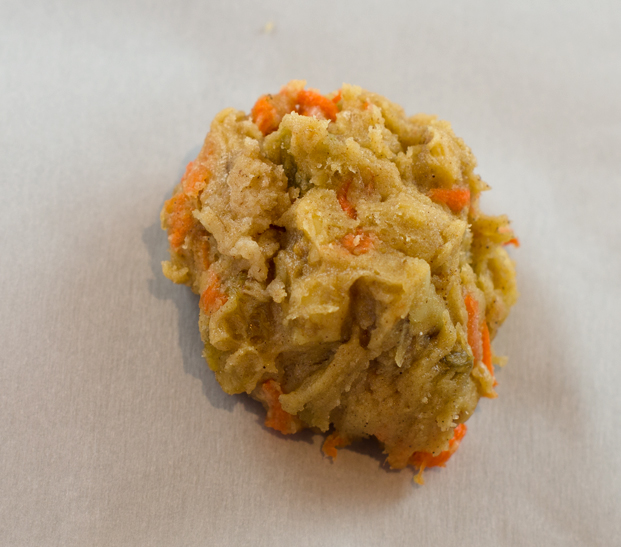
  4. Drop 1 ½T batter per cookie 2 inches apart on baking sheets and place sheets in the refrigerator to firm up for about ½ hour.
  5. Bake cookies, switching position of sheets halfway through baking, until cookies are lightly browned and springy to the touch, 12-14 minutes total. Cool cookies on baking sheet for a few minutes, then with a spatula move the cookies to racks to cool completely.
  6. For the filling: while the cookies are baking, blend cream cheese and honey with a mixer or food processor until smooth.
  7. Sandwich flat sides of cookies together with a generous tablespoon of cream cheese filling in between.

DSC_5942a

DSC_5948a


DSC_5954a

DSC_5966a

February 16, 2016 Shaved Fennel and Arugula Salad with Blood Oranges and Walnuts

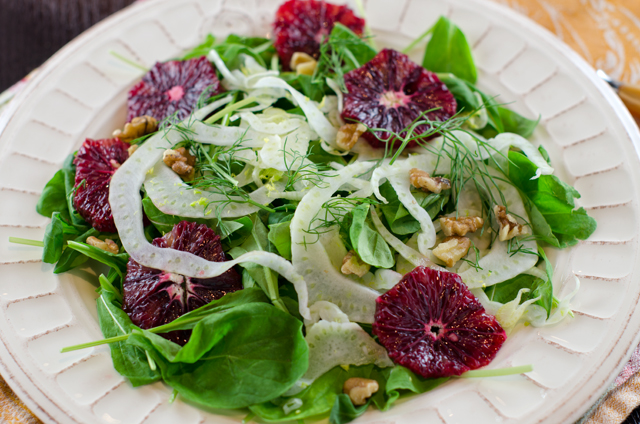
DSC_5859aThis simple salad unites two of winter’s best produce offerings, fennel and blood oranges. I added some peppery arugula, tossed them with a blood orange dressing with toasted fennel seed and topped it with toasted walnuts.

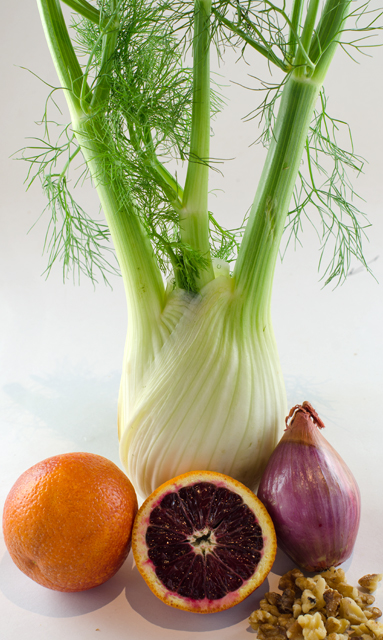
In the world of vegetables, poor fennel doesn’t get the attention that it truly deserves. Originally an Italian import, it’s readily found in any well stocked grocery store, usually keeping company near the radishes and lettuces. It’s full of nutrients like vitamin C, potassium and fiber with a texture that is crisp like celery and a flavor is mildly anisey. Fennel is available year round but it’s peak season is fall and winter.

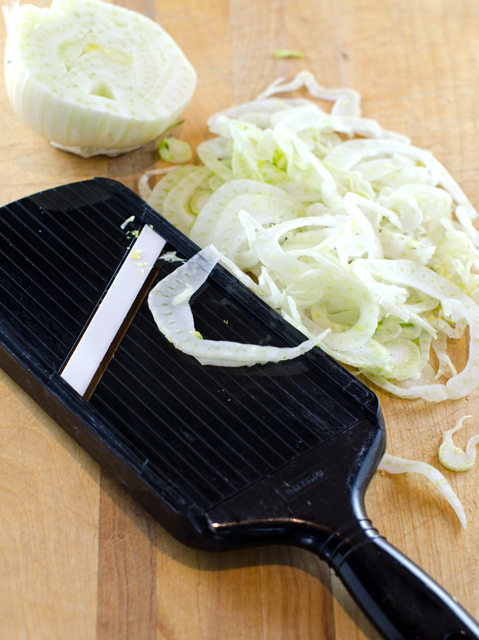
I propose the reason for fennel negligence is twofold. One, many cooks aren’t sure what parts are usable and two, they are not sure how to cut it up. That’s easy to clarify, when shopping for fennel choose small to medium plump bulbs always with the stalks and feathery greenery still attached. To prepare for cooking, cut off the stalks and the feathery foliage. Remove any outside ribs that appear tough or damaged. Slice the trimmed fennel bulb crosswise thinly with a knife or mandoline for raw preparations or cut vertically into larger pieces for grilling or roasting. The stalks can be as a bed for cooking whole fish or stuffed in a chicken before roasting. The stalks could also be used as a component in chicken or vegetarian stock. The feathery fronds make an attractive edible garnish. I use raw fennel quite often in our winter salads and I also like fennel quartered either roasted or grilled. Grilling caramelizes fennel and enhances the flavor.

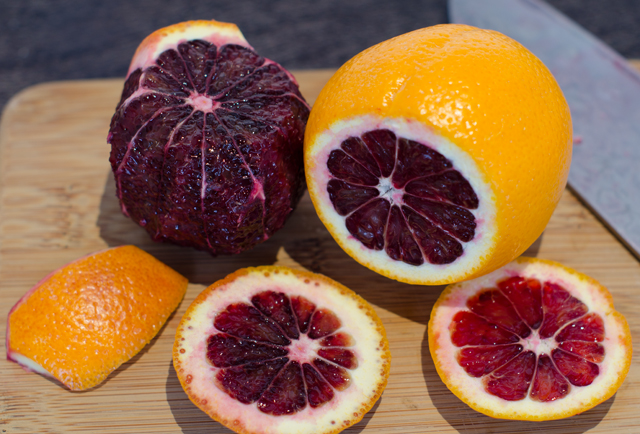
Blood oranges are readily available now and I like to use them as much as I can during their December to March season The red blush of the blood orange’s skin hints at what’s inside. The magenta flesh color is due to the presence of anthocyanins, the pigment that makes blueberries blue, cherries red and eggplants purple. Blood orange’s flavor is tart-sweet with just a hint of berry.

This is a very easy salad to make. Shave the fennel crosswise very thinly with a mandoline or sharp knife. Always use the finger guard with the mandoline, I learned the hard way on a new, very sharp mandoline a few years ago, when I was shaving fennel come to think of it. Cut the peel and pith from the orange, again using your sharpest knife and cut crosswise into rounds. The crispy fennel and peppery arugula are combined with a blood orange and toasted fennel seed vinaigrette. Add the blood orange sections and toss again. Top with toasted walnut pieces and fennel fronds.

Shaved Fennel and Arugula Salad with Blood Oranges and Walnuts

Serves four

Ingredients for the salad

  • 1 medium fennel, top trimmed off and fronds reserved
  • 4 blood oranges
  • 6-7 c baby arugula
  • ¼c toasted chopped walnuts

DSC_5863a

Ingredients for the dressing

  • l blood orange
  • 1 T fresh lemon juice
  • 1  T minced shallot
  • 1 t honey
  • ½t fennel seed
  • 1 t salt
  • ½c extra virgin olive oil
  • Kosher salt and freshly ground pepper

Directions for the dressing

  1. Juice the orange, you should have about ¼ cup.
  2. In a dry skillet, lightly toast the fennel seeds until fragrant. Cool slightly and crush with a mortar and pestle.
  3. Stir all the ingredients together in a medium bowl. Add salt and freshly ground pepper to taste.  Reserve.

DSC_5841a

DSC_5849a

Directions for the salad

  1.  Slice fennel very thinly crosswise with a mandoline or a very sharp knife, stopping before you get to the core. You should have 1½ to 2 cups.
  2. Using a very sharp knife, cut the peel and white pith from the oranges. Slice crosswise into thin rounds.
  3. In a large bowl add fennel and arugula and toss to combine. Whisk the dressing together to recombine. Add some of the dressing to the arugula and fennel and toss lightly. Season with salt and pepper. Add the blood orange sections and toss gently. Divide among the salad plates and top each portion with fennel fronds and walnuts. Season to taste with salt and pepper.

DSC_5854a


February 6, 2016 Roasted Cauliflower Salad with Orange and Tarragon


DSC_5828aThe produce department of a well stocked supermarket is a happy place for me. I love looking at neat rows of perfect produce with automatic misters that always seem to turn on the minute I reach in to pick out my choice. I look for new vegetables I have read about in food magazines. Kale sprouts? Not in local stores yet. I am inspired to try that new recipe, create a new salad. I bemoan the high cost of tiny bunches of fresh herbs and swear that I will ask Joe to pot up more to use in the winter season. In our gardening “off season” I can even find local lettuces and greens grown in indoor greenhouses not far from where I live.
About a month ago I discovered one of my favorite vegetables was missing from it’s place of prominence on the shelves. Cauliflower, usually placed near it’s cousin broccoli was all but missing in action. When I did find it, it was banished to a corner at the very end of the produce aisle. There was only a very sparse offering and the heads were probably half the size of those from local farms available just a few months ago. And the price? These tiny heads were selling at $5.99 a piece, I could easily pass that up.

After a little research, I learned that the problem was due to the changing weather and rainfall patterns from a strong El Nino in the primary areas where it is grown, California’s Imperial Valley and near Yuma Arizona. The combination of cauliflower’s current status as most favored vegetable (sorry kale!) and the recent shortage led to it’s conspicuous absence.

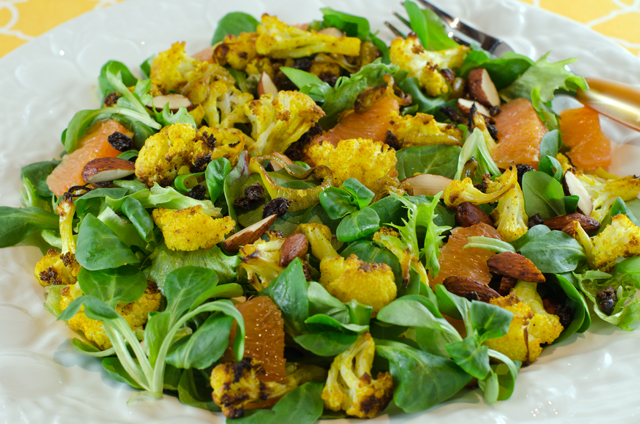
Several weeks have passed and the price is coming down a bit so I have currently suspended my moratorium on cauliflower. This salad, roasted curried cauliflower with orange and tarragon in the latest issue of Fine Cooking was the inspiration for my return.

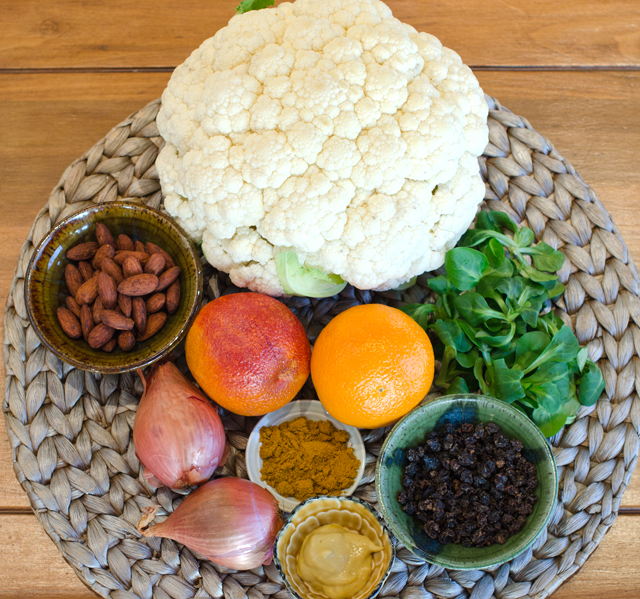
Florets of cauliflower and thinly sliced shallots are tossed with curry powder, olive oil, salt and pepper. Since they can vary in heat quite a bit, I chose a sweet curry powder from Penzey’s. Curry powders are are a blend of spices, thirteen in this case, including turmeric, coriander, cumin and ginger, just to name a few. You can also make your own curry blend according to your tastes. The cauliflower and shallots are spread out on a large baking sheet and roasted until the vegetables are tender and browned, 20 to 25 minutes. Watch carefully, since I was using convection heat I reduced the temperature from 450°F to 425°F. I also stir the cauliflower around at about the halfway point to insure even browning.

While the vegetables are roasting, prepare the orange segments, I discuss how to do it here. Unlike cauliflower, oranges and all citrus are plentiful and priced well this time of year. If you don’t want to try your hand at supreming, substitute Mandarin orange segments, not the ones packed in syrup, of course!

The vinaigrette is composed of rice vinegar, Dijon mustard, orange juice and extra virgin olive oil. Fresh tarragon brings a “licoricey” flavor to the dressing but if the expense of a small container of fresh tarragon bothers you as much as it does me, skip it or add a little dried. Toss the cooled vegetables along with the orange segments, almonds, currants and mache. I used a mache “blend” from Organic Girl that includes mache rosettes, baby red and green chard and tango lettuce. It’s a good quality product for non garden months. You could also choose baby arugula or any salad blend.

We loved the salad and finished it in one sitting. The flavors and textures all contrast very nicely. I added a little crumbled soft goat cheese to our salads, some chickpeas or finely chopped fennel would also be an interesting addition. This could also double as a vegetarian main dish and would be great for a buffet.

Roasted  Cauliflower Salad with Orange and Tarragon

Serves four (or two very hungry people)

  • 1 large head cauliflower cut into 1″ florets (about 8 cups)
  • 1 c thinly sliced shallots
  • 1½t curry powder
  • 7 T extra virgin olive oil
  • Kosher salt and freshly ground pepper
  • 2 large oranges (I used Cara Cara)
  • 1 T rice vinegar
  • 2 t Dijon mustard
  • 2-3 T chopped fresh tarragon
  • 1/3 c coarsely chopped tamari almonds or toasted slivered almonds
  • ¼c dried currants
  • 5-6 c mâche or baby arugula

Directions

  1. Position a rack in the center of the oven to 450°F. Line a large rimmed baking sheet with foil.
  2. Toss the cauliflower and shallots with the curry powder, 2 T oil, salt and pepper. Spread on a baking sheet and roast until the vegetables are tender and browned, 20 to 25 minutes. Let cool.
  3. Slice the ends of the oranges so they rest flat on a cutting board, cut off the peel and the pith. Working over a bowl, cut the orange segments free from the membranes, letting them fall into the bowl. Squeeze the juice out of the membranes into a small bowl.
  4. In another small bowl, whisk the vinegar and the mustard. Slowly whisk in the remaining 5 T oil. Whisk in 3 T of the orange juice and the tarragon. Season to taste.
  5. Add the cauliflower, almonds and currants to the orange segments and toss with enough vinaigrette to coat well. Add the mache and toss again. Drizzle with remaining vinaigrette and serve.

DSC_5820a

Cauliflower tossed with curry powder. The orange color comes from the turmeric.
DSC_5833a
Delicious!

January 30, 2016 Spinach, Blood Orange and Bean Salad with Sprouts

DSC_5806aThe February issue of Bon Appetit includes a nine page (ten if you count the colorful illustration on the first page) article devoted to beans. The title, “Cool Beans” brings a smile to my face because it was an often used expression of a dear friend of mine.

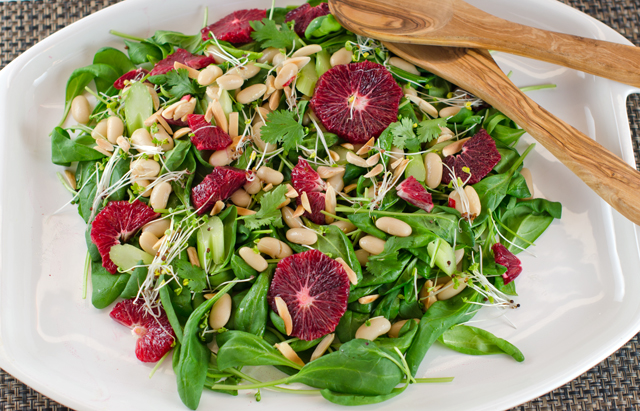
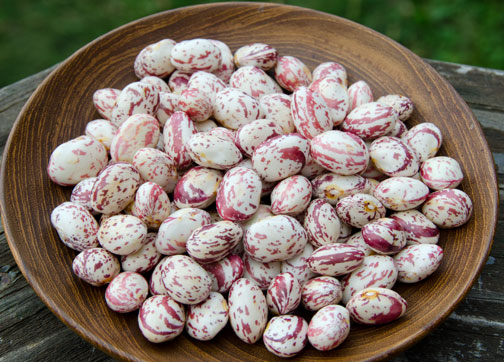
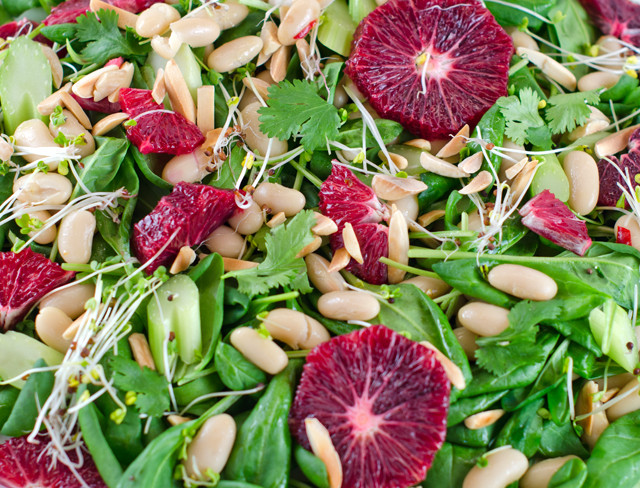
“Cool Beansincludes a four step method on how to cook dried beans from scratch, a pictorial of some of the prettiest beans I have ever seen, available by mail order only and they even address the, ahem, gas issue. There are recipes for cassoulets, pastas, stews and chilis. What caught my attention however was a bean salad; blood orange and mixed bean salad with sprouts. Since I wanted to make the salad for that evening, I needed to forgo the soaking and the next day slow cooking. So I did the next best, and most practical thing, I used a can of cannellini beans, Goya is my brand of choice. If you use canned beans, rinse and drain them well. A large can of cannellini beans will give you 1 1/2 cups of beans as opposed to the 2 cups in the original recipe.
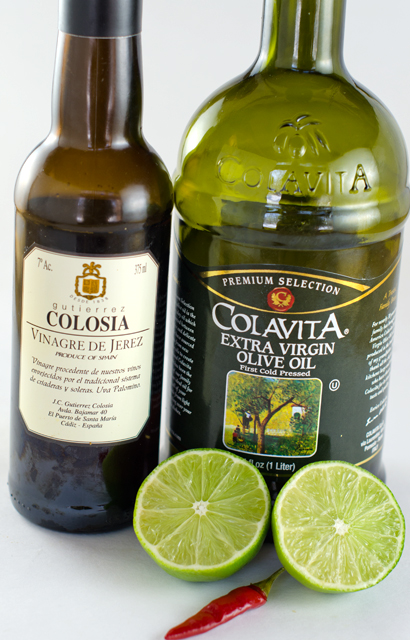
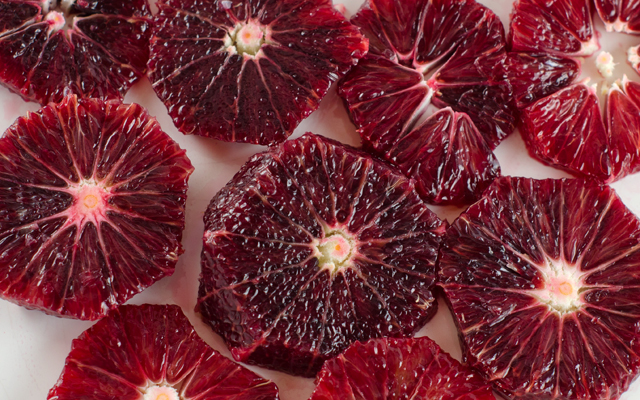
The salad comes together very quickly. Blood orange segments, readily available this time of year enhance the salad with beautiful garnet red color and deep sweet orange flavor with just a little bit of raspberry tartness. Celery slices, underused in salads (at least by me) and broccoli sprouts give a crisp contrast. Fennel would be an interesting substitution for celery. The dressing is a very simple vinaigrette, lime juice, sherry vinegar, extra virgin olive oil and a small Thai chili. Our rather large supply of frozen chilis pack as much heat as any fresh one. My additions to the original recipe were baby spinach leaves and toasted almonds for crunch. Top the salad with some cilantro or parsley leaves. This salad probably could serve four but we ate it in one sitting as a side dish.

The origin of the expression “cool beans”? A Cheech and Chong movie? The 80’s sitcom Full House? There doesn’t seem to be a true concensus. What I do know is that it’s time to place an order for some heirloom beans so I can make this delcious salad again.

Spinach, Blood Orange and Bean Salad with Sprouts

Serves four

For the vinaigrette

Ingredients

  • 2T fresh lime juice
  • 2t Sherry or red wine vinegar
  • ¼c extra virgin olive oil
  • 1 small Thai chili, thinly sliced
  • Kosher salt and freshly ground pepper

DSC_5793a

Directions

  1. Whisk ingredients together in a medium bowl. Season to taste with salt and freshly ground pepper. Set aside.

For the salad

Ingredients

  • 6c baby spinach leaves
  • 1 can cannellini beans, rinsed and well drained or fresh cooked beans
  • 3 blood or navel oranges
  • 1c celery stalks, sliced thinly on the diagonal
  • ½c radish or broccoli sprouts
  • ¼c toasted almond slivers
  • Kosher salt and freshly ground pepper

DSC_5797a

Directions

  1. Add beans to vinaigrette and toss to coat, let sit for 10 minutes for flavors to blend.
  2. Remove peel and pith with a small, very sharp knife from 3 blood or navel oranges. Cut crosswise into ¼” thick rounds.
  3. Add the spinach, orange sections, celery slices and sprouts to the bowl with beans and toss. Season with salt and pepper.
  4. Top with additional sprouts, cilantro leaves and toasted almonds.
DSC_6772a
The borlotti beans we grow in the garden are very pretty. Unfortunately they lose their mottled color when cooked.

DSC_5800a

January 26, 2016 Smoky Bacon and Lentil Soup

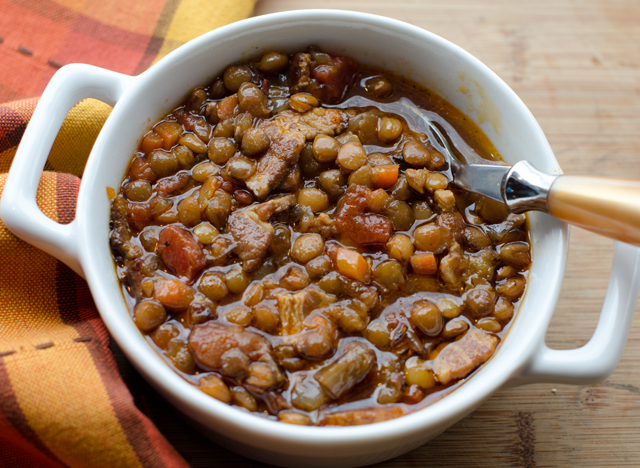
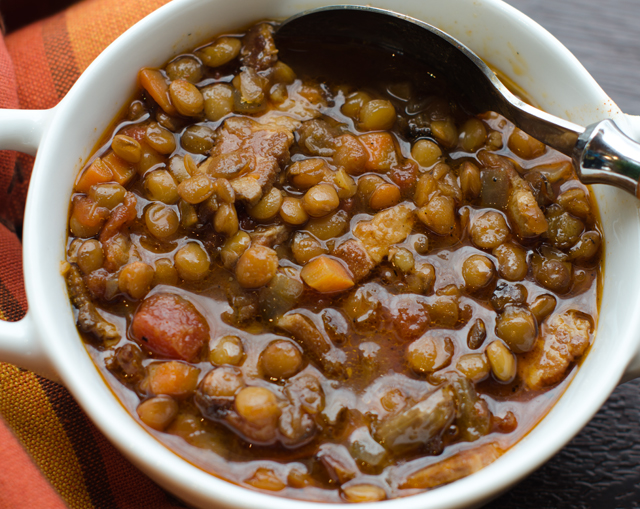
DSC_5761aThe anticipation of a cold and snowy weekend was a good reason to make a slow cooker soup. It only took about twenty minutes to put this smoky bacon and lentil soup together on a Friday afternoon.

Lentils are very nutritious. Rich in minerals, vitamins and fiber, they contain more protein than whole grains like brown rice. They have an earthy, nutty flavor and are low in fat and have zero cholesterol.
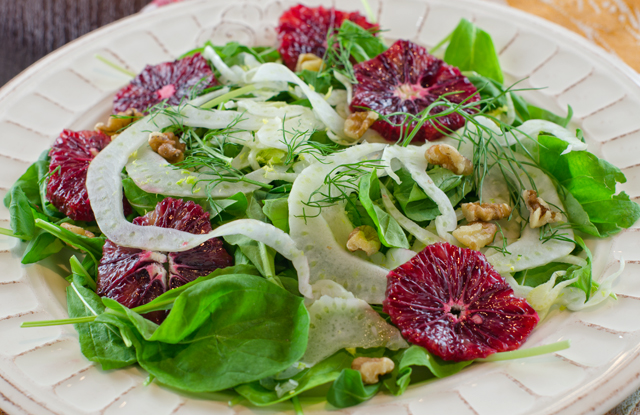
Unlike other dried beans, lentils can be prepared the day of serving since a presoak is not necessary.  Spread lentils on a light colored plate or board to check for and remove small stones or debris. Then place the lentils in a fine strainer and rinse them under cool running water. Purchase fresh lentils in a store where you know there is high product turnover to ensure freshness. Store them in an airtight container away from heat and moisture, they will stay fresh for about a year.
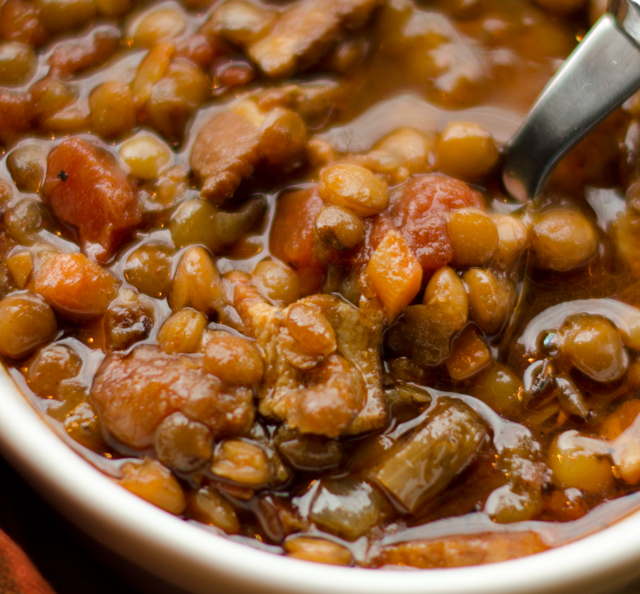
I chose a flavorful, aromatic cherrywood bacon for my soup. Choose a thick cut or slab bacon for easy dicing. Fry the chopped bacon in a heavy skillet, until brown and add to the slow cooker. In the rendered bacon fat, saute the onion and carrot until the onion is translucent, add them to the cooker.  Now for the easy part, add the lentils, broth, diced tomatoes, tomato paste, smoked paprika and ground pepper to the slow cooker.

Green or brown lentils work best in this recipe because they hold their shape.  I cooked the soup on low for seven hours and turned it off before we went to bed. The next day I turned the heat to low for an hour to warm it back up before it went to the keep warm setting. We had a  satisfying and delicious soup that fortified Joe between his plowing and snow blowing sessions in the blizzard of 2016.

DSC_5758a

Smoky Bacon and Lentil Soup

Serves 4-6

Ingredients

  • 8oz smoky slab or thick cut bacon
  • 6c chopped yellow onion
  • 1c chopped carrots
  • 1½ quarts of low sodium chicken broth or chicken stock
  • 1¼c brown lentils
  • 1c canned diced tomatoes (I used a variety with green chilies)
  • 1T tomato paste
  • 1T smoked paprika
  • 1t ground black pepper

Directions

  1. Cut the bacon into medium dice. Fry in a large heavy skillet over medium heat until brown and crisp, about 7-8 minutes. Using a slotted spoon, transfer the bacon to the slow cooker insert. Leave the bacon fat in the skillet.
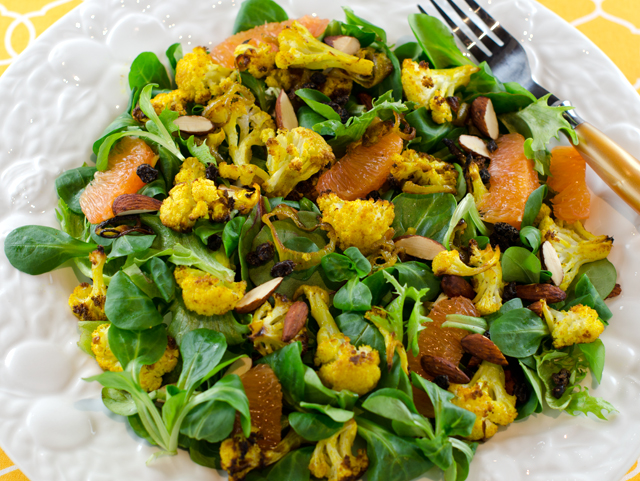
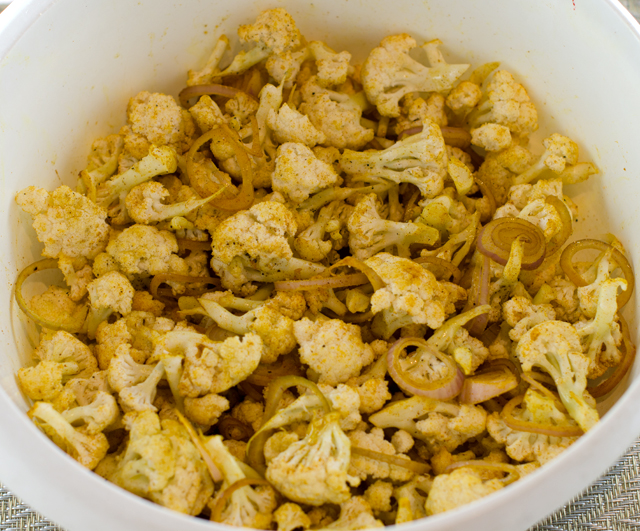
  2. Add the carrots and onion to the skillet and cook until the onions are translucent, 4-5 minutes. Scrape the onion and carrots into the slow cooker.
  3. Stir in the broth, lentils, tomatoes, tomato paste, smoked paprika and pepper.
  4. Cover and cook on low for 7 hours or high for 3 hours.

DSC_5745a

DSC_5744a