August 20, 2016 Orange Tomato Soup

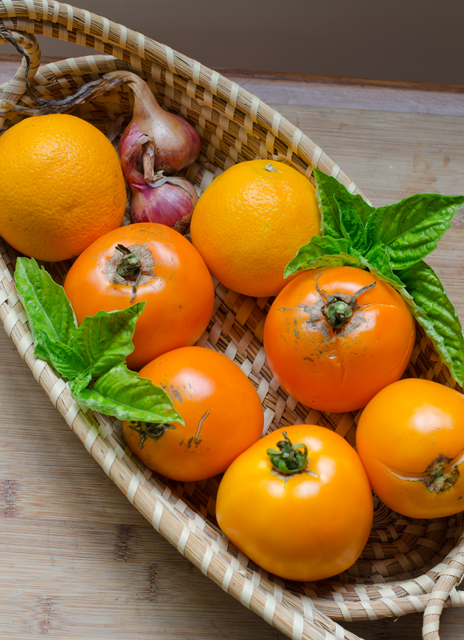
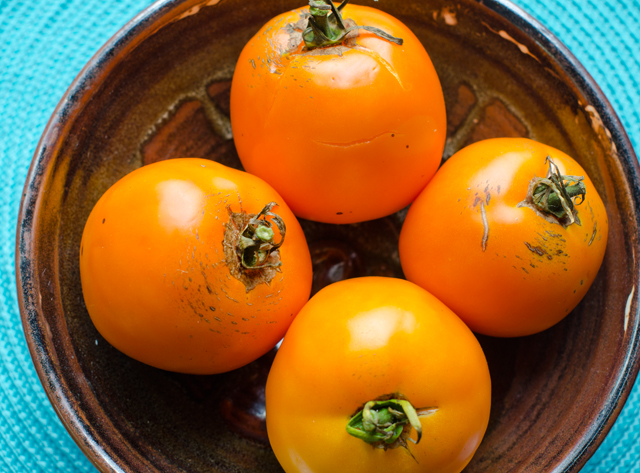
DSC_7773-copyaThis recipe could also be titled Orange, orange tomato soup. All the recipes I found on line for orange tomato soup included orange juice, but not orange tomatoes. My recipe uses both. Orange tomatoes come in all sizes, from the cherry sized Sun Gold, that you can eat out of hand like candy to the Valencia, an heirloom variety that we are growing this year. Orange tomatoes are less acidic and fruity while still providing a true tomato flavor. Orange tomatoes inspired me to add a little orange juice to the soup to highlight the sweetness of the tomatoes.

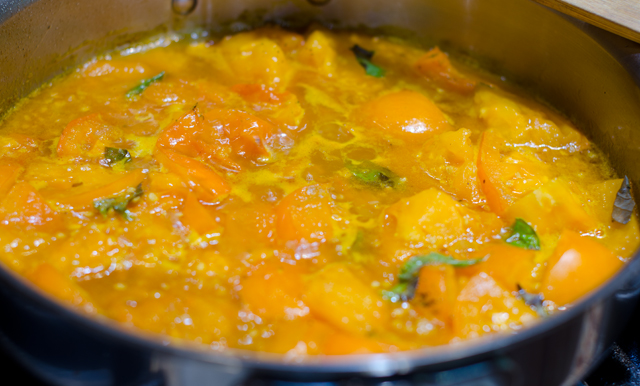
This is a very quick recipe to prepare, begin by melting some butter and olive oil in a large saute pan. Add chopped shallot and carrot and cook until softened. Shallots provide a milder flavor, but a white onion could be substituted. Add cored chopped tomatoes, roughly torn basil leaves, chicken stock and just a touch of maple syrup. Bring to a boil and simmer for 15 minutes.

Allow the mixture to cool a bit before transferring to a blender. Blend the soup in two batches. Very hot liquids expand as you blend them so place a kitchen towel over the lid to protect your hands from any soup that might escape the blender. For the finest texture you could put this soup through a food mill. Next, stir in the orange juice, fresh squeezed of course. Cool the soup to room temperature before placing in a covered container in the refrigerator. Chill for at least four hours or overnight to allow the flavors to blend.

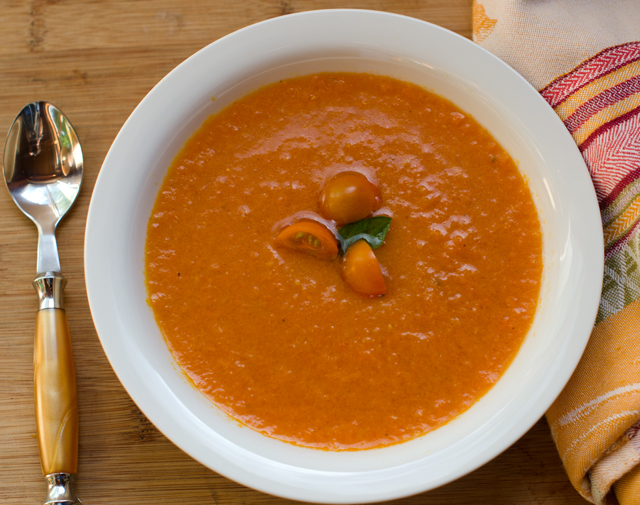
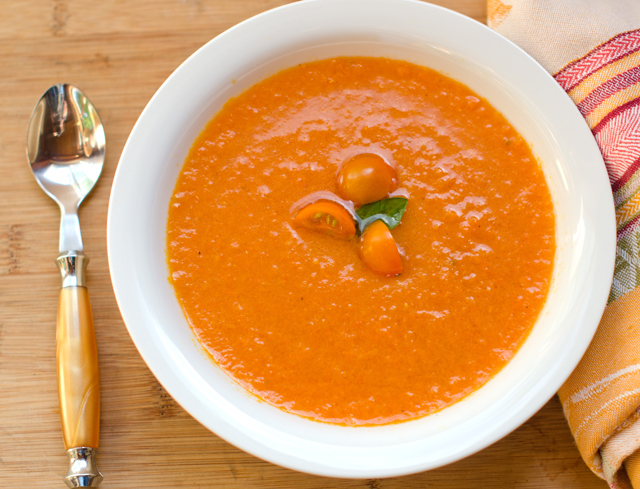
This soup is great for entertaining, it can be made well in advance. It could be dressed up with a seared scallop or a poached shrimp. Serve the soup garnished with some basil leaves and some quartered Sun Gold tomatoes. We enjoyed ours along with a BLT.

DSC_7755a


Orange Tomato Soup

Serves 4

Ingredients

  • 1/3 c chopped shallots
  • 1/3 c chopped carrot
  • 4 c cored and quartered orange tomatoes
  • 1 T unsalted butter
  • 1 T olive oil
  • ½ c shredded basil leaves
  • 2 c chicken stock
  • 1 T maple syrup
  • ¾ c orange juice

DSC_7763a

DSC_7769a

Directions

  1. In a large saute pan melt the butter and olive oil over medium high heat.
  2. Add the shallots and carrot and saute until softened, five to six minutes.
  3. Add chopped orange tomatoes, basil leaves, chicken stock and maple syrup. Bring to a boil, reduce to a simmer and cook for 15 minutes. Allow the soup to cool for at least five minutes before proceeding to the next step.
  4. Working in batches, puree the soup in a blender until smooth. If desired you can also put the soup through a food mill.  Put the soup in a bowl and stir in the orange juice. Cool the soup to room temperature. Put the soup in the refrigerator in a covered container and chill for at least four hours or overnight.
  5. Serve garnished with orange cherry tomatoes and a few basil leaves.
DSC_7772a

August 13, 2016 Oven Roasted Ratatouille

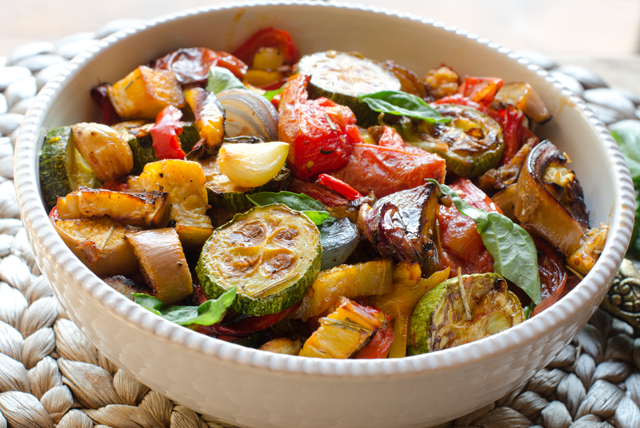
DSC_7741aI love recipes that use the bounty of the garden in a single dish and ratatouille accomplishes that in a very delicious way.  In case you didn’t know, ratatouille (rat-uhtoo-ee), is a summer vegetable stew that had it’s origins in the Provencal city of Nice in southern France. Traditionally, each ingredient, eggplant, zucchini, peppers, onion, garlic and tomatoes, is cooked separately on the stove top and tossed together at the very end. So it’s really a sauté that is presented as a stew.

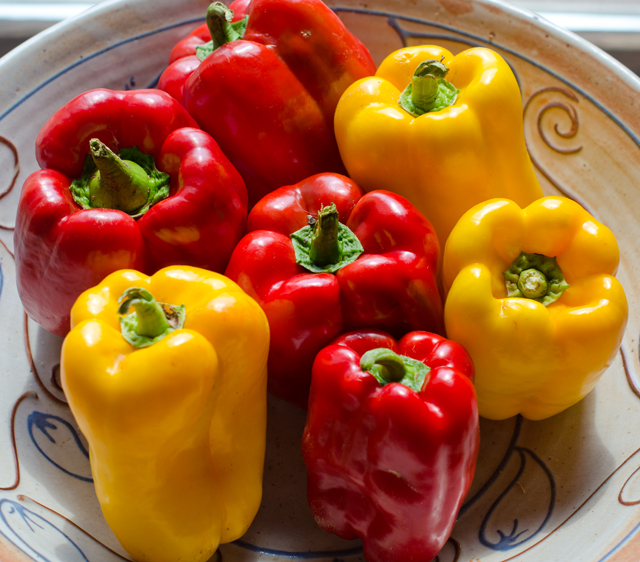
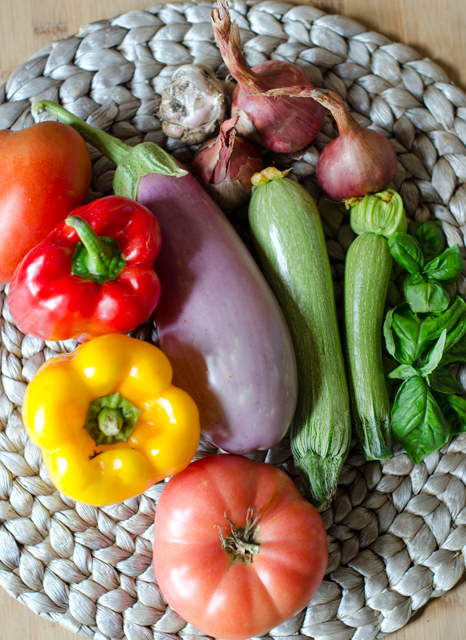
In this version the vegetables are tossed in olive oil and roasted in the oven, eliminating the time cooking over a hot stove. Our red and yellow bell pepper harvest is the earliest I can remember. They must like the hot temperatures and abundant rainfall this year. The orange Valencia peppers are not far behind. I prefer using Chinese or Japanese eggplants for their thin skin and milder flavor. I substituted shallots for onions since our harvest was so plentiful this year. The garlic was also from the garden, a first for us.

Cut the vegetables in similar size so they will get done at the same time. The smaller the cut, the less time it will take to cook.  Lightly toss the vegetables with about a half cup of a good quality olive oil.  Spread them out evenly over two large baking sheets. Rotate the baking sheets top to bottom and front to back half way through the cooking time. Roasting allows the vegetables to retain their shape and they take on a delicious toasted flavor. Move the cooked vegetables to a large serving bowl and tossed with a basil chiffonade. Chiffonade, translates “made of rags” from the French (of course!).  It is a technique for cutting herbs and vegetables into long thin strips, in this case, basil.

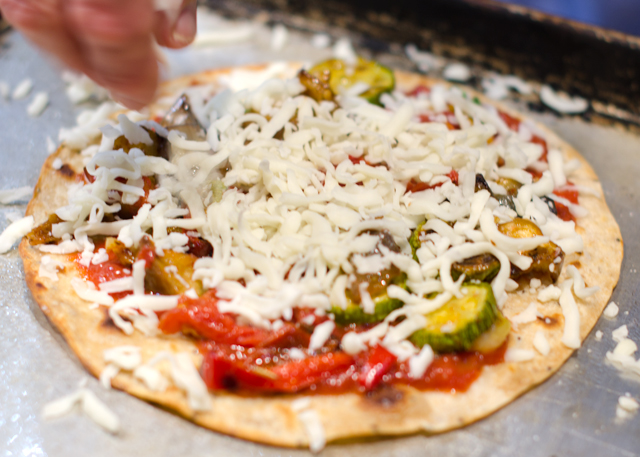
Ratatouille can be used in many ways, a side dish, a topping for bruschetta, chicken or fish.  We used it as the topping for an impromptu flatbread pizza. It can be served hot or cold and is even better the next day, if it lasts that long.

DSC_7726a
This season is the earliest we have had ripe bell peppers. I guess they really like the hot and rainy weather.
DSC_7733a
Ingredients for the ratatouille, I substituted shallots for onions since Joe just harvested his crop.


Oven Roasted Ratatouille

Serves four (or two very generously)

Ingredients

  • 2 small onions (about 5 oz. each), cut into ¼-inch-thick half-moons
  • 2 bell peppers, red, yellow or orange, cored, seeded and cut into ¼-inch lengthwise strips
  • Japanese eggplant, about 1 lb, cut crosswise ½ inch thick rounds, then sliced in quarters
  • 1 lb small to medium zucchini, trimmed and cut into ½ inch thick rounds
  • 10 whole cloves garlic, peeled
  • ½ c extra virgin olive oil, and more as needed
  • 1 t chopped fresh rosemary
  • Kosher salt and freshly ground pepper
  • 1½ lbs medium tomatoes (about 4), cored, and cut into 1/2-inch chunks
  • ¼ c basil cut into a chiffonade
DSC_7737a
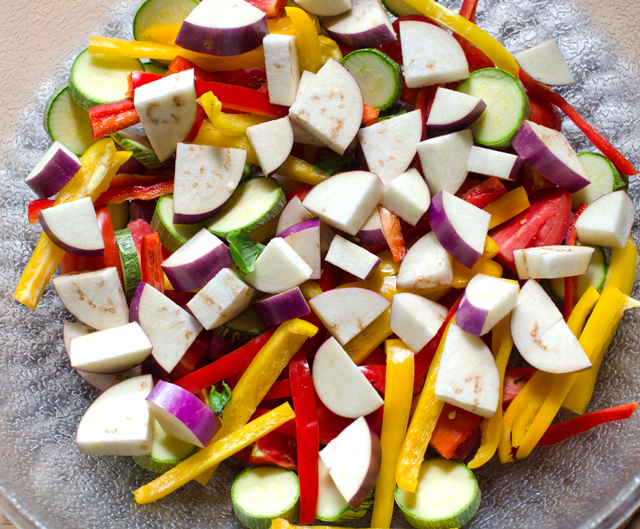
Toss the ingredients in a large bowl with olive oil, salt and pepper.
DSC_7739a
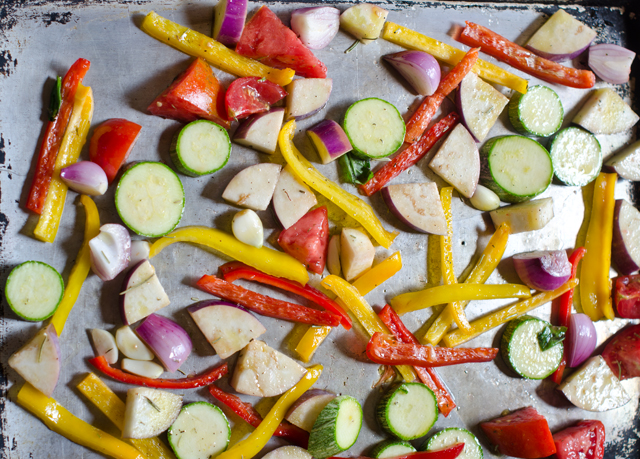
Transfer the vegetables to two large baking sheets.


Directions

  1. Place racks in the top and bottom thirds of the oven. Heat to 400°F. If using convection heat, 375°F.
  2.  In a large bowl, toss the onions, peppers, eggplant, zucchini, tomatoes, garlic, olive oil, rosemary, and 1-1/2 tsp. kosher salt and a grind of pepper. Spread the vegetables evenly over two large 12 x 16 sheet pans. Don’t spread the vegetables too thin or they may burn (they shrink a lot as they cook).
  3. Roast, stirring the vegetables a few times and swapping the positions of the pans once, until the vegetables are slightly collapsed or shriveled, starting to brown, and very tender, about 35 minutes for my oven. It could take 10 minutes longer if you are not using convection heat.
  4. Scrape all the vegetables and any juices into a serving bowl. Toss with the basil, taste for seasoning, and serve.

DSC_7746a

DSC_7749a
Ratatouille makes a great pizza topping.
DSC_7784a
How could I resist posting a picture of Remy, the star of the movie Ratatouille  who presides over my kitchen from his perch above.

July 21, 2016 Wakame and Cucumber Salad

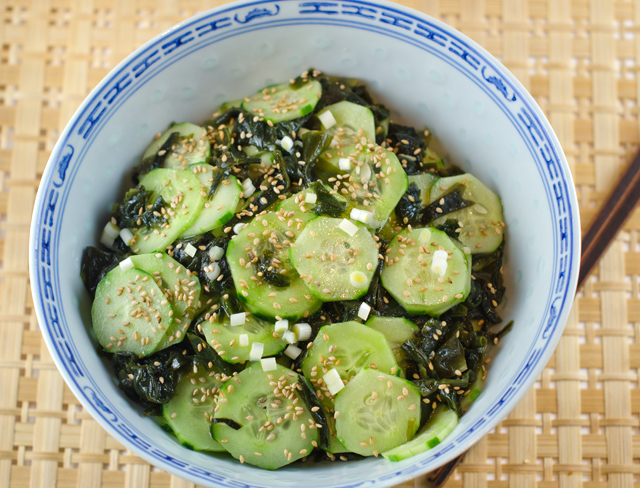
DSC_7557aSeaweed has been a regular part of the Japanese diet for centuries. It is low in calories, fat and cholesterol, a good source of dietary fiber, vitamins and minerals. So why don’t I think of making seaweed salad more often?

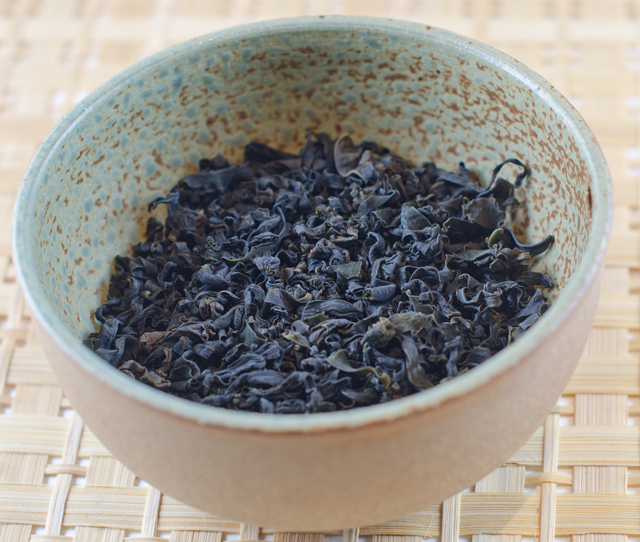
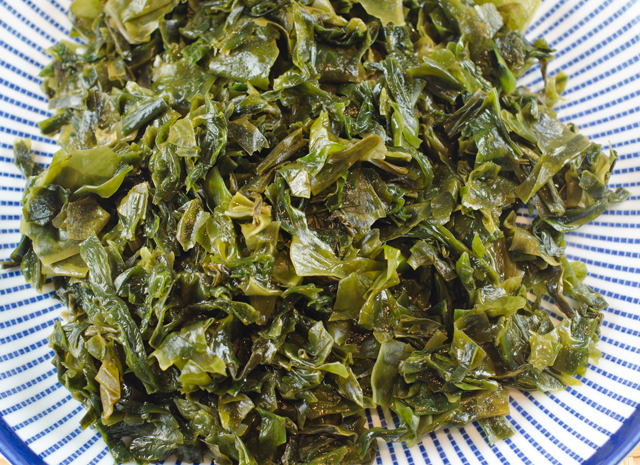
Granted it’s not the most attractive item you will find at your local health food store or Asian market and the word weed makes it sound like something you might toss in the mulch heap. But sea vegetables, as they are also known, make an interesting addition to salads. I have several types in my pantry, nori for rolls, kombu for dashi, the base for miso soup. I chose wakame (wah-ka-may) for this salad. It has a chewy texture and a very mild flavor, a little sweet and a little salty. Not much is needed, an ounce of dried seaweed is enough for a salad to serve four. Dried wakame may not look like much but after soaking, it expands up to six to eight times it’s original size.

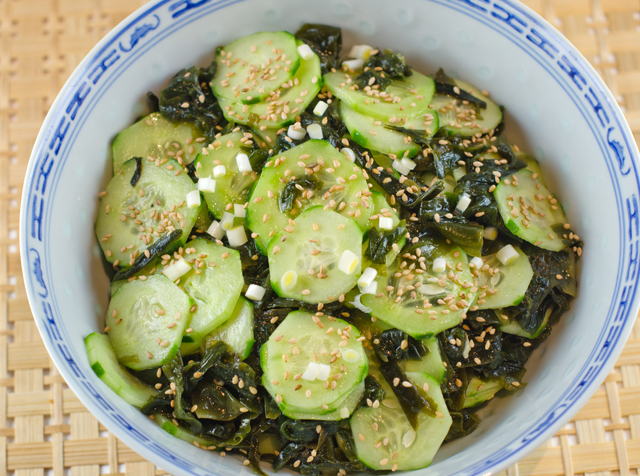
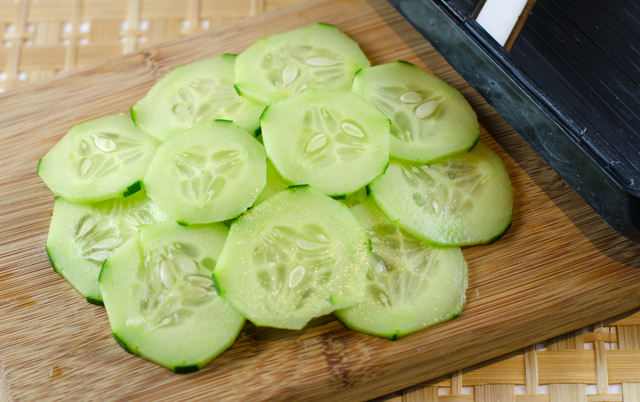
The wakame should not soak any longer than the directions suggest, it will get soggy. Drain well and rinse with cold water. Remove the inedible stem if present. Thinly slice an equal amount of Persian or seedless cucumbers with a mandolin. The simple dressing uses staples from the Japanese pantry, miso, rice vinegar, and mirin. Combine the wakame, scallions and cucumbers in a medium bowl and toss with the dressing. Top with toasted sesame seeds.

We nibbled on this light, refreshing salad while enjoying the sushi and sashimi dinner Joe prepared last weekend. In Japanese cuisine it is considered a sunomono (vinegar based cold dish).  The crunchy cucumber, (fresh from the garden of course) contrasts nicely to the soft chewy texture of the wakame.

Wakame and Cucumber Salad

Serves four

Ingredients

  • 1 ounce dried wakame seaweed
  • ¼ c rice wine vinegar
  • 1 T fresh lime juice
  • 1 T yellow miso paste
  • 1 T freshly grated ginger
  • 1 t honey
  • 1 T mirin
  • 1 T dark sesame oil
  • 1/3 c canola oil
  • Salt to taste
  • 6 thinly sliced, Persian cucumbers or 1 large seedless cucumber
  • 2 thinly sliced scallions
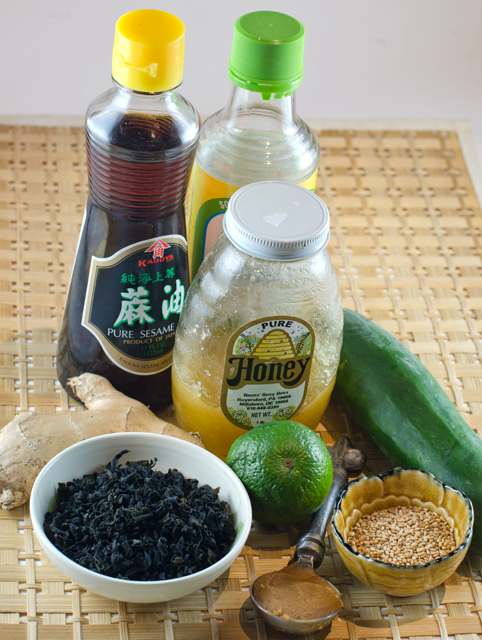
Ingredients for the salad.
Dried wakame.
Dried wakame.
DSC_7556a
Wakame can expand six to eight times it’s size from the dried state.
The mandolin gives uniform thin slices, always use the finger guard!

Directions

  1. Soak seaweed in warm water to cover, 5 minutes. Drain, rinse briefly with cool water and drain again. Use a paper towel to blot excess water. Set seaweed aside.
  2. In a medium bowl, whisk together the vinegar, lime juice, miso paste, ginger, honey, mirin, sesame and canola oil.
  3. Add the wakame along with the cucumbers and scallions and toss well.
  4. Garnish with sesame seeds and serve immediately.

DSC_7560a

June 29, 2016 Asian Broccoli with Coconut

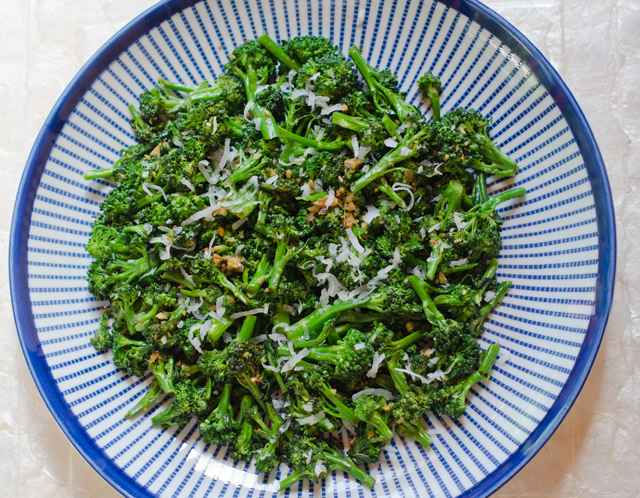
DSC_7150aBroccoli and sweetened coconut shreds? Let’s just say I was as much curious as I was dubious about this recipe. My curiosity won out in the end and discovered I liked this easy and flavorful side dish.

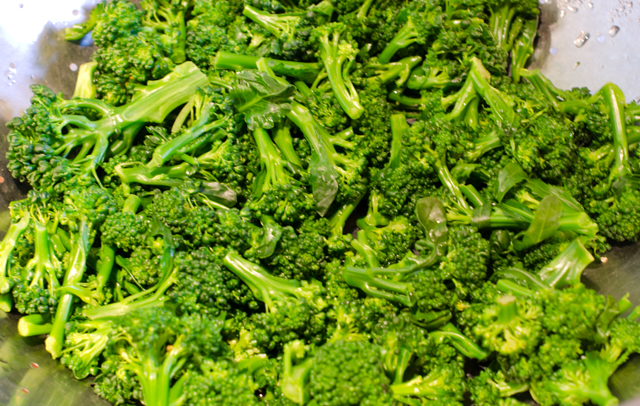
Broccoli florets are blanched in boiling salted water for a few minutes until crisp-tender. The florets are removed from the pot and shocked in a ice water bath. This stops the cooking process and preserves the bright green color. Drain the broccoli and dry well with paper towels. If the broccoli is too wet it will water down the dressing.

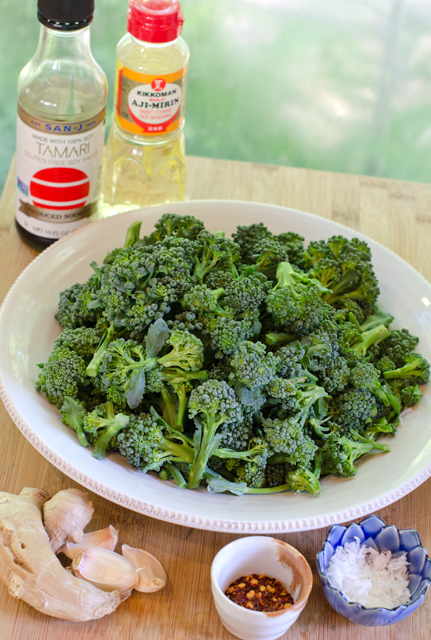
Aromatics, garlic, ginger and a pinch of spicy red pepper flakes are sautéed in a neutral oil until fragrant. Toss in the broccoli to coat and season with salt and pepper. Tamari and mirin are added to the pan and reduced to make a easy sauce. Tamari is a soy sauce that is made without wheat and has a milder and richer taste compared to regular soy sauce. Low sodium soy sauce could also be used in this recipe. Mirin, like sake, is a rice wine but with a higher sugar and lower alcohol content. The sweet flavor of mirin is a nice contrast to a saltier sauce like soy or tamari.

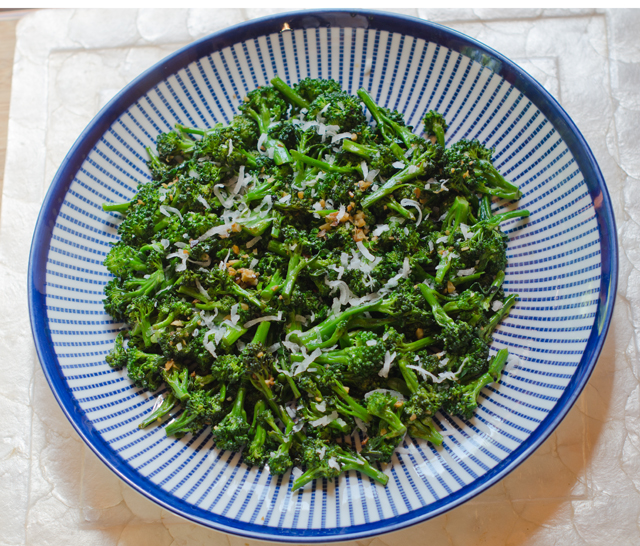
Reduce the liquid by half, then remove the broccoli to a serving platter. The sauce left behind in the pan is poured over the broccoli and the coconut shreds are sprinkled on top. I found the coconut added another dimension of flavor and was balanced out nicely by the sweet and salty sauce.

DSC_7138a

DSC_7141a
Shock the blanched broccoli to preserve the bright green color.

Asian Broccoli with Coconut

Serves 4

Ingredients

  • 1 lb bite sized broccoli florets
  • 1 T canola oil
  • 2 cloves garlic, minced
  • 1 T minced fresh ginger
  • Dash of red pepper flakes
  • Kosher salt and freshly ground black pepper
  • 2 T tamari soy sauce
  • 1 T mirin
  • 1 T sweetened coconut flakes

Directions

  1. Bring water to a boil in a 6-quart pot over high heat. Add florets and bring back to a boil. Cook until just tender 2-3 minutes
  2. Remove broccoli with a slotted spoon to an ice water bath and let sit until cool, 5 minutes. Drain the broccoli and dry well on  paper towels.
  3. Heat oil in a 12-inch sauté pan over medium heat. Sauté garlic, ginger and red pepper flakes until fragrant, 1 minute. Gently toss in the broccoli to coat in the oil. Season with ¾ teaspoon of salt and pepper to taste.
  4. Add the soy and mirin. Gently toss broccoli until liquid is reduced by half and broccoli is warmed through, 2-3 minutes. Remove broccoli to a medium serving platter. Pour soy over broccoli. Sprinkle shredded coconut over top.

DSC_7148a


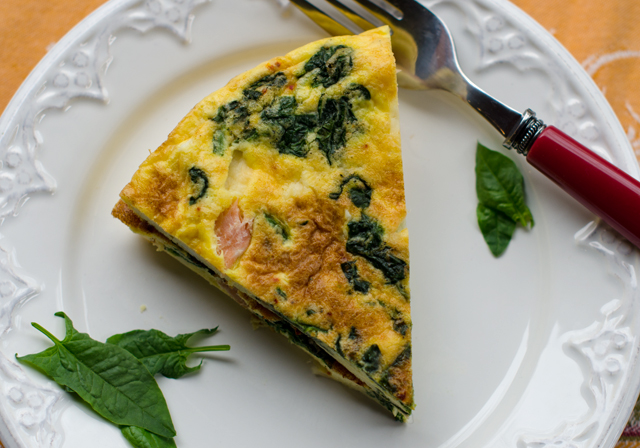
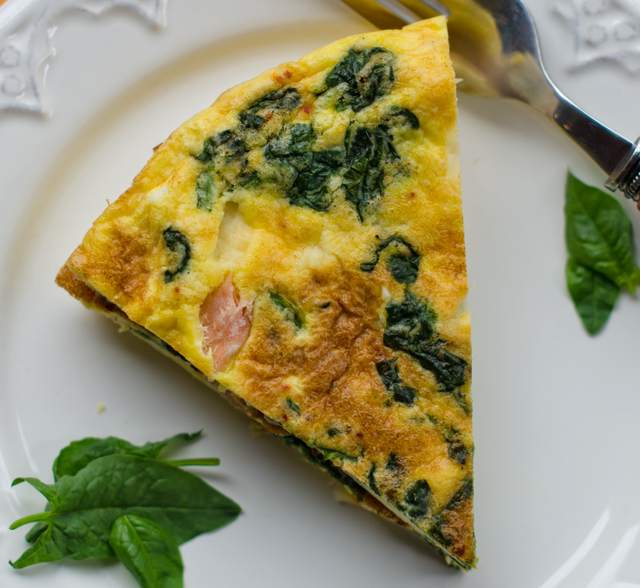
May 1, 2016 Smoked Salmon and Spinach Frittata

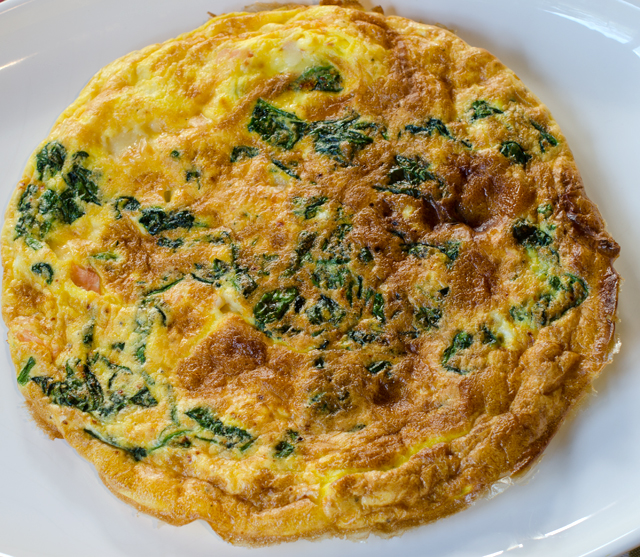
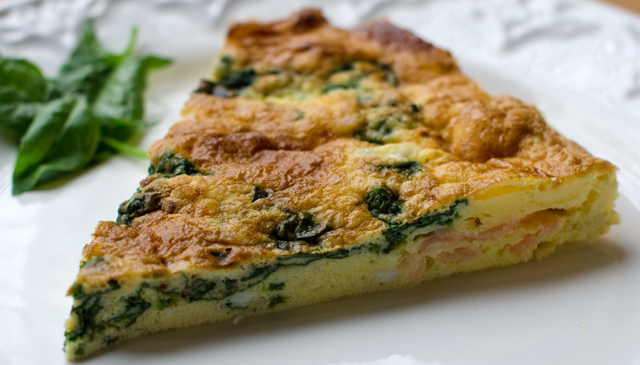
DSC_6759aSpinach again, this time combined with eggs, cheese and smoked salmon to make a frittata. Quick to make, they are as good at breakfast as they are as an impromptu supper. Once again, I used the basic recipe of a frittata from Cooks Illustrated, for broccoli rabe and sun dried tomatoes. substituting the spinach and smoked salmon.

A large oven proof non stick skillet is a must for making this recipe, check first that it fits in your oven. Be sure to have a pot holder draped over the oven door so you are not tempted to touch the handle with your bare hands. I learned that lesson the hard way many years ago. Sauté the spinach just enough to wilt it down, then add garlic and Aleppo pepper, a favorite ingredient of mine. Small cubes of cheese are added to the eggs, for this recipe I like a Jarlsberg or a Havarti with dill.

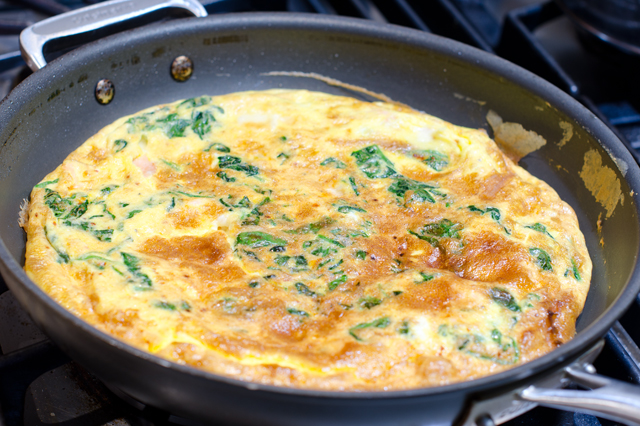
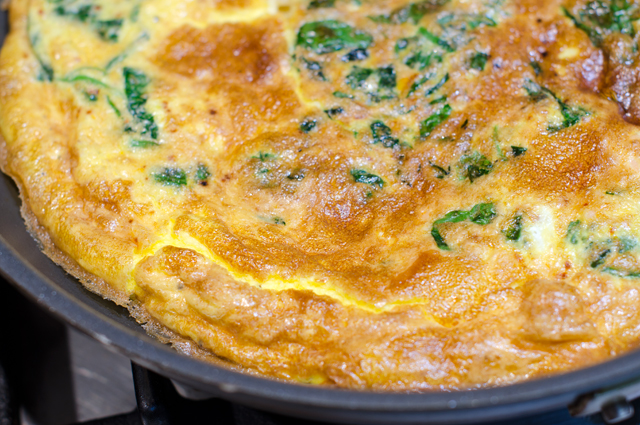
The eggs are cooked for a short time on the stove top. Add the smoked salmon when the eggs are setting up on the bottom before they go in the oven. Once the frittata is spotty brown and puffed, remove it from the oven. Allow it to sit for 5 minutes, the residual heat will finish the cooking. Loosen the frittata from the pan with a spatula and move it to a platter or cutting board for serving.

DSC_6760a

Smoked Salmon and Spinach Frittata

Ingredients

  • 12 large eggs
  • 3 T half and half or heavy cream
  • Kosher salt and freshly ground black pepper
  • 2 t olive oil
  • 3-4 c spinach, large stems removed
  • 1 medium clove garlic minced
  • ¼ t Aleppo pepper or paprika
  • ¾ c cheese cut into small cubes, Jarlsberg or Havarti with dill
  • ½ c smoked salmon chopped into pieces

DSC_6742a

Directions

  1. With oven rack in the upper middle position, heat broiler. Whisk eggs, half and half, a dash of salt and pepper in a medium bowl until well combined. Set aside.
  2. In a non stick 12″ oven safe skillet heat oil until shimmering. Add the spinach and cook until wilted, 2-3 minutes. Add garlic and pepper flakes and cook until fragrant, 30 seconds or so.
  3. Stir cheese into the eggs; add egg mixture into the skillet and cook, using spatula to stir and scrape the bottom of the skillet. Large curds will form but the mixture will still seem somewhat wet, about 2 minutes. Shake skillet to distribute eggs evenly; cook without stirring for 30 seconds to set the bottom. Sprinkle smoked salmon pieces evenly over the surface of the frittata.
  4. Slide skillet under broiler and broil until the frittata has risen and the surface puffs and turns spotty brown, three to four minutes. Remove skillet from the oven and let stand 5 minutes to finish cooking.
  5. Using a spatula, loosen frittata from the skillet and slide onto a platter or cutting board. Cut into wedges and serve.

DSC_6744a

DSC_6748a

DSC_6756a

April 26, 2016 Spinach and Mushroom Quesadillas with Tomatillo Salsa

DSC_6739a

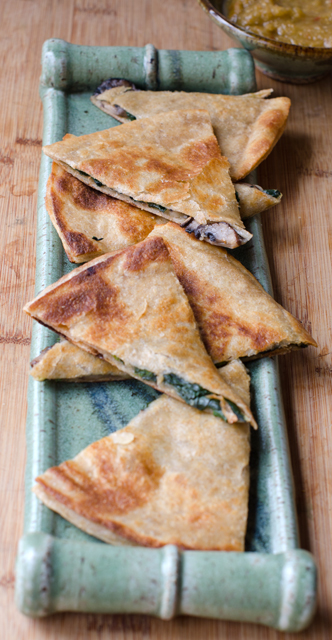
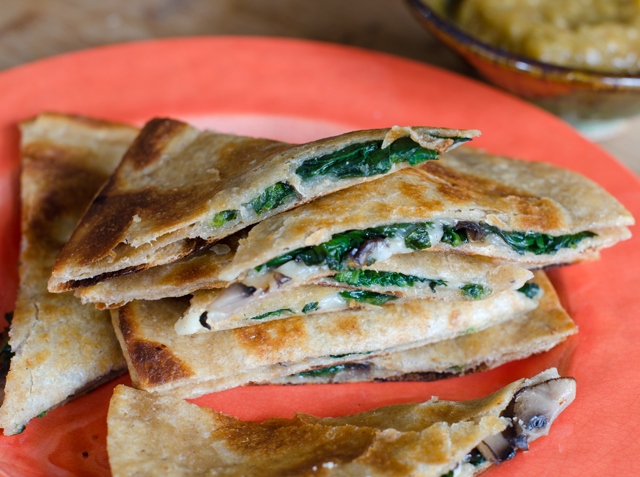
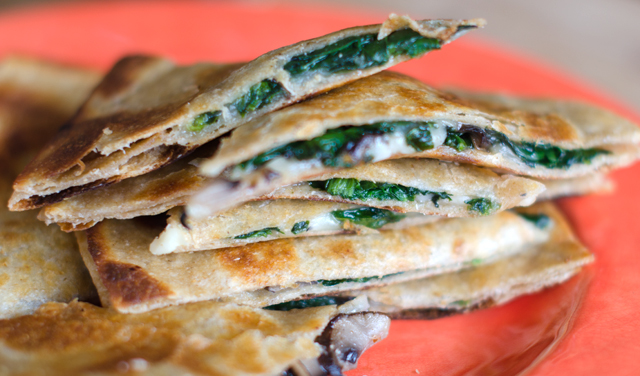
Still inspired by an abundance of, you guessed it, spinach, I was looking for yet another way to use our bounty. Inspiration this time came to me in the form of a quesadilla. Crispy on the outside and melted and creamy inside, spinach adds a healthy component to this popular dish. Quesadillas are easy and delicious any time of day, as a quick snack, lunch, even for breakfast. To accompany the quesadillas I made a simple tomatillo salsa.

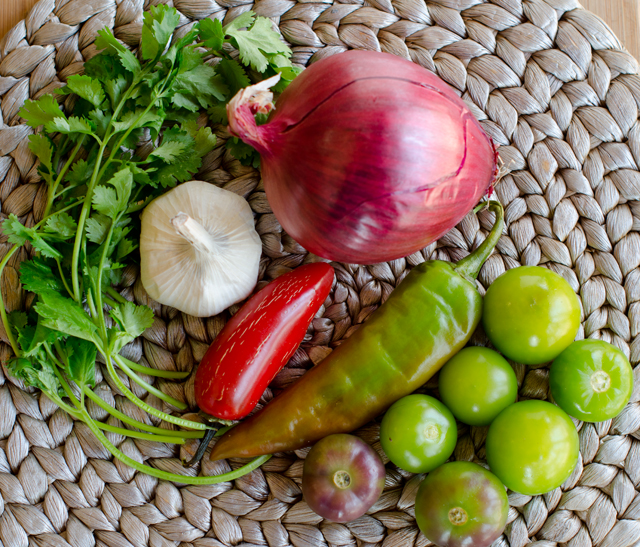
With the exception of the cilantro and garlic, the ingredients for the tomatillo salsa came straight from our freezer. Preparing tomatillos for the freezer is easy, I remove the papery husks and freeze them whole and raw in quart bags. A previously frozen tomatillo will not hold up to roasting but are fine in raw preparations like this. The Numex Joe E. Parker pepper used in this recipe is an Anaheim style pepper with a long slender shape and mild heat. We have an interesting variety of frozen hot peppers from gardens past,  milder ones like Joe E Parker and poblanos to hotter ones, cayenne, jalapeno, serrano and Thai hot. The surprising thing is that freezing them does not diminish their heat in the least. When a recipe calls for several hot peppers, I start with one, it is much easier to add heat than to take it away.

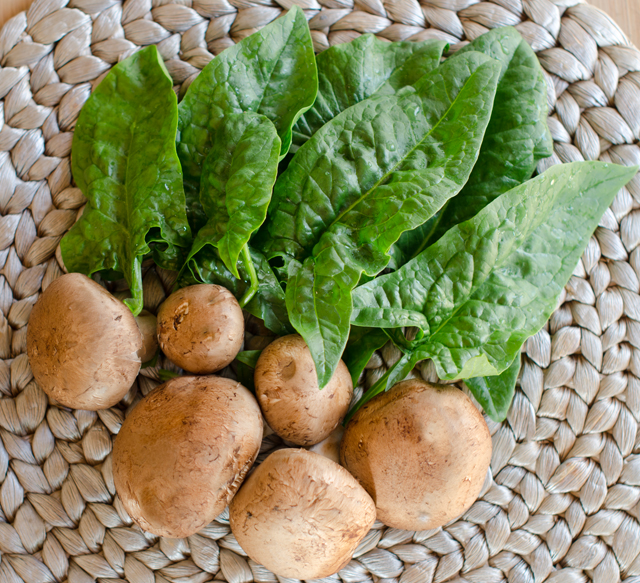
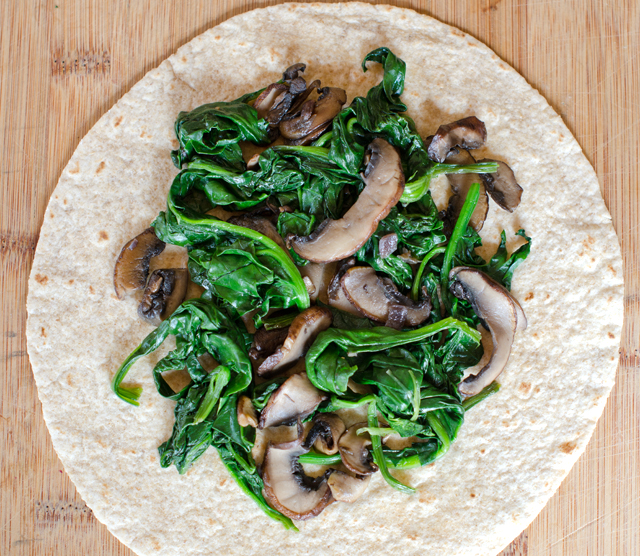
As always, picking the spinach takes more time than most of the steps in the recipe. The filling is easy to make and used twelve cups of fresh spinach, a real plus for me. If you don’t have an abundance of spinach in your garden, use bagged baby spinach. The slightly more assertive flavor of cremini mushrooms compliments the spinach nicely.

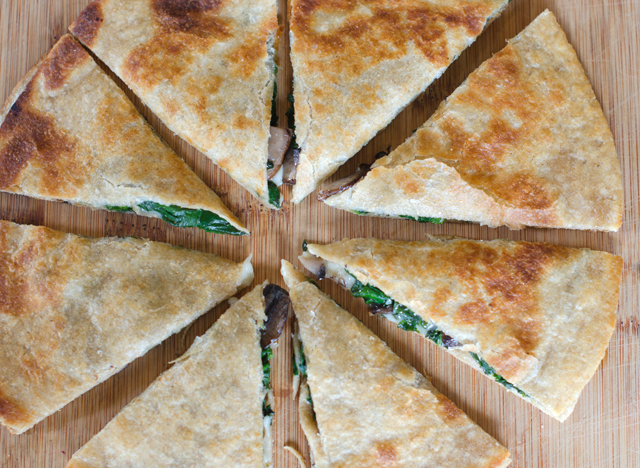
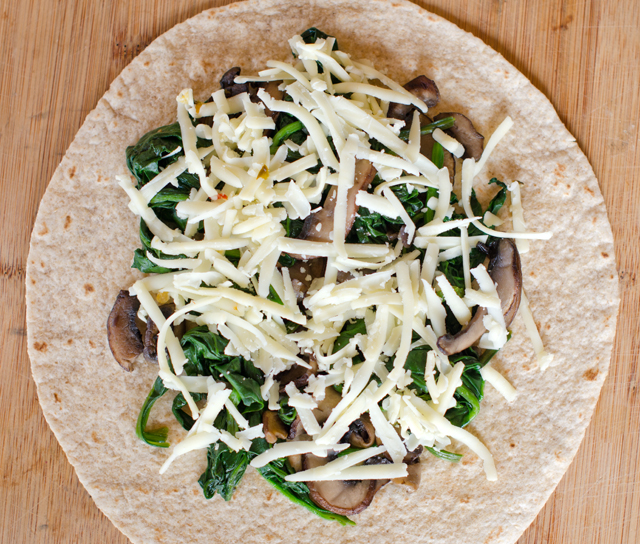
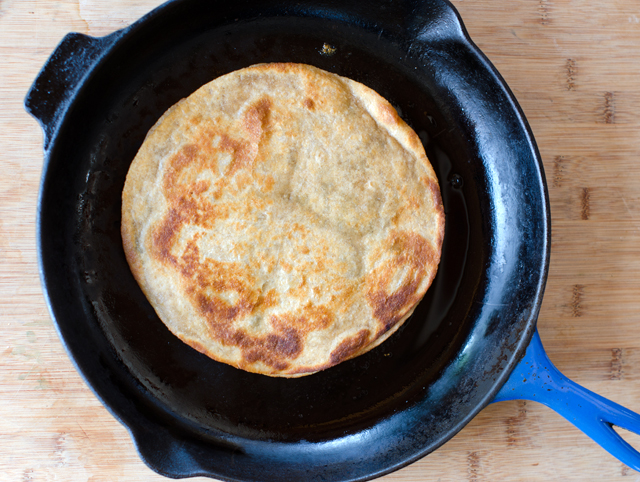
The options for cheese are endless. I used pepper jack and cheddar cheese, a good melting cheese is important here. Choose a large heavy bottom skillet to cook quesadillas. Just a light brushing of oil in the pan is all that’s necessary to brown the tortilla and keeps it from getting greasy. You can either fold one tortilla in half or stack one on top of another. I press lightly on the quesadilla in the pan to allow the cheese to melt a bit and hold the layers together before it is flipped.  The pizza wheel is the perfect tool to cut it into portions. Finished quesadillas can be held in an oven on low heat for 20 minutes.

Spinach and Mushroom Quesadillas

Makes four 8″ quesadillas

Ingredients for the filling

  • 1½ T olive oil or bacon drippings
  • 8 oz mushrooms, button or cremini, stemmed and sliced
  • 2-3 cloves garlic, finely chopped
  • ¼ c finely chopped red onion
  • 12 c spinach, large stems removed

DSC_6706a

Directions for the filling

  1. In a large skillet heat the oil or bacon drippings over medium high heat.
  2. Add the mushrooms, stirring constantly, until they begin to brown.
  3. Add the onion and garlic and continue cooking, stirring frequently until it looks translucent.
  4.  Add the spinach by the handful, wilting it before adding more, until it is all used.  Do not overcook.  Season with salt to taste.

Ingredients for assembling the quesadillas

  • Eight 8″ soft tortilla or taco shells, I used whole grain
  • Olive Oil
  • 1½-2 c grated cheese, I used a combination of pepper jack and cheddar

DSC_6712a

DSC_6715a

Directions for assembling and cooking the quesadillas

  1. Preheat oven to 180°F.
  2. Place four tortillas on two baking sheets, divide evenly the spinach and mushroom filling and the grated cheese between them.
  3. Top with the four remaining tortillas and lightly press to seal.
  4. Place a 12″ heavy bottomed skillet over medium high heat.  Brush the skillet lightly with olive oil.
  5. Place the quesadillas in the skillet one at a time, pressing down lightly but firmly and cook for about 3 minutes on each side. You can peek by lifting up with a spatula to see if it is getting golden brown. Transfer the cooked quesadillas to a baking sheet and keep warm in the oven, lightly covered with foil.
  6. Slice each quesadilla into 6-8 wedges, a pizza cutter works well here, and serve hot with tomatillo salsa or your own favorite.

DSC_6719a

DSC_6723a

DSC_6733a


Tomatillo Salsa

Ingredients

  • 3 cloves garlic, peeled
  • 1 jalapeno pepper, stemmed and seeded and quartered
  • 1 Numex pepper, stemmed and seeded and quartered
  • ¼ c roughly chopped red onion
  • 1 lb tomatillos, husked, rinsed and cut into quarters
  • ¾ c loosely packed, lightly chopped cilantro

DSC_6702a

Directions

  1. With a food processor or blender running, drop in the garlic cloves one at a time letting each piece get finely chopped before adding the next. Add the peppers, onion,  tomatillos and cilantro and process until smooth.

DSC_6731a


March 24, 2016 Spinach and Roasted Garlic Hummus

DSC_6542aWhen I am looking for a snack, hummus is a healthy choice I feel good about adding to my shopping cart. But the truth is, it’s takes just minutes to make my own, and it’s healthier (no additives), tastier and cheaper too. The word hummus in Arabic means chickpea so strictly speaking, hummus is the term for a chickpea dip. Hummus bi tahini means chickpeas with tahini, a paste of ground sesame seeds.  Whether you add tahini or not, a basic hummus includes garlic, lemon juice, olive oil and salt.

One of my favorite food memories is a chickpea soup Joe made for me one Valentine’s Day. I absolutely love the sweet nutty flavor of freshly cooked chickpeas and in a perfect world I would always use them when I make hummus. However, dried chickpeas need to be soaked overnight, drained the next day and cooked for 1-3 hours, depending on freshness. I don’t always have time for that and the delayed gratification it requires.

However if you have the time, substitute one half the quantity of dried beans for the canned. The standard 15 ounce can of chickpeas drained is about 9 ounces or 1 ½ cups of beans. This translates into 4.5 ounces of dried beans or ¾ cup. Many cooks add a pinch of baking soda to tenderize dried beans to both the soaking and cooking water. The United States dried bean council (of course there’s one!) points out that it destroys part of the thiamine (aka vitamin B 1), making the amino acids less digestible and negatively affects the nutritional value. I’ll leave that heavy decision up to you.

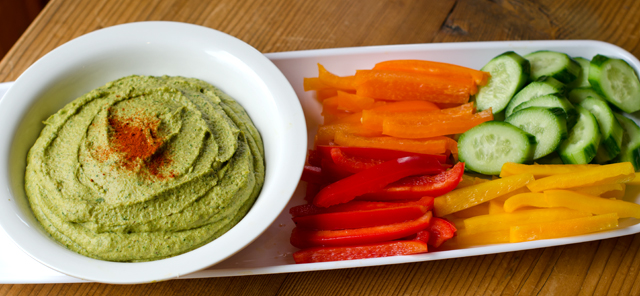
A basic hummus recipe is easy and delicious and just the jumping off point for countless variations. I have previously shared a beet hummus recipe, this time I added fresh spinach and roasted garlic to the recipe.

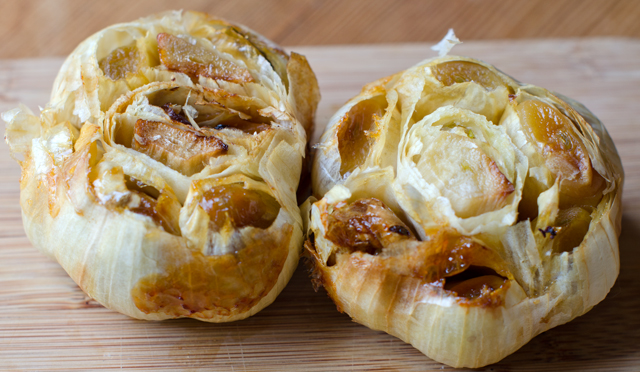
If you are not already roasting garlic cloves, you should. It takes more time to get your oven up to temperature than in does to get this kitchen staple together. The first time I roasted garlic I winged it but I am pleased to say my uninformed guess was pretty much on target. This is the basic recipe; cut about the top quarter off each head of garlic with a sharp knife to expose all the cloves. Slowly pour olive oil over each head, letting it soak into and around the cloves. Wrap the prepared heads of garlic in foil and bake in a 425°F oven. Start checking the garlic at the 45 minute mark. The finished cloves should be soft, golden and slightly protruding from the skins. I always roast more than what I need, it will keep in the fridge for about a week, that is if it lasts that long. You can also freeze roasted garlic for several months.

Everything goes into the food processor or blender, except the reserved chickpea liquid. I added three cloves of roasted garlic to my basic hummus recipe, along with three loosely packed cups of spinach leaves. I added a half teaspoon each of some appropriate dried herbs, cumin, for it’s smoky flavor, smoked paprika also brings smokiness and a little heat. Sumac is the herb you may not be familiar with, it has a fruity astringent taste, milder than a lemon. I shared more background on it in this post. It is readily available from several of the herb and spice mail order sights.
Add the additional bean liquid to get it completely smooth and holds it’s shape. Taste and add more salt if needed. Transfer mixture into a serving dish. Garnish with a dash of olive oil and a sprinkle of smoked paprika. Serve at room temperature.

DSC_6534a

DSC_6538a

Spinach and Roasted Garlic Hummus

Makes about 2 cups

Ingredients

  • 1-15 ounce can garbanzo beans (chickpeas) drained and liquid reserved
  • 3-4 c spinach leaves, large stems removed
  • 1/3 c tahini
  • 3 T fresh squeezed lemon juice
  • 3-4 cloves roasted garlic, or to your taste
  • ½ t salt, and more to taste
  • 1 t each cumin, sumac and smoked paprika
  • 1-2 T extra virgin olive oil
  • A dusting of smoked paprika for the topping

DSC_6536aDirections

  1. Add all the ingredients to your food processor or blender. Pulse, adding additional bean liquid as needed to get the hummus completely smooth.
  2. Taste and add salt if desired.
  3. Scoop into a serving bowl and sprinkle top with smoked paprika and a little olive oil if desired.
  4. Serve with the dippers of your choice.

March 13, 2016 Salmon “Bulgogi” with Bok Choy and Mushrooms

DSC_6398aI am always on the look out for new and interesting recipes. I have a large collection of notebooks containing them, with recipes I have tried or hope to try in the future. Some recipes I try once, others, a couple of times and there are the ones that become regulars in the dinner rotation. Salmon bulgogi is a recipe I found many years ago in Bon Appetit, and one I make quite often. A very flavorful combination of spicy, salty and sweet, it delivers maximum flavor and requires minimal effort.

Bul means fire and gogi means meat in Korean and refers to cooking marinated meat over an open flame, typically thinly sliced beef. In this recipe, heart healthy salmon replaces the beef.

Since we have an extensive Asian pantry I usually have most of the marinade components on hand. The eight ingredients, garlic, green onions, soy sauce, rice vinegar, fresh ginger, sugar, sesame oil and chili garlic sauce are blended in a mini processor and spooned over the salmon. The original marinade was too salty for my taste so I cut the amount of soy sauce in half. Look for dark sesame oil when making this recipe. Pressed from deeply toasted seeds, it has a very concentrated flavor and a little goes a long way. A common ingredient in the bulgogi marinade, Asian pear, is used to tenderize the beef but not necessary for the salmon.

Don’t confuse chili garlic sauce with sriracha. Chili garlic sauce is chunky, not smooth and has a more pronounced garlicky flavor. Sambal oelek, a common table condiment in Asian restaurants, looks the same as chili garlic sauce. Sambal oelek is made from chilis preserved with vinegar and salt and does not contain garlic. Now that it is more widely available, it might be interesting to substitute gochujang, the Korean hot sauce made from chile peppers, glutinous rice, fermented soybeans and salt.

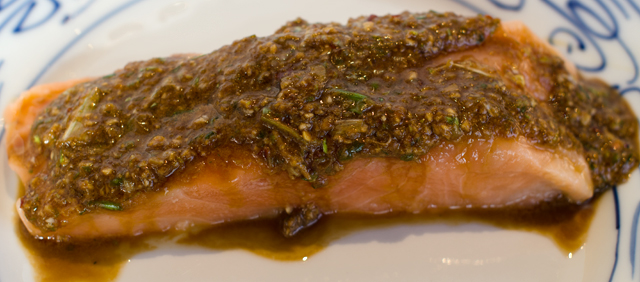
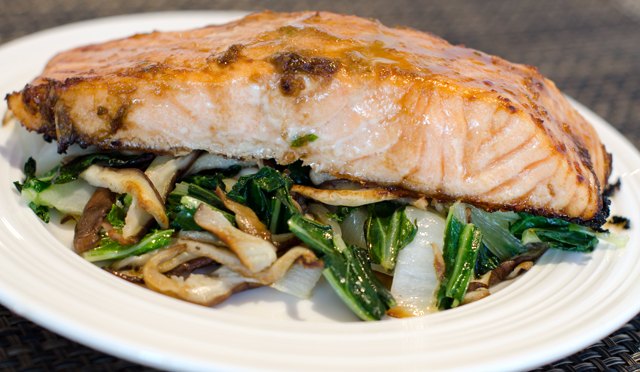
Marinade the fish for five minutes, I have left it on for up to a half hour. The original recipe calls for skinless fillets, we prefer to leave the skin on. Leaving the skin on makes for an easy transfer from pan to plate, plus Joe likes the crispy salmon skin. Scrape off as much of the marinade as you can and transfer the fish to a baking dish. In a small saucepan, bring the marinade to a boil and set aside. It’s not so much a glaze, it’s a bit chunky which is fine, unless you prefer to strain it and discard the solids. While the fish is roasting, stir fry the bok choy and mushrooms. The original recipe just adds a little pressed garlic to the mix, this time Joe added a little of my homemade sriracha sauce and a dash of yuzu juice to brighten the flavors. In season we will use baby bok choy or another Asian green from the garden. Divide the vegetables between the plates and top with salmon. Spoon the marinade over the fish and serve.

Salmon Bulgogi with Bok Choy and Mushrooms

Serves four

Ingredients

  • Two large garlic cloves, peeled and divided
  • 1/3 c chopped green onions
  • 2-3 T low sodium soy sauce
  • 1 T Chinese rice wine or dry Sherry
  • 1 ¾-inch cube peeled ginger
  • 2 t sugar
  • 1 t Asian sesame oil
  • 1 t chili garlic sauce
  • 4 6 oz center cut salmon fillets
  • 1 T peanut oil
  • 1 large bok choy, cut crosswise into ½ inch wide strips (about 7 cups)
  • 4 oz fresh shiitake mushrooms, stemmed and caps sliced
The marinade ingredients, minus the soy sauce.
A mini processor makes it easy to combine the marinade ingredients.
DSC_6369a
Five minutes is all it takes to marinade the fish.

Directions

  1. In a mini processor, blend one clove of garlic with the next 7 ingredients. Arrange salmon in a baking dish and spoon marinade over the fish. Let marinade for 5 minute and up to one half hour.
  2. Preheat oven to 450°F. Arrange the fish with some of the marinade still clinging in a shallow baking dish. Transfer the marinade from the first dish to a small saucepan. Roast fish according to the Canadian fisheries method, which equates about one inch of the thickest part of the fish to 10 minutes of cooking time.
  3. Bring marinade to a boil; set aside and reserve for glaze.
  4. Heat oil in a large non-stick skillet over high heat. Add bok choy and mushrooms, using a garlic press, press in one garlic clove. Stir fry until mushrooms are tender and the bok choy is wilted, about 4-5 minutes, season with salt and pepper.
  5. Divide vegetables among the plates. Top with salmon and brush with glaze.

DSC_6388a

January 30, 2016 Spinach, Blood Orange and Bean Salad with Sprouts

DSC_5806aThe February issue of Bon Appetit includes a nine page (ten if you count the colorful illustration on the first page) article devoted to beans. The title, “Cool Beans” brings a smile to my face because it was an often used expression of a dear friend of mine.

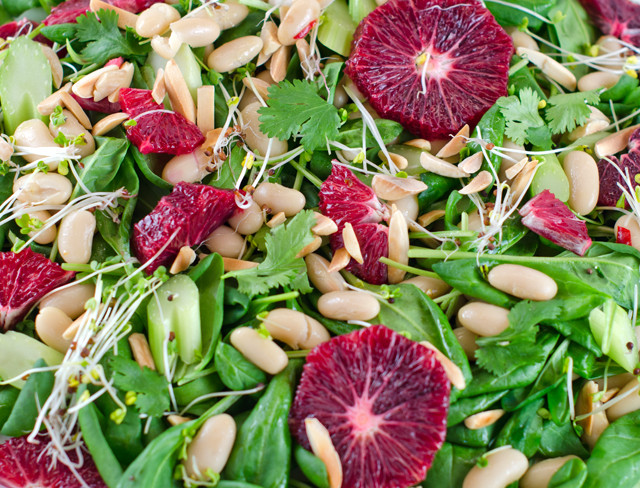
“Cool Beansincludes a four step method on how to cook dried beans from scratch, a pictorial of some of the prettiest beans I have ever seen, available by mail order only and they even address the, ahem, gas issue. There are recipes for cassoulets, pastas, stews and chilis. What caught my attention however was a bean salad; blood orange and mixed bean salad with sprouts. Since I wanted to make the salad for that evening, I needed to forgo the soaking and the next day slow cooking. So I did the next best, and most practical thing, I used a can of cannellini beans, Goya is my brand of choice. If you use canned beans, rinse and drain them well. A large can of cannellini beans will give you 1 1/2 cups of beans as opposed to the 2 cups in the original recipe.

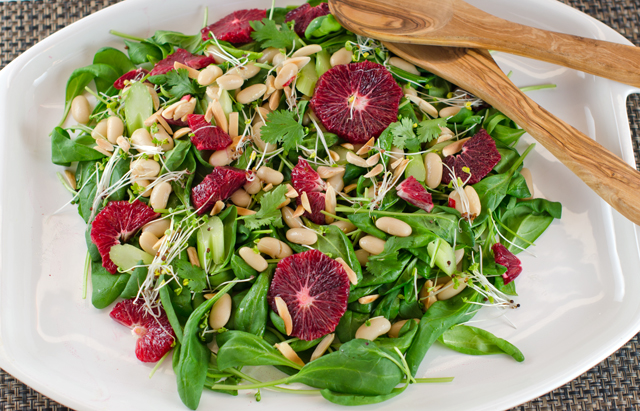
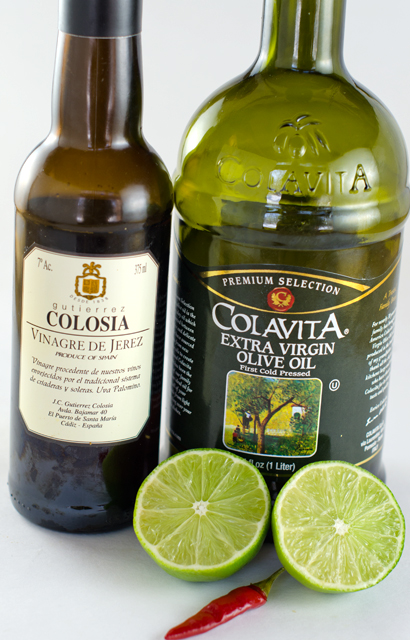
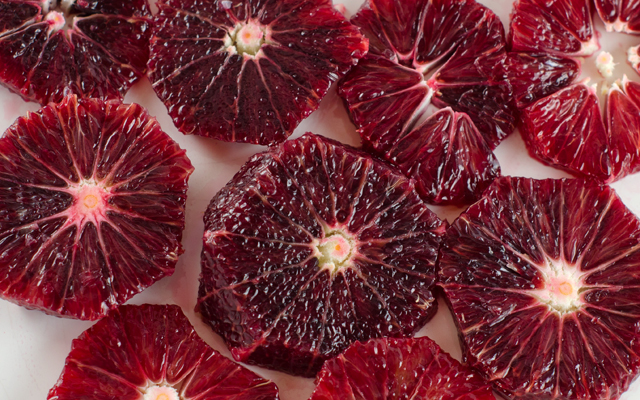
The salad comes together very quickly. Blood orange segments, readily available this time of year enhance the salad with beautiful garnet red color and deep sweet orange flavor with just a little bit of raspberry tartness. Celery slices, underused in salads (at least by me) and broccoli sprouts give a crisp contrast. Fennel would be an interesting substitution for celery. The dressing is a very simple vinaigrette, lime juice, sherry vinegar, extra virgin olive oil and a small Thai chili. Our rather large supply of frozen chilis pack as much heat as any fresh one. My additions to the original recipe were baby spinach leaves and toasted almonds for crunch. Top the salad with some cilantro or parsley leaves. This salad probably could serve four but we ate it in one sitting as a side dish.
The origin of the expression “cool beans”? A Cheech and Chong movie? The 80’s sitcom Full House? There doesn’t seem to be a true concensus. What I do know is that it’s time to place an order for some heirloom beans so I can make this delcious salad again.

Spinach, Blood Orange and Bean Salad with Sprouts

Serves four

For the vinaigrette

Ingredients

  • 2T fresh lime juice
  • 2t Sherry or red wine vinegar
  • ¼c extra virgin olive oil
  • 1 small Thai chili, thinly sliced
  • Kosher salt and freshly ground pepper

DSC_5793a

Directions

  1. Whisk ingredients together in a medium bowl. Season to taste with salt and freshly ground pepper. Set aside.

For the salad

Ingredients

  • 6c baby spinach leaves
  • 1 can cannellini beans, rinsed and well drained or fresh cooked beans
  • 3 blood or navel oranges
  • 1c celery stalks, sliced thinly on the diagonal
  • ½c radish or broccoli sprouts
  • ¼c toasted almond slivers
  • Kosher salt and freshly ground pepper

DSC_5797a

Directions

  1. Add beans to vinaigrette and toss to coat, let sit for 10 minutes for flavors to blend.
  2. Remove peel and pith with a small, very sharp knife from 3 blood or navel oranges. Cut crosswise into ¼” thick rounds.
  3. Add the spinach, orange sections, celery slices and sprouts to the bowl with beans and toss. Season with salt and pepper.
  4. Top with additional sprouts, cilantro leaves and toasted almonds.
DSC_6772a
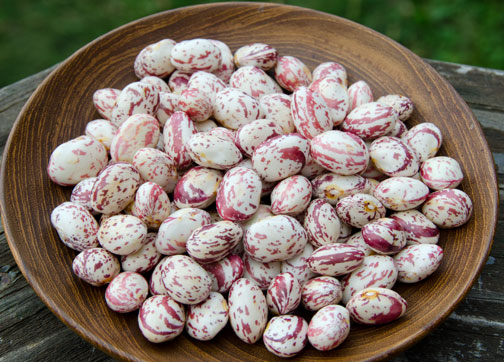
The borlotti beans we grow in the garden are very pretty. Unfortunately they lose their mottled color when cooked.

DSC_5800a

December 8, 2015 Smoked Turkey Chili

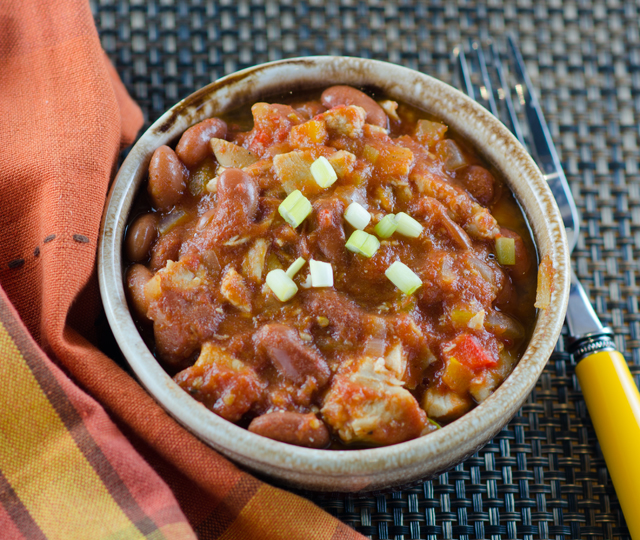
DSC_5319aFor the first time in about thirty years we did not host Thanksgiving dinner. We did celebrate my favorite holiday with friends and family in a collaborative effort that was enjoyed by all. Our contribution included a fall salad, curried butternut squash soup, and smoked turkey breasts.

When we hosted Thanksgiving, the traditional roasted turkey was always on the table along with at least one other turkey variation. We did the puff pastry turkey à la Martha, delicious deep fried turkey, quick but dangerous on a wooden deck on a windy day. We have even smoked ducks, geese, Cornish game hens, but the favorite was and is still the smoked turkey.

We had plenty for the eleven of us who gathered for Thanksgiving dinner and plenty to take home for leftovers. Over the next several days that meant smoked turkey wraps with coleslaw and cranberry chutney and smoked turkey quesadillas, both great ways to use it. With more smoked turkey to “repurpose”, I thought a smoked turkey chili would be a great way to use what we had left.

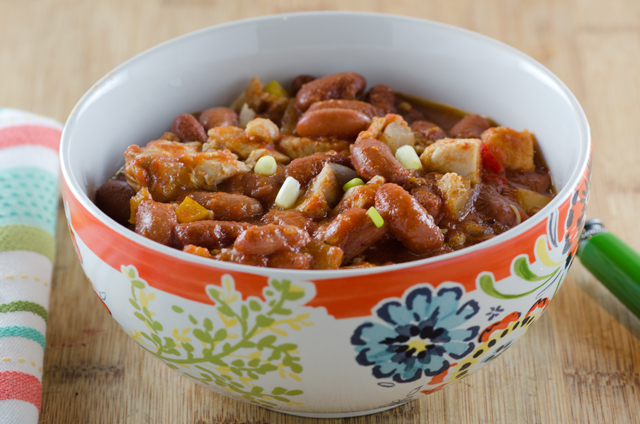
When I normally make chili, I brown the onion and pepper first, then add uncooked ground turkey meat and brown it. Since I had already cooked turkey I wanted to add it later in the recipe, so the meat would be warmed up, not dried out and over cooked. This recipe is so simple and the smoky flavor of the turkey is great in a chili. You can make this as spicy or as mild as you choose. I used a medium chili powder, cumin and some chipotle powder which added it’s own smokiness.

DSC_5326a

Smoked Turkey Chili

Serves four to six

Ingredients

  • 1/3c each orange, red and yellow bell peppers, finely chopped
  •  1 cup chopped yellow onion
  •  1 t chopped garlic
  •  2T vegetable oil
  •  4c cooked kidney beans or other beans of your choice
  • 1 28oz can crushed tomatoes
  •  4-5c medium diced smoked turkey
  •  1c chicken stock
  • 1T chili powder (medium to hot according to your preference)
  • 1t ground cumin
  • 1 chipotle chili powder
  •  1t salt or to taste
    Chopped green onions, with tops (for garnish)

Directions

  1. Sauté the bell peppers, chopped yellow onion and garlic in oil over medium-high heat until they are just tender.
  2. Combine the cooked peppers, onion and garlic with the remaining ingredients (exept the green onions). Bring the turkey chili just to the boil, then reduce the heat. Simmer for one-half hour, stirring occasionally.

DSC_5316a