If you’re like me and not always in the mood to cook something when you get up in the morning for breakfast, but still want a little something to eat, a frittata is a great choice. Made the day before, they warm up quickly and also taste good at room temperature. But frittatas aren’t just for breakfast, they make a nice lunch, light supper, sliced thin as an hors d’oeurve or anytime you just want a little nibble. This time of year they are a great way to showcase farm fresh eggs and produce.
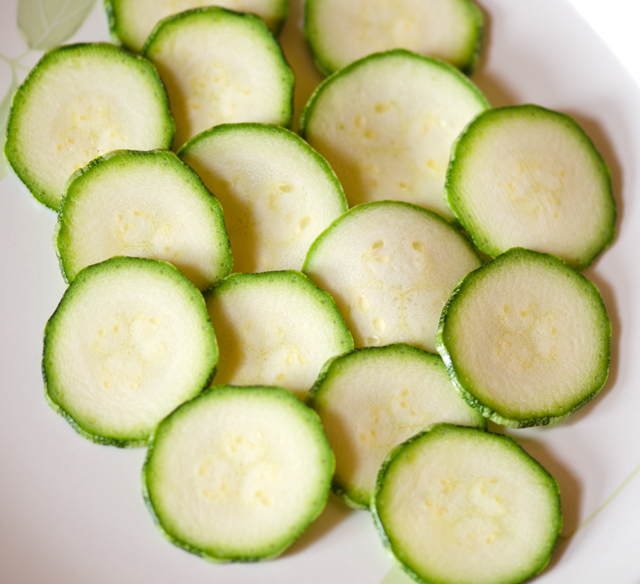
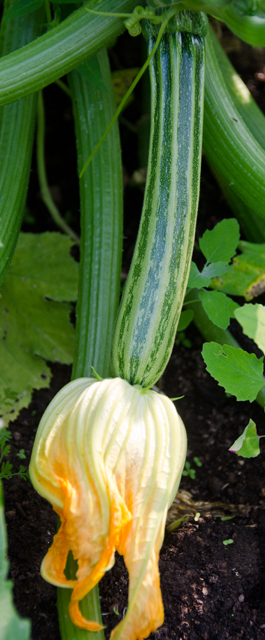
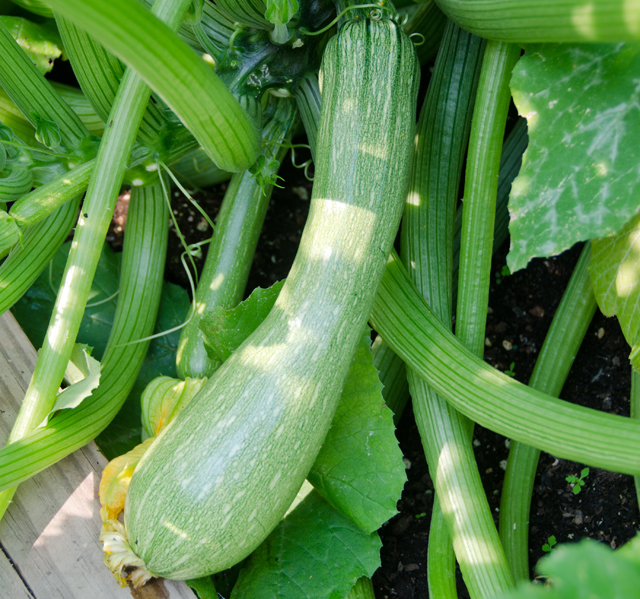
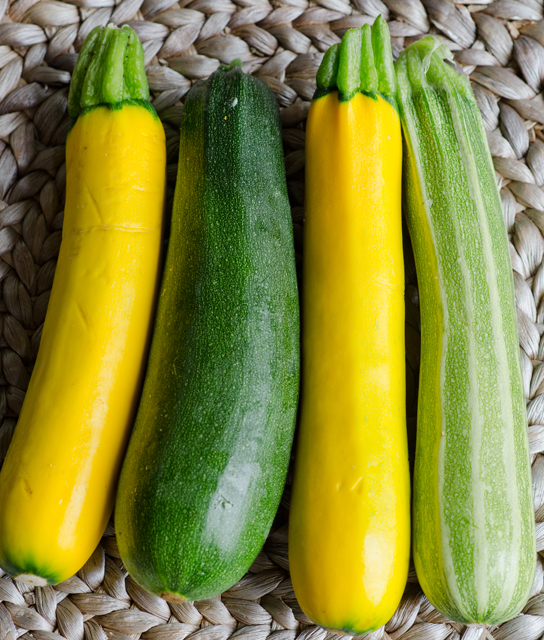
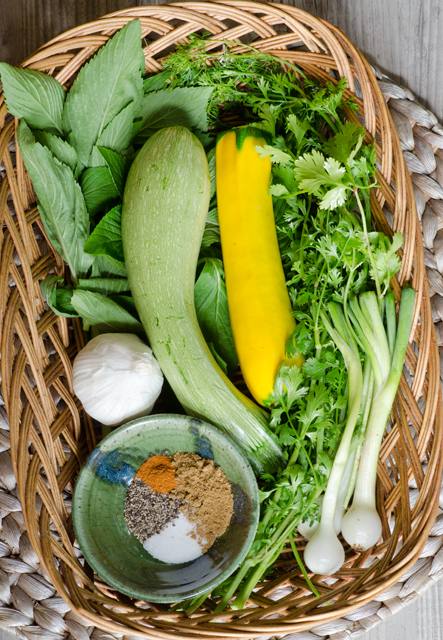
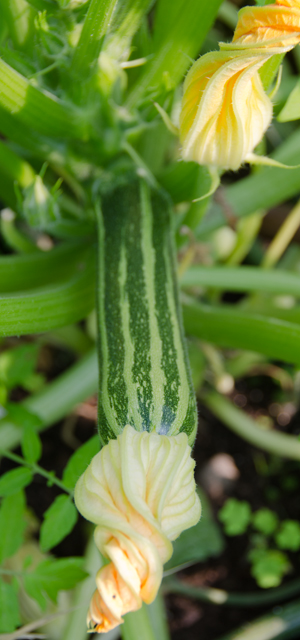
For this recipe I chose the smallest zucchini I could find in the garden. Since their seed pods are still underdeveloped, they have a sweet nutty quality to them. I wanted very thin slices rather than shreds which is the usual method of preparation. Slice by hand, or for real uniformity, I used the 2mm slicing disk on the food processor. Larger zucchini should be shredded and salted then squeezed dry before adding to the frittata. If you skip that step, when you cook the zucchini you essentially will be steaming, not sauteing it. A couple of tablespoons of a chopped fresh herb is a welcome addition to a frittata, but since I had just made some, I opted for pesto, a delcious addition to this dish.
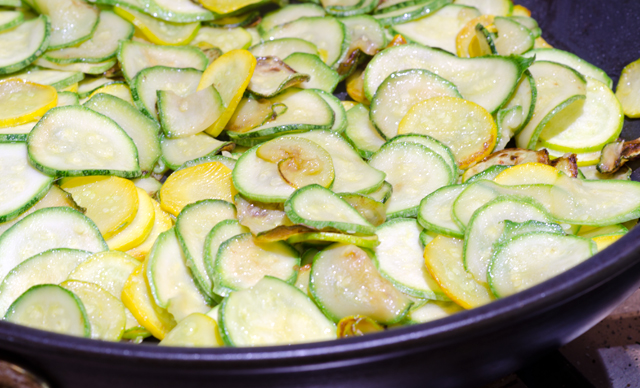
A 10″ non stick skillet with an oven safe handle is essential for this recipe. Begin by cooking the zucchini until it releases some liquid and the slices start to brown and become tender, this should take about 5-6 minutes. Set the pan aside.
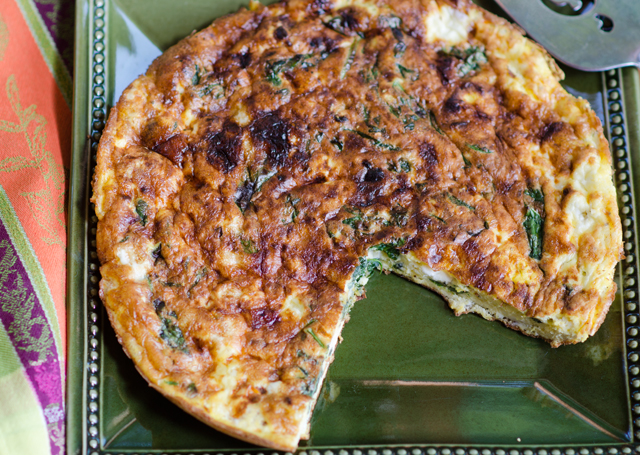
Preheat your oven’s broiler and place a rack in the upper middle position. Beat the eggs and Parmesan cheese in a medium bowl. Stir in pesto and the cooked zucchini. Add the rest of the oil to the empty skillet and heat to medium. Add zucchini-egg mixture and cook for 4-5 minutes, frittata will look set around the edges. Move the skillet to the broiler and leave a potholder on the oven door, that handle will get hot. I set a timer now for 90 second intervals. It took about 2 intervals for the frittata to get brown, which translates to about 4 minutes.
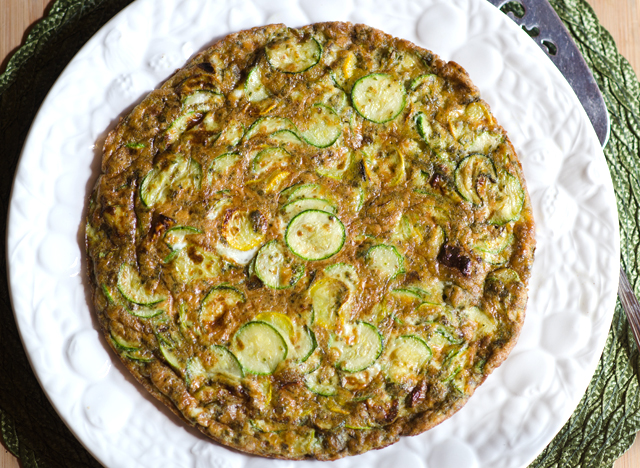
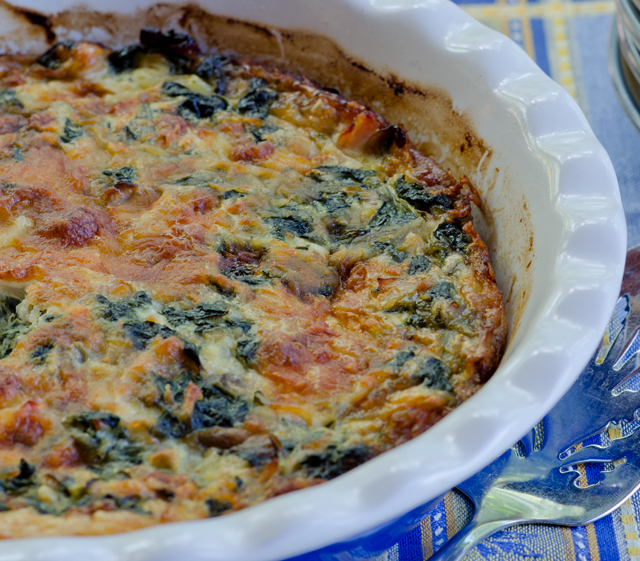
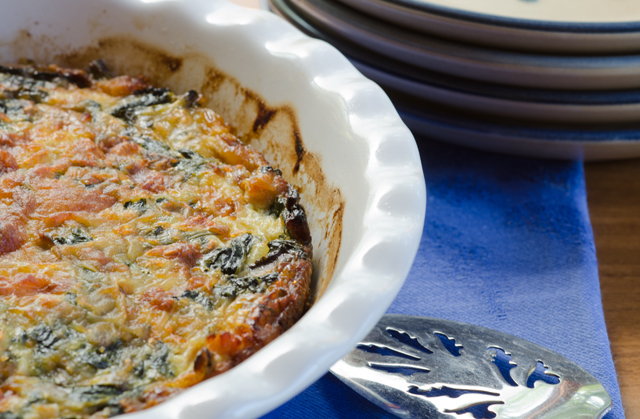
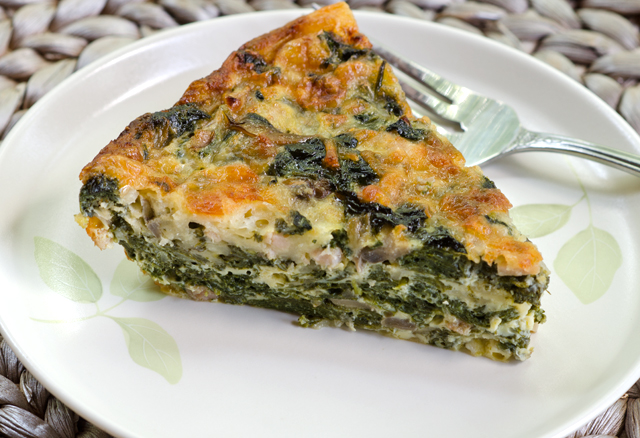
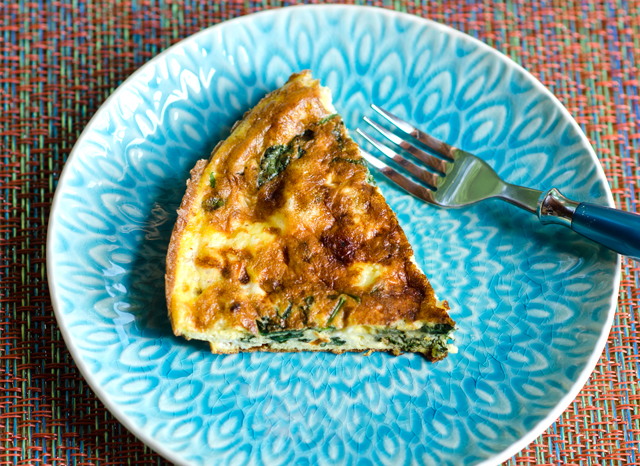
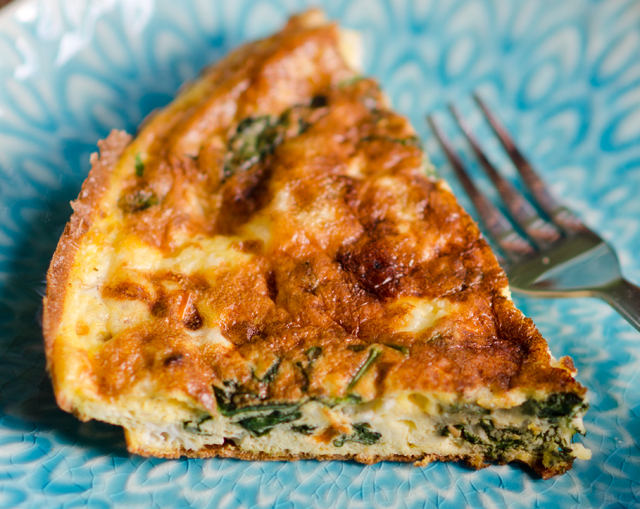
Using the potholder, remove frittata from the oven and allow to rest for 5 minutes.Run spatula around the edge of the skillet to loosen the frittata. You can serve the frittata warm right from the skillet, or slide unto a platter for a prettier presentation.
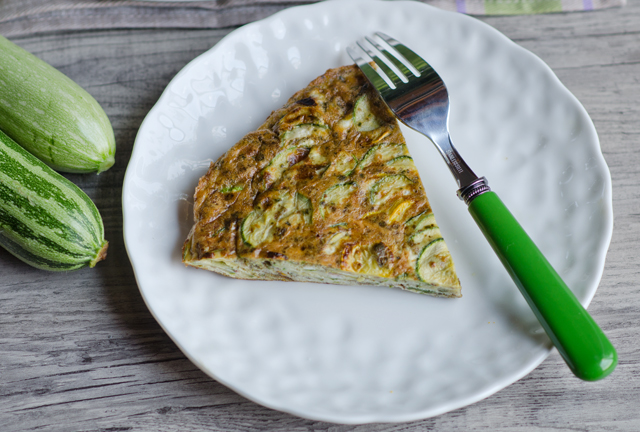
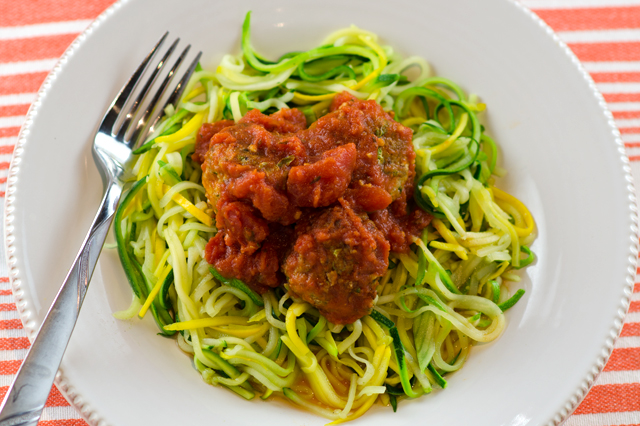
Zucchini Pesto Frittata
Serves 4
Ingredients
- 2T olive oil
- 1 1/3 lbs. of very small zucchini, washed and ends trimmed
- Kosher salt and freshly ground pepper
- 1-2T pesto or freezer pesto, thawed with cheese added
- 6 large eggs
- 3T grated Parmesan cheese
- 2t olive oil

Directions
- Heat broiler.
- Slice trimmed zucchini by hand or with the thinnest slicing blade of the food processor.
- Heat 2 tablespoons oil in a 10-inch non stick skillet over medium high heat. Add zucchini; cook, stirring occasionally, until zucchini is tender, about 5 minutes. Season with kosher salt and freshly ground pepper.
- Beat six large eggs with 3 tablespoons grated Parmesan cheese in medium bowl. Stir in pesto and cooked zucchini into beaten eggs.
- Heat additional 2 teaspoons oil in the now empty skillet over medium heat. Add zucchini, pesto and egg mixture; cook until frittata is almost set, 4-5 minutes.
- Slide skillet until the broiler and cook until frittata is set and the top is browned.
- Serve directly from the skillet or flip unto serving plate. Serve hot or at room temperature.