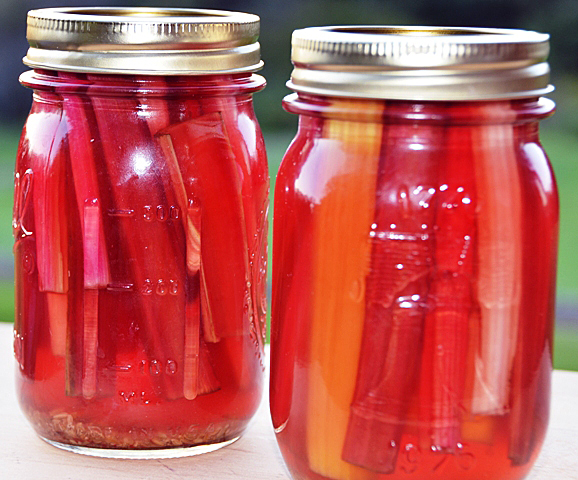
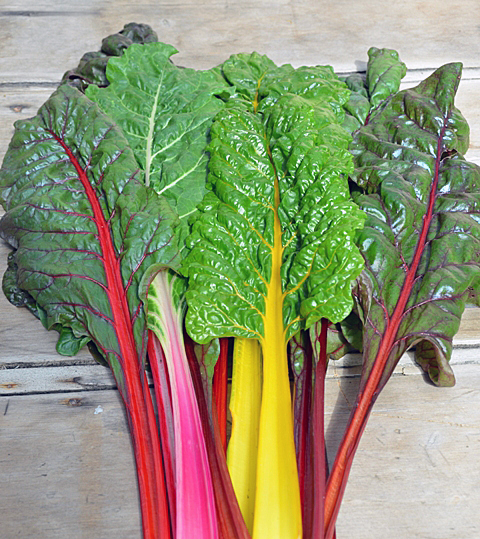
When the new issue of Fine Cooking came last week I was ready to put it aside for a few weeks. The holiday desserts and side dishes looked very tempting, but the beginning of fall was just last Saturday and I am still enjoying cooking as much as I can with the harvest from our garden. As I quickly thumbed through the issue I happened to notice an article that interested me, “What We Are Cooking Now.” Specifically, what really caught my eye were Swiss chard chips. I had heard of kale chips, both the pricey little bags sold in health food stores and the homemade varieties that a friend introduced me to. So why not chard chips? We have three sections of chard of the Bright Lights and Rhubarb variety still producing, so I thought it would be fun to try my hand at this. Since I am a proponent of using both the chard leaves and the stems, I wanted to use the colorful stems in another healthy nibble so a refrigerator pickle seemed to be the best choice here.
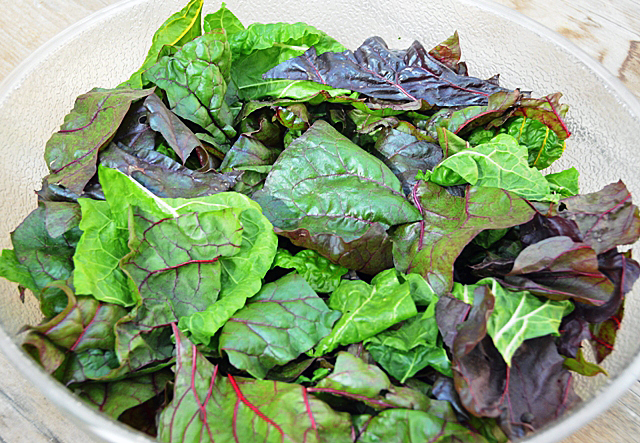
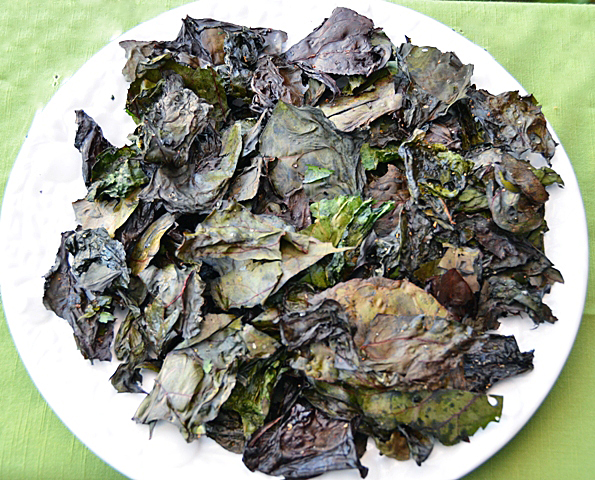
My on-line research revealed many different approaches to making chard chips and after reading them all, came up with my own method. There are certain important things to remember if you are going to make chard chips. Wash the leaves thoroughly, chard leaves are usually very crinkly, and those crevices can be dirty. After washing the leaves, remove the stems, reserve if using. Spin the leaves dry in a salad spinner and use paper towels to remove any excess moisture. Any moisture left on the leaves will cause them to steam, not bake and crisp up. A “bunch” is a non-specific term, to be exact as possible, I used 25 chard leaves that were about 12-14 inches long after stemming. When in doubt, keep the leaf pieces larger, 2 inch squares approximately. The leaves will break easily when they are dry and too many small pieces will give you chard crumbles or dust. Place the dry leaf pieces in a large bowl and toss lightly with olive oil and your seasonings of choice. Start with a modest amount, about a tablespoon of oil, you can always add more, it’s not as easy to take it away. I used a little Espelette pepper olive oil, kosher salt, fresh ground pepper, a little garlic powder and a little plain olive oil to taste. I did not grease my baking sheet or use cooling racks to elevate the leaves. I did not crowd or overlap the leaves. I used four large baking sheets in two ovens, racks in the top and the bottom set to 275F on the convection bake setting. The caveat here is, know your own oven, my chips seemed to be ready quicker than most of the recipes I looked at, keep a watchful eye to ensure a crispy, not a burnt chip!
Chard Chips
- 1 large bunch of chard, 25 leaves, 12-14 inches long
- Olive oil
- Seasoning of your choice, I used kosher salt, garlic powder and freshly ground pepper
Directions
- Preheat oven to 275F (convection bake). Put racks in the top and bottom of oven.
- Wash chard leaves thoroughly in several changes of water. Remove the stems from the leaves, reserve for chard stem pickles.
- Dry chard leaves, first in a salad spinner, then remove excess moisture with paper towels. Cut leaves into 2″x2″ pieces, or a size as close as possible, when in doubt, larger is better.
- Spread leaves on a large ungreased baking sheet, do not overlap or crowd. My leaves took up four sheets that I baked in two ovens.
- Bake chard for six to seven minutes, check to see how the leaves are drying, at this point I loosened the leaves with a spatula and my fingers and rotated the baking sheets, top to bottom and front to back.
- Bake for another six to seven minutes, chard should be crisp, not burnt.

Pickled Chard Stems
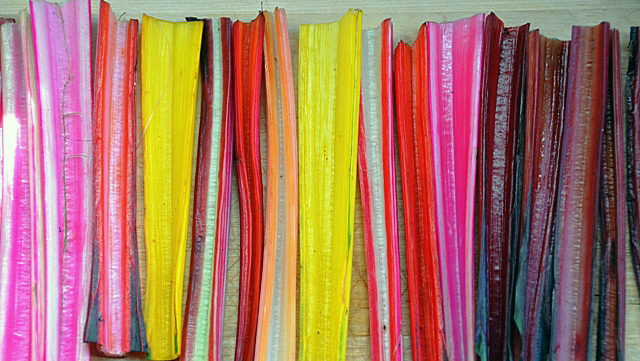
Pickling shows off the brightly colored stems in another healthy nibble. Refresh the stems in some ice water to crisp them up and cut to even lengths to fit your canning jar. I chose pint jars but one cup sized jars would work as well. I used a basic refrigerator pickle recipe and added my own spice blend combination. Allow them to cure in the refrigerator for a few days, after three days they were ready. If your stems are wide, cut them in half lengthwise, there will be less chance for the stems to be stringy.
Quick Chard Pickle
Makes 2 pints
- 2 pint canning jars and lids
- Enough chard stems to pack tightly into the jars
- 2c water
- 1c rice wine vinegar
- 1/4c granulated sugar
- 1/2t cumin seed
- 1/2t coriander seed
- 1/2t fennel seed
- 1 small piece of cinnamon stick about 2″
- 1/2t pink peppercorns
- 1/2t white peppercorns
Directions
- Sterlize two pint canning jars by washing them in hot soapy water, rinsing and drying them thoroughly. Crush spices in a mortar and pestle or small food processor. Distribute spices evenly between the two jars.
- In a medium saucepan bring two cups of water to a boil. Add vinegar, sugar and salt and bring the mixture back to a boil.
- Pack the chard stems in the jars as tightly as possible. Using a wide mouth canning funnel, pour the brine over the stems to cover completely. Place lids and bands on the jars and let cool. Refrigerate, chard pickles will be ready in a few hours but at their best in about two days.
