December 22, 2012 Roasted Brussels Sprouts with Brazil Nut Pesto

DSC_7474a

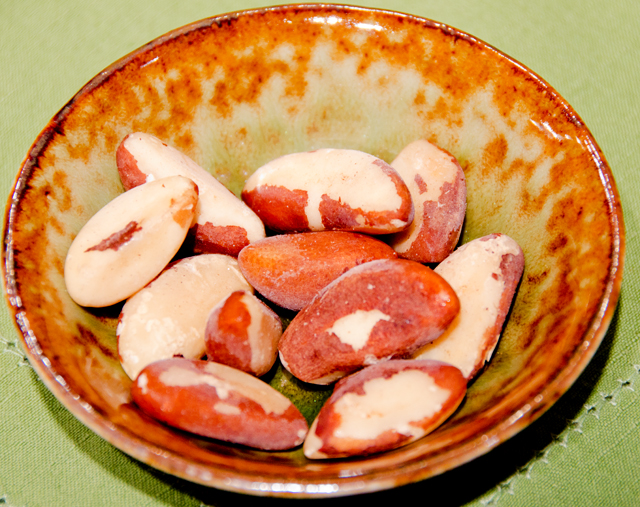
When I was a little girl, my parents received quite a few trays of cookies and other treats at Christmas time from Dad’s co-workers, friends and relatives. These treats were not to be savored until a few days before Christmas. For me, it wasn’t the candy canes, fancy cookies and homemade sweets that tempted me the most, it was the tin of salty mixed nuts that sat inside one gift basket.  Once the lid was open I dove in for my favorites, past the walnuts, cashews, almonds, hazelnuts and red-skinned peanuts, directly to my target, the Brazil nuts. Salty, rich, meaty in flavor, they stuck out like little thumbs.
The “almonds of the Andes”  are grown not only in Brazil but in Bolivia and Peru as well. Found in the Amazon rain forest, Brazil nut trees can reach 150 feet in height and 6 feet in diameter.  The Brazil nut grows inside a dark brown fruit the size and shape of a small coconut.  A pod in the center of the fruit holds 12-24 nuts, packed neatly like orange segments. Harvesters wait for the 4 to 6 pound pods to drop, a potentially hazardous situation.
I didn’t know it at the time but Brazil nuts have amazing health benefits. They are rich in selenium, a trace mineral and antioxidant that has been linked to cancer prevention, mood lifting and immunity support. They are also a good source of vitamin E and mono unsaturated fatty acids, which increases HDL  or “good” cholesterol. Of course, along with that comes a high calorie content, so as with many things, moderation is key.

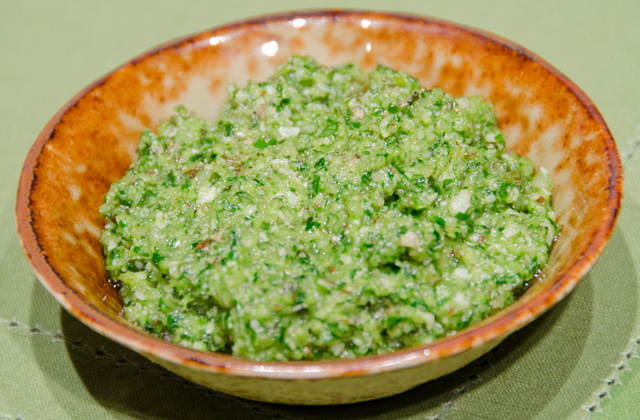
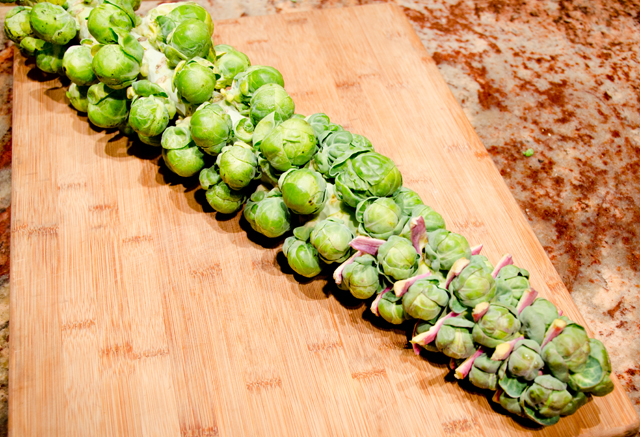
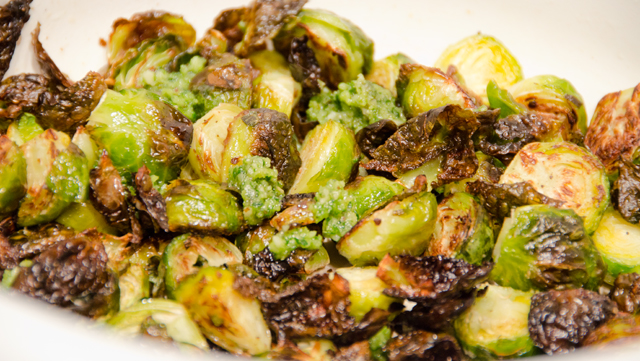
In this version of pesto, flat leaved parsley and just a touch of anisey tarragon take the place of basil. Brazil nuts have a sweet, creamy texture that add a richness to this pesto. I like tossing Brazil nut pesto with roasted vegetables like Brussels sprouts, but it would be equally as good tossed with pasta or topping a fish like salmon.

Roasted Brussels Sprouts with Brazil Nut Pesto

 Ingredients

  • 1/2c coarsely chopped flat-leaved parsley
  • 1/4c Brazil nuts, coarsely chopped
  • 2T water
  • 1T chopped tarragon
  • 1 large clove garlic, chopped
  • 1/2t finely grated lemon zest
  • 5T extra-virgin olive oil
  • 3T freshly grated Parmesan cheese
  • Kosher salt and freshly ground pepper
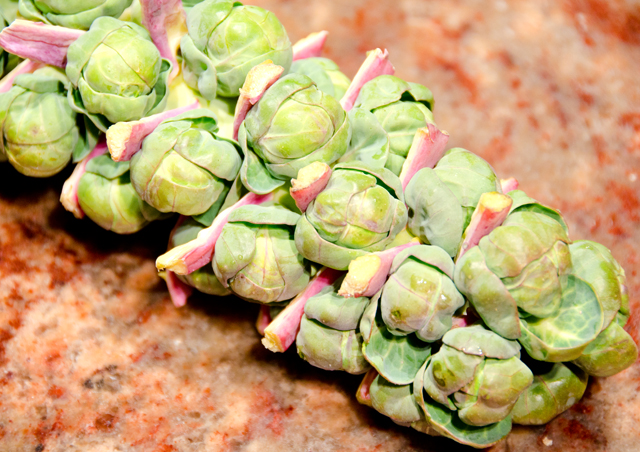
  • 1 1/2 lb Brussels sprouts, trimmed, cut in half lengthwise

Directions:

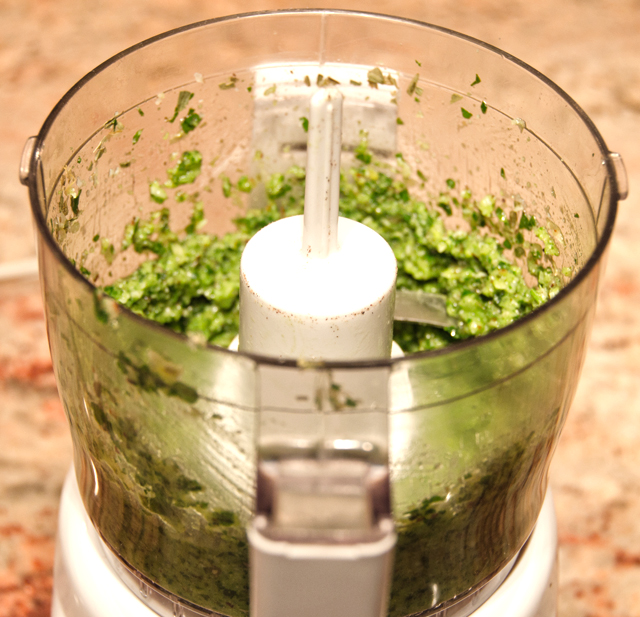
  1. Preheat the oven to 500°. In a mini food processor, combine the parsley with the Brazil nuts, water, tarragon, garlic and lemon zest and pulse to a coarse paste. Add 3 tablespoons of the olive oil and the Parmesan and process to a slightly smooth paste. Season with salt and pepper.
  2. On 2 large, rimmed baking sheets, toss the Brussels sprouts with the remaining 2 tablespoons of olive oil and spread in an even layer. Season with salt and pepper. Roast the Brussels sprouts in the center of the oven for 8 minutes. Use a spatula to loosen and move the sprouts around for even roasting. Switch the baking sheets and continue to roast for about 8 minutes longer, or until the sprouts are  browned and crisp-tender. Transfer the Brussels sprouts to a platter, drizzle the pesto on top, toss lightly and serve.
DSC_7356a
Just a half cup of Brazil nuts is needed in this recipe.
DSC_7362a
The mini processor is all you need to make a quick batch of pesto.


DSC_7365a
Brazil nut pesto is good with roasted vegetables, fish or pasta.


DSC_7466a
Brussels sprouts grow on stalks that range from 24-48 inches.


 DSC_7468a

 DSC_7436a

September 8, 2012 Salsa Verde

Many cold winters ago as we were perusing the seed catalogs, Joe was going over the litany of our seed purchase list. Discovering something different, he asked, “Toe-mah-till-ohs?”  “Uh sure, mm, okay.” I had never seen or heard of tomatillos before but was interested in the small green fruit. Were they like tomatoes? How do you know when they are ripe? Not having a large Mexican community in the area at that time my initial knowledge of real Mexican food (think not Chi Chis) came through the cookbooks of Rick Bayless and Diana Kennedy.  I learned that it is pronounced, toh MAH tee yo, and tomatillos like tomatoes and eggplants are  members of the nightshade family. Tomatillos are a prominent ingredient and bring the citrusy tang to salsa verde. I learned salsa verde was not just an alternate dip for tortilla chips, but a sauce to cook chicken or pork in. This knowledge didn’t bring me initial success as a gardener/harvester. I would examine the papery husks that resembled Chinese lanterns on the vine and not find much inside. So I would give up, some years we even skipped over growing them at all. Last year Joe  found a seed source that had both green and purple tomatillos. With renewed determination I was going to harvest tomatillos. I learned that the tomatillo is ripe when the fruit fills out the outer layer and the papery skin starts to dry out.

Preparation is relatively easy, remove the outer husk and rinse off the sticky residue that coats the fruit. The fruit should be bright green, firm and tart. They can be eaten raw or boiled, but I feel they are best when charred or broiled. I like cooking my tomatillos on an asador, a round grate that sits on top of your gas burner or outdoor grill. Most often I use the asador on the gas cook top, moving the tomatillos around to blacken on all sides with tongs. They don’t look very pretty when you are done with them but the flavor is wonderful, smoky, sweet and a little citrusy all at the same time. I used the asador to cook all the elements of my salsa verde, the tomatillos, garlic, red onion and the peppers; Anaheim, Pasilla Bajio and a green Jalapeno for good measure. I put all the ingredients in a blender, pulsed on high for a few minutes and came out with a green chili sauce that I am liking more every day. I have topped pork,chicken and fish with it so far and I’m sure it would be just as good with a steak. This year I plan on freezing some tomatillos as well, a little chicken tomatillo soup in about a month will hit the spot.

Postscript : Once again, as with “Perfect Fish”, I have learned that the asador is no longer available for sale. One version (not mine) was part of a line that Rick Bayless was designing and bringing to market. Copco dropped that line when they sold the company. Bayless is in discussions with several manufacturers to bring back the stove-top roaster.

 Salsa Verde

My own interpretation

Yield: about 2 1/2 cups

Ingredients

  • 10-12 small to medium tomatillos, husked and washed
  • 1 1″ thick slice of red onion
  • 3 cloves garlic with the peel on
  • 2-3 Anaheim chilis (mine were red)
  • 1 Pasilla Bajio chili
  • 1 Green Jalapeno chili
  • 1t ground cumin
  • 1t fresh lime juice
  • 1T chopped cilantro (optional)
  • Kosher salt and freshly ground pepper to taste

Directions

  1. Place stovetop asador over a gas flame, when the grill heats up (3-5 minutes) add  as many tomatillos will fit comfortably stem side down. The stem side is flatter and the tomatillos will not roll around. Move tomatillos around the cooking surface to ensure even cooking. Using tongs, turn the tomatillos to the other side and cook until charred and completely softened, 4-5 minutes per side, depending on how intense your flame is. Move the cooked tomatillos to a sheet pan or bowl. Add more tomatillos, onion, garlic and peppers as you have room. The garlic will take only seconds, don’t allow it to burn.
  2. Let everything cool for about 10-15 minutes. Now for the “fun” part, peel, stem and seed the tomatillos, garlic and peppers. I find the best way to do this is in the kitchen sink with a large bowl and cold running water near by to keep the skins and seeds from sticking to your hands. It’s okay if some of the char remains, it adds a little character and flavor to the sauce.
  3. Place tomatillos, onion, garlic and peppers in the blender. I like to add a teaspoon or so of ground cumin and some fresh lime juice. Blend on high, occasionally scraping down the sides of the bowl to incorporate all the ingredients.
  4. Pour sauce into a bowl, season with kosher salt and freshly ground pepper to taste. I add a tablespoon of chopped cilantro at this point, but that is optional.
  5. Alternately the tomatillos, garlic, onion and peppers could be charred under a broiler or over an outdoor grill.
    Tomatillos in various stages of charring
    Close up of tomatillo on asador.
    Chilis on asador
    Ready to peel
    Green chili sauce (salsa verde) over grilled chicken breast served with a salad of heirloom tomatoes, peppers and avocado.


September 4, 2012 Basil Pesto

  Nothing is more evocative of summer than the scent of fresh basil in the garden. We grow many varieties, from the classic large-leaved Genovese, beautiful purple Dark Opal, scented varieties such as cinnamon, lemon, and lime, and miniature varieties that grow into perfect little ball shapes. One of my all time favorite ways to enjoy basil is in a delicious pesto sauce.
Originating in the northern Italian Riviera city of Genoa, pesto is a fresh uncooked sauce of basil leaves, pine nuts, grated cheese, olive oil and garlic. The word pesto derives from the Italian “pestare” to pound or to bruise.Traditionally, pesto was made in a mortar and pestle but now most people make short work of pesto by using a food processor. Several years ago we had the opportunity to teach a course on cooking with herbs at a local cookware store. One of the ways we engaged the participants in the class was to have them take turns using their muscle power to make pesto in a large mortar and pestle while I whizzed up a batch in my Cuisinart. The difference is remarkable. Pesto in the food processor is homogenized, very sauce-like while the mortar and pestle version was very creamy and had a great amount of definition and texture. I’m not saying every time you make pesto it needs to be made in the mortar and pestle but it is certainly worthwhile to try to see the difference and, you will get a mini-workout as well! 

Pesto demands your freshest ingredients, basil, picked fresh from the garden or farmers market, fresh garlic, good quality pine nuts or walnuts, sea salt, freshly grated Parmigiano-Reggiano and your best extra virgin olive oil. Pesto will keep for about a week in the refrigerator. A thin layer of olive oil on top will help it retain it’s color. I freeze pesto without the addition of cheese in ice cube trays for seasons without basil. Just thaw out enough individual cubes for your recipe and add cheese to taste.

Basil Pesto

Makes 1 cup

Ingredients

  • 2-3 cloves of peeled garlic
  • 1/4c raw pine nuts or walnuts
  • 1/4t sea salt
  • 3c gently packed basil leaves
  • 1/2c extra-virgin olive oil
  • 1/2c freshly grated Parmigiano-Reggiano


Directions

Food processor method

  1. Process the garlic, nuts and salt until finely ground, about 20 seconds. Add the basil leaves and process in spurts just until no whole leaves remain. With the machine running, pour the oil through the feed tube in a steady stream. Stop and scrape down the sides, then process again for several seconds. Some of the texture of the leaves should remain. Add the cheese and pulse until incorporated.

Mortar and Pestle method

  1. Remove stems and center veins from basil leaves. Put one cup of basil leaves and the salt in the mortar, and using the pestle, press and pound the leaves against the sides of the bowl in a rotating motion, the salt provides some “traction”. Continue to add leaves as they break up and grind them until they are all used. Add the pine nuts and grind them into the sides of the bowl. Stir in the grated cheese and slowly stir in the extra virgin olive oil.