January 30, 2016 Spinach, Blood Orange and Bean Salad with Sprouts

DSC_5806aThe February issue of Bon Appetit includes a nine page (ten if you count the colorful illustration on the first page) article devoted to beans. The title, “Cool Beans” brings a smile to my face because it was an often used expression of a dear friend of mine.

“Cool Beansincludes a four step method on how to cook dried beans from scratch, a pictorial of some of the prettiest beans I have ever seen, available by mail order only and they even address the, ahem, gas issue. There are recipes for cassoulets, pastas, stews and chilis. What caught my attention however was a bean salad; blood orange and mixed bean salad with sprouts. Since I wanted to make the salad for that evening, I needed to forgo the soaking and the next day slow cooking. So I did the next best, and most practical thing, I used a can of cannellini beans, Goya is my brand of choice. If you use canned beans, rinse and drain them well. A large can of cannellini beans will give you 1 1/2 cups of beans as opposed to the 2 cups in the original recipe.

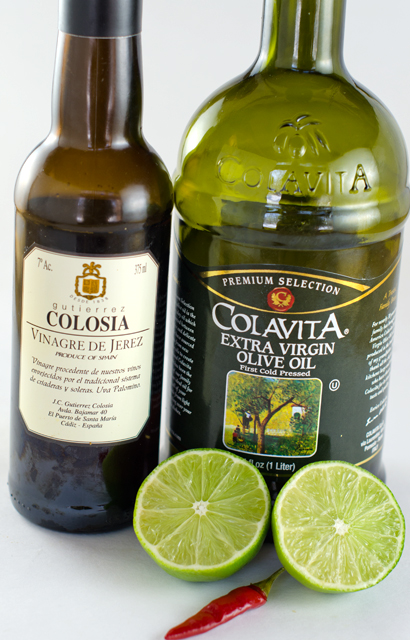
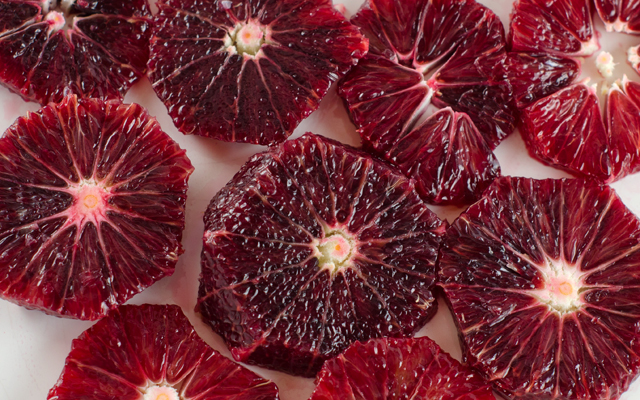
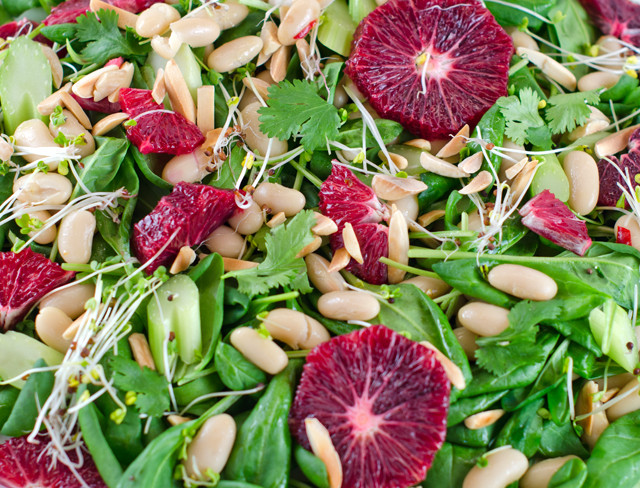
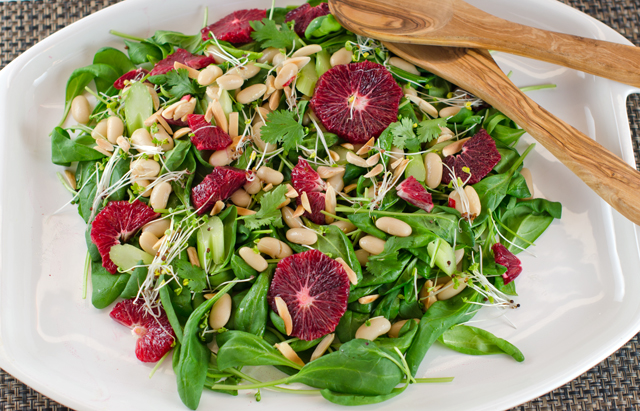
The salad comes together very quickly. Blood orange segments, readily available this time of year enhance the salad with beautiful garnet red color and deep sweet orange flavor with just a little bit of raspberry tartness. Celery slices, underused in salads (at least by me) and broccoli sprouts give a crisp contrast. Fennel would be an interesting substitution for celery. The dressing is a very simple vinaigrette, lime juice, sherry vinegar, extra virgin olive oil and a small Thai chili. Our rather large supply of frozen chilis pack as much heat as any fresh one. My additions to the original recipe were baby spinach leaves and toasted almonds for crunch. Top the salad with some cilantro or parsley leaves. This salad probably could serve four but we ate it in one sitting as a side dish.

The origin of the expression “cool beans”? A Cheech and Chong movie? The 80’s sitcom Full House? There doesn’t seem to be a true concensus. What I do know is that it’s time to place an order for some heirloom beans so I can make this delcious salad again.

Spinach, Blood Orange and Bean Salad with Sprouts

Serves four

For the vinaigrette

Ingredients

  • 2T fresh lime juice
  • 2t Sherry or red wine vinegar
  • ¼c extra virgin olive oil
  • 1 small Thai chili, thinly sliced
  • Kosher salt and freshly ground pepper

DSC_5793a

Directions

  1. Whisk ingredients together in a medium bowl. Season to taste with salt and freshly ground pepper. Set aside.

For the salad

Ingredients

  • 6c baby spinach leaves
  • 1 can cannellini beans, rinsed and well drained or fresh cooked beans
  • 3 blood or navel oranges
  • 1c celery stalks, sliced thinly on the diagonal
  • ½c radish or broccoli sprouts
  • ¼c toasted almond slivers
  • Kosher salt and freshly ground pepper

DSC_5797a

Directions

  1. Add beans to vinaigrette and toss to coat, let sit for 10 minutes for flavors to blend.
  2. Remove peel and pith with a small, very sharp knife from 3 blood or navel oranges. Cut crosswise into ¼” thick rounds.
  3. Add the spinach, orange sections, celery slices and sprouts to the bowl with beans and toss. Season with salt and pepper.
  4. Top with additional sprouts, cilantro leaves and toasted almonds.
DSC_6772a
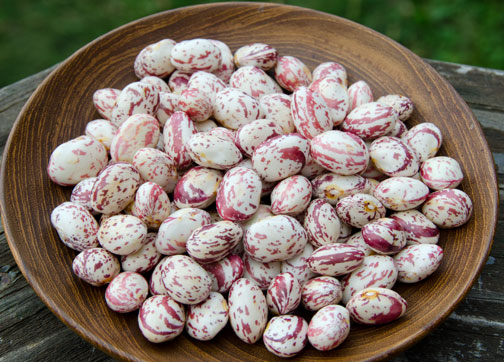
The borlotti beans we grow in the garden are very pretty. Unfortunately they lose their mottled color when cooked.

DSC_5800a

June 14, 2015 Crustless Spinach, Mushroom and Canadian Bacon Quiche

DSC_3155aConsider a humble little package of frozen chopped spinach, a convenience and a staple in many kitchens, including mine. You might be quite surprised how many cups of fresh spinach it takes to make that 10 ounce brick of frozen. That was the information I was looking for this week.

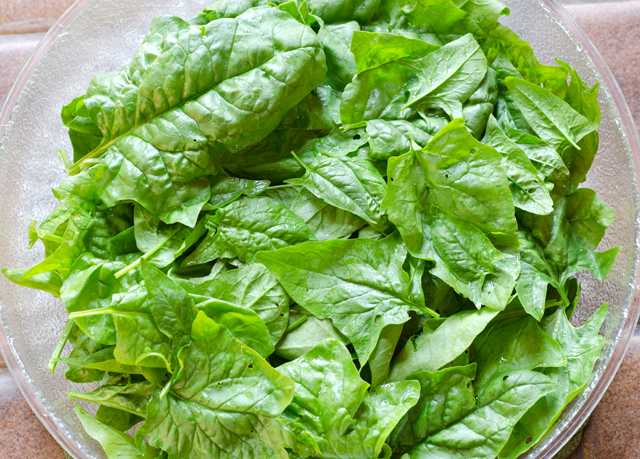
Our spinach plants are going to seed and it was time to do one last serious pick before pulling them out and getting the space ready for another planting. When picking spinach, especially in the extreme hot weather (95°F) it is important to not use a metal bowl or colander, they will put your freshly picked leaves into immediate wilt that will be hard to revive from.  I prefer using a clear plastic “pebble” bowl, sturdy hard plastic bowls I used in my catering business. I snip off the best leaves with scissors, leaving the plant and damaged leaves behind for the mulch pile. Next, I soak the spinach in a clean sink of cold water. I start the process by swishing the leaves around in the sink. I let them sit for a few minutes, the spinach will float to the top, and the dirt and debris will sink to the bottom.  Then I gently lift out the leaves and transfer them to a colander. I will repeat the process again to be sure all the dirt is removed. I refrigerated the spinach in the large bowls with some plastic wrap draped over the top.

Now it was time to find ways to use up this bounty.  Spinach is a powerhouse of nutrition, low in calories, a rich source of iron, vitamins A, C, and K, potassium, calcium and magnesium. End of the season spinach is still very good, but not necessarily something you would want to use in a salad. So I was on the hunt for recipes with cooked spinach. Frittata, quiche, spanakopita, all good choices but many recipes just call for that ubiquitous ten ounce package of frozen spinach. I needed to find the conversions to take that very large bowl to the amount of cooked spinach I needed.

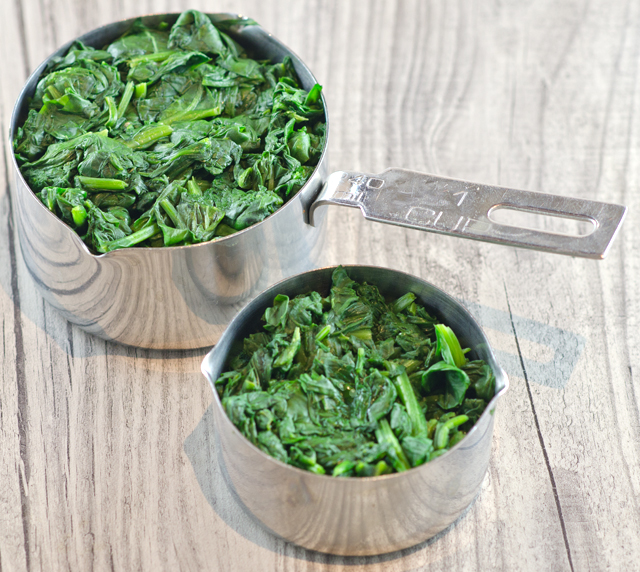
Spinach is 90% water in composition and when cooked, 1 pound of fresh spinach is equivalent to 10 to 12 cups and will cook down to 1 cup. One 10-ounce package of frozen spinach is the equivalent of 1 1/2 pounds of fresh spinach or about 15-18 cups of spinach. In my pictures you will see a before and after of the spinach. To reduce it, I cooked the spinach in a 10″ sauté pan using just the water that clung to the leaves. Then I drained it thoroughly in a fine mesh colander, squeezed it dry and chopped it roughly.

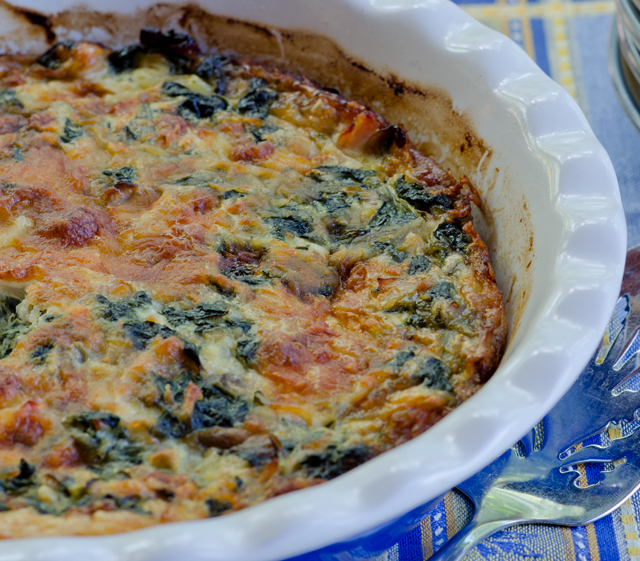
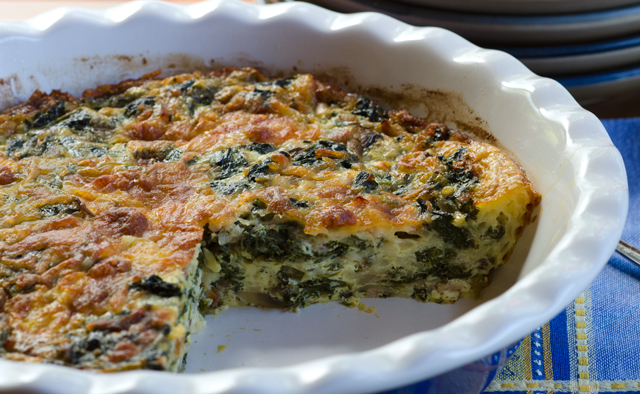
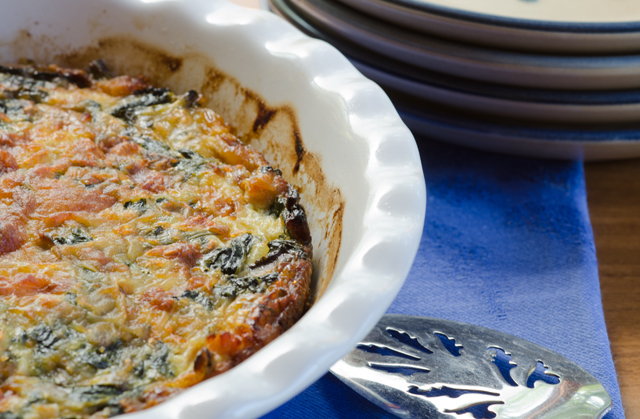
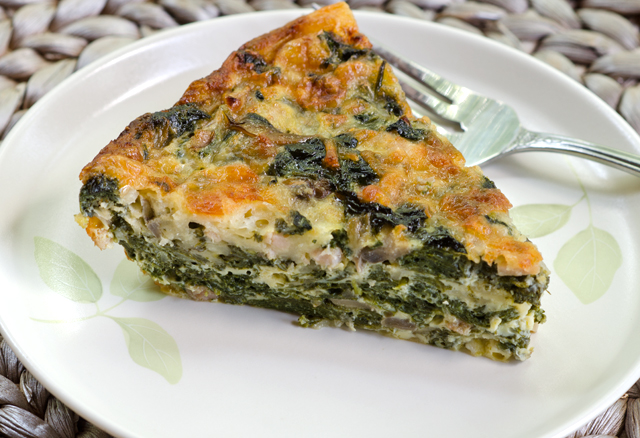
My efforts paid off. With the spinach I picked, I was able to make all three, frittata, quiche and spanakopita. This quiche can be put together in minutes since the most time consuming part is eliminated, making the crust.  I added some sauteed sliced mushrooms and Canadian bacon. In case you didn’t know, American bacon comes from the fatty belly of the pig and Canadian bacon is cut from the loin.  Of course a 10 ounce package of frozen spinach can be substituted in this recipe. It makes a nice breakfast or light lunch and reheats well the next day.

DSC_3115a
Fifteen to eighteen cups of fresh spinach.
Cooks down to this!
Cooks down to this!

DSC_3148a

Crustless Spinach and Canadian Bacon Quiche

Makes 6-8 servings

Ingredients

  • 1c finely chopped onion
  • 1c sliced fresh mushrooms
  • 1T vegetable oil
  • 1 package (10 ounces) frozen chopped spinach or 1½c cooked and chopped fresh spinach
  • 2/3c finely chopped Canadian bacon
  • 5 large eggs
  • 3c shredded swiss cheese (other cheeses will work too like cheddar or Monterey Jack)
  • 1/8t freshly ground pepper

Directions

  1. In a large skillet, sauté onion and mushrooms in oil until tender.
  2. Add spinach and ham, cook and stir until the excess moisture is evaporated.  Cool slightly.
  3. Beat eggs, add cheese and mix well. Stir in spinach mixture and season with pepper; blend well.
  4. Spread evenly into a greased 9-inch pie plate or quiche dish.
  5. Bake at 350°F for 40 to 45 minutes or until a knife inserted near the center comes out clean.

DSC_3145aDSC_3162a


May 8, 2012 Seared Scallops with Spinach

 Scallops were a perennial favorite on my catering menu . Whether served wrapped in smoky bacon and served with a dill horseradish mayonnaise, or as a scallop puff on a crostini accented with dill and lemon, they were quick to disappear from the hors d’oeurve tray.  I learned early in my days as a caterer the importance of having a reputable seafood merchant. I knew of instances where the smaller sweeter (and more expensive) bay scallops were actually punched out of larger sea scallops. Other “scallops” were not scallops at all but were cut out of shark steaks.

 True scallops are sold in two different ways, wet or dry. Dry scallops have not been treated with water or chemicals, which gives them a shorter shelf life. They will range in color from vanilla to almost a peachy color and have a sweet briny aroma.  Wet scallops have been treated with a sodium phosphate solution that helps the scallops retain water for a longer period of time. It also gives them an unnatural uniformly white color.  The phosphate in the solution is an additive that is used in soap products.  So when a wet scallop is cooked it leaches a milky, slightly soapy solution. When you are at the seafood counter it is always best to ask if the scallops are wet or dry, and if they aren’t sure, run, don’t walk away from that store!

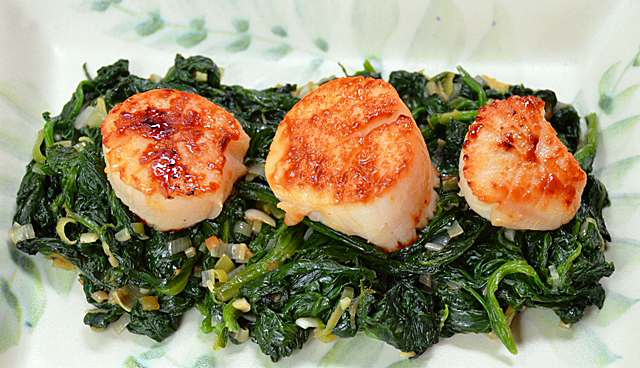
In the past ten years the addition of seared scallops became a part of my catering repetoire and is still my favorite way to prepare them now. Wet scallops will not work for this preparation because of the excessive water they exude. Before you cook scallops detach the tough adductor muscle, it peels off very easily.  High heat is the best way to cook scallops and be sure they are as dry as possible.  The outside of the scallop will have a beautiful caramelized crust while the inside is creamy soft, not tough.  I chose to serve it this evening on a bed of our fresh garden spinach.

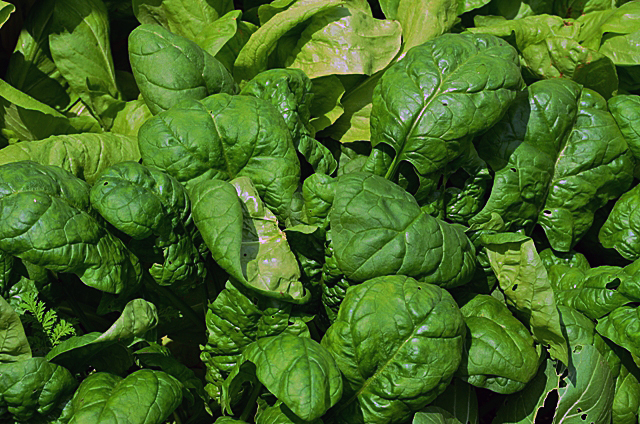
Garden spinach ready to harvest.

Seared Scallops with Spinach

Serves 2-3

Ingredients

  • 8 to 10 cups well washed spinach
  • 2 small leeks, chopped finely
  • 2 cloves garlic, chopped
  • 3/4 to 1 lb fresh dry scallops purchased from a reputable seafood dealer
  • Cooking oil that tolerates high temperature cooking-canola, grapeseed etc.
  • 1T butter and 1T olive oil
  • 6-8 cups well washed fresh spinach

Directions

  1. Clean the spinach by filling your sink with cold water. Soak the spinach to remove dirt and sand. The dirt and sand will sink to the bottom and the spinach will float to the top. Remove spinach to a colander while you drain the sink and clean out any dirt.  Repeat the soaking process several times, cut off any large stems and spin in salad spinner to remove excess water. Set aside.
  2. Pat scallops as dry as possible with paper towel or clean dishcloth
  3. Season well with Kosher salt and fresh ground pepper, if you are fussy, then it should be white pepper
  4. Heat oil over medium-high heat in a large non-stick pan that will hold all the scallops comfortably. Sometimes I use a brush to be certain the whole pan is coated. Be sure the pan is hot before adding scallops, a drop of water should bead up on contact.
  5. Add scallops, flat side down and cook undisturbed for several minutes, the length of cooking will depend on the size of the scallop, 2-4 minutes per side is a good guideline. Flip scallops and brown on the other side. they will still be somewhat firm to the touch. Transfer scallops to a platter and keep warm.
  6. Wipe residue out of pan, return to medium high heat. When pan is warm, add butter and oil.
  7. Add chopped leek and garlic to the melted butter and oil. Saute until leek is softened but not browned. Add spinach by the handfuls and saute until the spinach is cooked down.